Best Projector Maintenance Tools for Service Teams
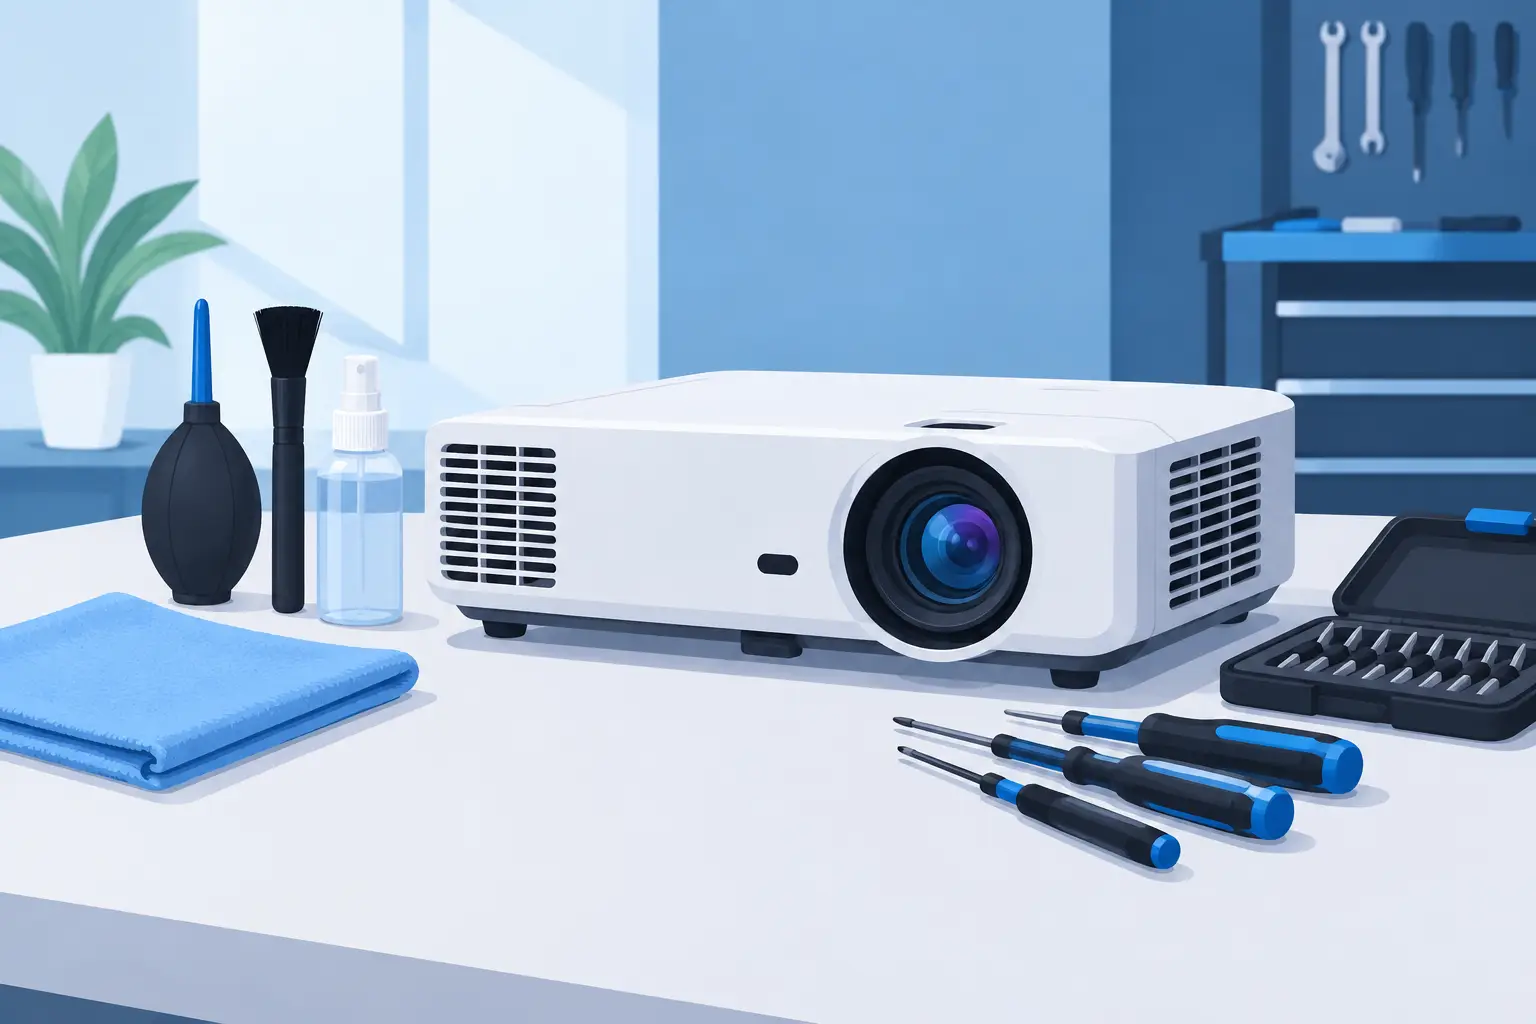
A projector that shuts down during a classroom session, board meeting, or live event rarely fails without warning. Restricted airflow, a loaded filter, poor lamp handling, or an incorrect replacement part often turns routine service into avoidable downtime. The best projector maintenance tools help service teams protect installed equipment, complete repairs correctly, and keep a mixed fleet operating on schedule.
For distributors, integrators, and repair providers, the objective is not to carry every tool available. It is to build a practical maintenance kit that supports repeatable work across projector brands and models. Tool quality, compatibility information, and disciplined service procedures matter more than an oversized toolbox.
Best Projector Maintenance Tools for Commercial AV
A professional projector maintenance kit should cover inspection, cleaning, air-path service, lamp replacement, and basic diagnosis. The following categories provide the strongest day-to-day value for commercial AV service operations.
ESD-safe precision screwdriver set
Projector housings commonly use small Phillips, Torx, hex, and security screws. A precision screwdriver set with hardened tips reduces stripped fasteners and supports controlled work around optical assemblies, circuit boards, lamp doors, and filter compartments. Magnetic tips can speed up reassembly, but technicians should use them carefully around sensitive components and avoid placing tools directly on boards.
For service teams supporting multiple brands, bit selection is more useful than buying several model-specific drivers. Include long-shaft drivers for recessed screws and a compact right-angle driver for tight ceiling-mount or enclosure access. ESD-safe handles and grounding practices are recommended whenever work extends beyond filters, lamps, and exterior panels.
Manual air blower and anti-static brush
Dust is one of the most common causes of rising operating temperature, fan noise, dim images, and thermal shutdowns. A manual rubber air blower provides controlled airflow for removing loose dust from accessible vents, filter chambers, and external surfaces. It is safer than high-pressure shop air, which can force debris deeper into the optical engine or damage fan bearings.
Use an anti-static, soft-bristle brush for vent grilles and accessible dust buildup. Brushes should never be used aggressively on mirrors, LCD panels, DLP optical components, or coated lens surfaces. If contamination is inside the sealed optical path, disassembly should follow the manufacturer’s service documentation and be handled by qualified technicians.
HEPA vacuum with adjustable suction
A compact HEPA vacuum is a better choice than compressed air for removing dust from intake grilles, exhaust areas, and filter bays. Adjustable suction is valuable because projector filters and plastic grilles can be damaged by excessive force. The vacuum should be used near the surface, not pressed into it, and should have clean attachments reserved for electronics service.
The trade-off is portability. A handheld unit is convenient for field calls, while a larger bench vacuum may offer stronger filtration and better runtime. Many service organizations keep both: a portable tool for on-site preventive maintenance and a higher-capacity unit for repair centers.
Optical cleaning supplies
Lens cleaning requires a different approach from chassis cleaning. Keep microfiber lens cloths, lens tissue, a non-ammonia optical cleaning solution, and disposable nitrile gloves in the kit. These supplies remove fingerprints and light surface contamination without scratching coatings or leaving fibers behind.
Apply cleaning fluid to the cloth or tissue, never directly to the lens. Wipe with light pressure from the center outward, then inspect under adequate light. A visibly dirty lens does not always explain a dim or uneven image. Lamp aging, light-engine contamination, incorrect lens settings, and signal issues can produce similar complaints, so cleaning should be one step in diagnosis rather than the default repair.
Filter inspection and replacement tools
Air filters are consumable maintenance parts, not optional accessories. A clogged filter restricts ventilation and increases thermal load on the lamp, power supply, fans, and internal electronics. For projectors operating in schools, retail spaces, exhibitions, manufacturing areas, or smoking environments, inspection intervals may need to be significantly shorter than the manufacturer’s standard schedule.
Useful filter-service tools include a flashlight, soft brush, HEPA vacuum, and a labeled storage system for replacement filters by projector model. The critical requirement is correct fit. A filter that appears similar but does not seal properly can allow dust bypass, reducing protection for internal components. Maintain records for filter dimensions, frame design, airflow direction, and supported projector models.
High-ventilation replacement filters are particularly valuable where equipment runs for long hours or is exposed to dust and smoke. ZORSIKA develops projector air filters designed to maintain airflow while helping protect projectors from airborne contamination, giving service partners a practical option for recurring maintenance programs.
Lamp replacement kit and handling supplies
For lamp-based projectors, a dedicated lamp replacement kit supports safer, faster service. It should include the required drivers, nitrile gloves, a lint-free cloth, a flashlight, and a container for transporting the removed lamp module. Gloves are essential because oils from skin can contaminate lamp surfaces and reflectors.
Before replacement, power down the projector, allow the lamp to cool fully, disconnect power, and follow the model-specific procedure. Reset the lamp timer only after a confirmed replacement. Resetting a timer without changing the lamp creates poor maintenance records and can lead to unexpected failure in the field.
Lamp compatibility requires more than matching the projector brand. Check the complete projector model, lamp module part number, connector arrangement, housing design, and required wattage. A lower-priced lamp that does not match the ballast or mechanical fit can create repeat service calls, customer complaints, and warranty exposure.
Multimeter and basic electrical test tools
A digital multimeter is necessary when a projector will not power on, repeatedly shuts down, or reports a lamp-related error after replacement. It can help technicians verify input power, continuity, fuse condition, and selected low-voltage circuits when used by trained personnel. A non-contact voltage tester can add a quick safety check before opening equipment.
These tools do not replace projector-specific diagnostic knowledge. Ballasts, power boards, and high-voltage lamp circuits require caution, and some faults are better addressed through board replacement rather than component-level repair. For service businesses, clear escalation criteria protect technicians and reduce time spent on uneconomical repairs.
Build a Tool Kit Around the Work You Actually Perform
The right tool mix depends on whether a team performs preventive maintenance, field lamp replacement, depot repair, or all three. A reseller offering routine school and corporate maintenance may prioritize portable cleaning tools, filters, lamps, and accurate model-matching records. A repair center handling no-power or image-quality faults will also need ESD protection, measuring equipment, magnification, and organized parts storage.
Standardization improves both speed and margins. Assign the same core kit to each technician, use service checklists, and label replacement parts by brand and model family. This reduces missed steps, prevents incompatible parts from reaching the field, and makes training easier when the service team grows.
Tool Discipline Prevents More Failures Than Tool Quantity
The best tools cannot compensate for poor handling. Technicians should allow adequate cooling time, document lamp hours, inspect filters before replacing lamps, verify firmware or error codes where applicable, and test image quality after reassembly. A final check should confirm focus, zoom, lens shift, fan operation, input detection, and proper filter-door closure.
Preventive maintenance should also be scheduled according to the environment, not just calendar dates. A projector in a clean conference room may need less frequent filter attention than one installed near food service, production dust, or heavy foot traffic. Usage hours, ambient conditions, and installation accessibility should define the maintenance interval.
A compact, well-selected maintenance kit gives service teams control over the issues that cause the most disruption: dust, heat, worn consumables, handling errors, and part mismatch. Stock the tools that support your service scope, pair them with correctly matched replacement accessories, and treat every maintenance visit as an opportunity to extend projector uptime.