Campus Projector Case Selection for AV Teams
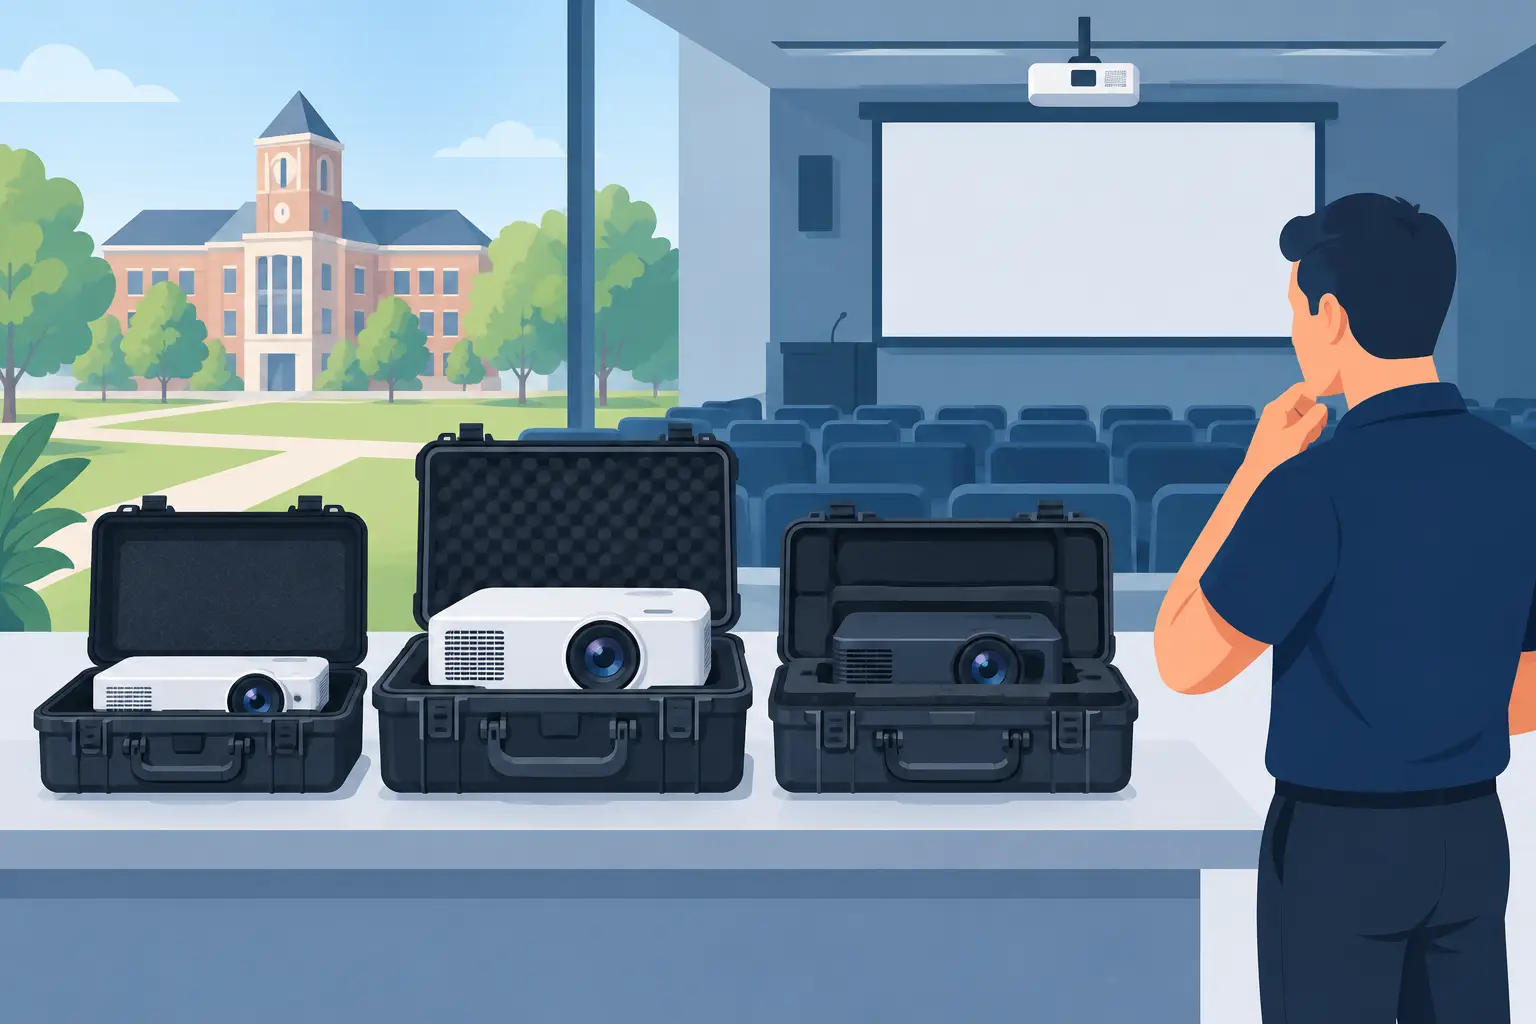
A projector sent from a media office to a lecture hall can pass through loading docks, elevators, student workers, storage rooms, and event setups in a single day. A campus projector case is not a minor purchasing detail in that process. It determines whether equipment arrives aligned, complete, protected from dust and impact, and ready to return to service without a technician spending time on preventable repairs.
For university AV teams, K-12 districts, and campus service contractors, the correct case depends on more than a projector's outside dimensions. The projector model, lens arrangement, travel frequency, storage environment, accessory kit, and handoff process all affect the specification. A case that is inexpensive but poorly fitted can shift costs into damaged housings, lost remotes, broken lens covers, and avoidable downtime.
Start With the Campus Use Case
The first question is whether the projector is installed equipment, mobile equipment, or a unit moving between both roles. This distinction should lead the purchasing decision.
A permanently installed projector may only need protected storage during renovations, summer break, or building work. In this application, a padded soft case or fitted dust cover may be sufficient, provided the projector is removed and stored in a dry, controlled area. Spending on a heavy flight case for every installed unit rarely makes commercial sense.
Mobile projectors used in classrooms, meeting rooms, athletics, admissions events, or temporary exhibition spaces face a different risk profile. They are moved frequently, often by users who are not AV technicians. A hard-shell campus projector case with fitted foam is usually the more reliable choice because it protects the unit during transport and creates a defined place for required accessories.
High-value large-venue projectors require a more controlled approach. Interchangeable lenses, mounting hardware, signal accessories, and high-output lamps can turn a simple carry case into a managed transport system. For these units, select a case designed around the exact projector and lens configuration rather than a general-purpose electronics case.
Fit Is the Main Protection Feature
Case protection begins with fit. External dimensions are useful for an initial search, but they are not enough for procurement approval. Measure the projector with any components that will remain attached in transport, including lens caps, wireless modules, feet, handles, cable covers, and short-throw or ultra-short-throw lens assemblies.
A projector should rest on supportive foam without pressure on vents, control panels, focus rings, or lens surfaces. It should not move when the closed case is gently tilted. At the same time, foam that compresses tightly against a projector can place stress on the chassis and may retain heat if the equipment is packed immediately after operation.
Lens Configuration Changes the Case Requirement
The lens is frequently the most exposed and costly component in mobile projection equipment. A standard fixed-lens classroom projector can often travel safely with a molded foam cavity and a protective lens cap. A professional projector with a removable lens requires a separate protected compartment or a separate lens case.
Do not assume that a lens can remain mounted for every transport situation. Large lenses add leverage to the projector body and can be vulnerable to shock. Review the manufacturer's handling guidance for the specific model, especially for high-brightness projectors used in auditoriums, event spaces, museums, and multipurpose halls.
For service organizations supporting several brands, model-specific labeling is essential. A case marked only "projector" invites mismatched equipment and incomplete kits. Label the exterior with the projector model, asset number, normal room assignment, and the lens or mount configuration where relevant.
Choose Case Construction by Transport Risk
A soft padded case works well for low-risk, hand-carried movement within a single building. It is lighter, takes less storage space, and can be practical for compact portable projectors. Its limitation is clear: it offers limited crush protection and little defense against a cart collision, stacked equipment, or rough loading.
Hard molded cases provide better protection for projectors crossing campus, traveling between sites, or shipping to off-campus events. Look for impact-resistant shells, secure latches, comfortable handles, and foam that can be replaced when it wears out. Wheels are worthwhile for heavier units, but wheel quality matters. Small wheels may be acceptable on smooth indoor floors and perform poorly over sidewalks, thresholds, and loading areas.
Flight cases with aluminum edging and laminated panels are appropriate when equipment is loaded with staging systems, transported in trucks, or handled by multiple crews. They offer excellent structural protection and can be repaired more easily than some molded cases. The trade-off is weight. A flight case that requires two people to lift can create operational delays and increase handling risk for routine classroom deployments.
Environmental protection also depends on the campus. Sites near construction, workshops, kitchens, or outdoor event areas may need cases with stronger sealing against dust and moisture. A sealed case should not be used to pack a projector that is still warm. Allow the unit to cool fully, inspect the intake and exhaust areas, and confirm that the air filter is not carrying accumulated dust into the case.
Build the Accessory Kit Into the Case Design
Projectors rarely fail in the field because the image engine is damaged. More often, an event is delayed because a power cord, remote control, adapter, HDMI cable, or presentation clicker is missing. A good case has designated storage for the accessories required in the projector's normal deployment.
Avoid placing loose metal adapters or tools in the same cavity as the projector. They can scratch the housing, damage the lens cover, or work into ventilation openings during transit. Use divided pouches, foam cutouts, or a separated lid organizer. If a spare lamp or replacement air filter travels with the unit, give it an independent compartment and label it clearly.
The standard kit should reflect the room and user group. A portable training-room projector may need a remote, power cable, HDMI cable, USB-C adapter, and basic instructions. An event projector may require longer signal cables, a mounting interface, a backup remote, and a documented checkout list. Keeping every possible accessory in every case creates clutter and makes inventory control harder.
Standardize by Fleet, Not by One-Off Purchase
Campuses often operate a mixed fleet across many years and departments. Buying a different case for every individual request may solve the immediate need but complicates storage, asset tracking, training, and replacement foam sourcing. Where models are similar in size and application, standardize on a limited number of case formats.
A practical approach is to establish categories: compact portable projectors, standard mobile classroom projectors, large-venue projectors, and lens or accessory cases. Each category can have an approved internal case size, foam layout, label standard, and accessory checklist. This makes it easier for procurement teams to compare quotations and for technicians to recognize missing items at a glance.
Standardization should not override compatibility. A case designed for one projector body may not fit a successor model with a deeper lens assembly or different ventilation layout. Confirm the internal dimensions and foam profile for every new model before placing a volume order.
Evaluate Serviceability and Total Cost
The purchase price of a campus projector case is only one part of the cost. AV teams should consider latch replacement, wheel repair, handle durability, foam replacement, and the availability of additional matching cases. A lower-cost case with failing latches after one semester can become more expensive than a better-built option that remains in service for years.
Inspect a sample before committing to a large order. Load the actual projector and full accessory kit, close the case, move it over typical campus surfaces, and check whether the unit shifts. Test whether staff can identify the correct contents quickly and whether the case can be stored on existing shelving. This small validation step is particularly valuable when cases are sourced internationally or when foam is custom cut.
The case should also support routine projector maintenance. If filters need regular inspection and lamps or light-source components require service planning, the case label can carry the asset ID and service reference. This connects transport equipment to the broader maintenance workflow instead of treating it as a separate purchasing category.
Set Clear Checkout Rules
Even the best case cannot compensate for inconsistent handling. Establish a short checkout process that confirms the projector is powered down, cooled, capped, placed in the correct foam position, and returned with the required accessories. For high-value units, require a condition check before and after use.
Keep the instructions inside the lid, written for the actual user rather than only for technical staff. A concise checklist reduces return issues without adding friction to classroom or event operations. It also gives service teams a clear basis for identifying recurring damage patterns.
A campus projector case should make the correct handling method obvious. When the projector, lens protection, cables, remote, and identification all have a defined place, mobile AV equipment is easier to deploy, easier to recover, and far less likely to become a last-minute service problem.