How to Calibrate Projector Color for AV Systems
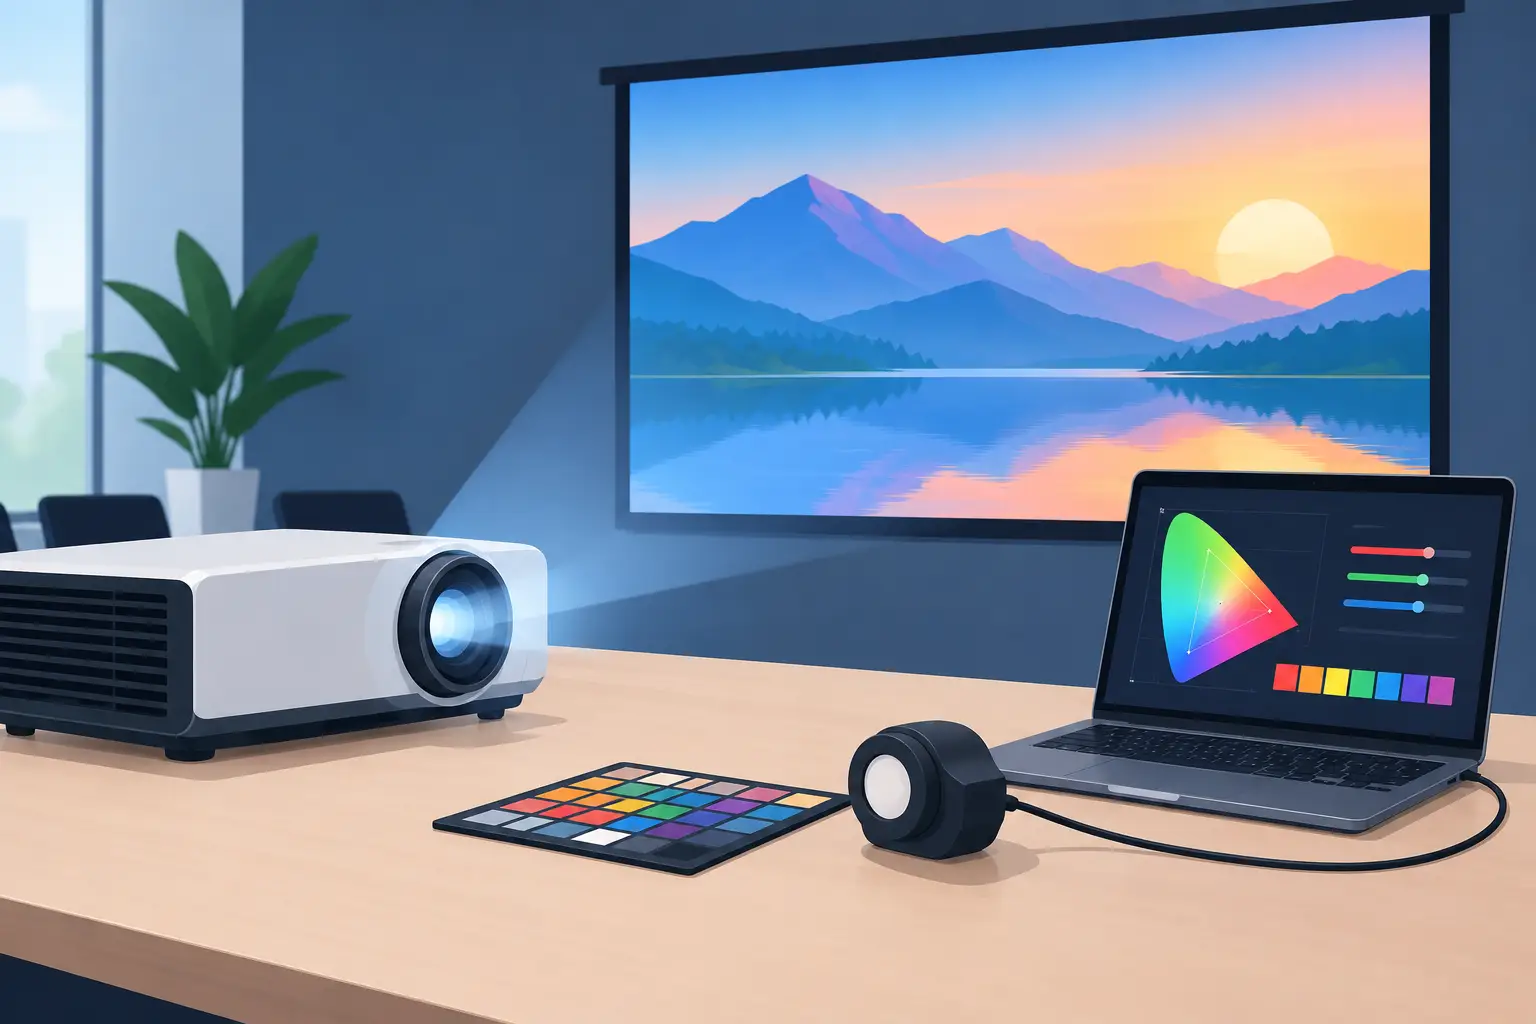
A conference room projector can appear acceptable during installation and still produce poor skin tones, muted brand colors, or uneven grayscale once real content is displayed. For service teams supporting mixed projector fleets, knowing how to calibrate projector color is a practical way to improve image consistency without immediately replacing equipment.
Color calibration is not simply increasing saturation until the image looks brighter. It is a controlled adjustment process that starts with the signal source and viewing environment, then sets the projector to a repeatable standard. For commercial AV installations, the objective is usually stable, natural color and usable brightness across the service life of the projector.
Prepare the Projector Before Color Calibration
A projector should be fully installed and operating under normal site conditions before calibration begins. Screen type, ambient light, throw distance, lens position, input resolution, and source device settings all influence the image seen by the user. Calibrating on a bench or against a temporary wall can create settings that do not perform correctly after final installation.
Allow the projector to warm up for at least 20 to 30 minutes. Lamp-based models can shift in brightness and color temperature as the lamp reaches normal operating temperature. Laser projectors also benefit from warm-up, particularly when they are installed in demanding education, exhibition, or corporate environments.
Before opening the image menu, confirm that the following conditions are correct:
- The lens is clean and correctly focused across the full image area.
- The air filter and intake path are free of dust that could affect cooling and optical performance.
- The source device is outputting the intended resolution, refresh rate, and color range.
- Any automatic image adjustment, dynamic contrast, or ambient-light compensation mode is disabled.
- The screen is clean, flat, and appropriate for the projection environment.
A dirty filter or deteriorated lamp cannot be corrected with menu settings. Reduced light output often leads operators to increase contrast, color, or brightness excessively, which can make the image less accurate and shorten the margin for future adjustment.
Set a Realistic Color Target
The correct target depends on the application. Most presentation, classroom, and digital-signage systems should use an sRGB or Rec. 709 color target when the projector and source support it. This is the standard range used by most laptops, video content, and business displays. Cinema or specialized production systems may require a different target, but those installations should be calibrated around the content workflow rather than a general office preset.
Start with the projector picture mode closest to the target. Names vary by manufacturer, but Cinema, sRGB, Rec. 709, Natural, Presentation, and Standard modes are common. Avoid assuming that the brightest mode is the best starting point. Dynamic or Vivid modes often use an intentionally cool white balance and exaggerated color processing to create impact under showroom lighting.
For rooms with moderate ambient light, a slightly brighter operating mode may be necessary. That is a valid trade-off. However, maintain neutral grayscale and controlled color saturation rather than using maximum color settings as a substitute for adequate projected light. If the image is still weak after proper setup, evaluate lamp condition, projector specification, screen gain, and room lighting.
How to Calibrate Projector Color Step by Step
1. Reset only the active picture mode
If the projector has been adjusted previously, reset the selected picture mode to its factory default. Do not reset the entire projector unless the installation record calls for it. Network settings, lens memory, geometry correction, and other operational parameters may be affected.
Select the input and picture mode that will be used most often. A calibration made on HDMI input 1 may not automatically apply to HDMI input 2, wireless presentation, or a built-in media player. Verify whether the projector stores image settings by input, signal format, or picture mode.
2. Set brightness and contrast with test patterns
Use a proper grayscale or pluge test pattern rather than a random photograph. Brightness controls the black level. Adjust it until near-black bars are just visible while true black remains black. If brightness is too high, dark scenes become gray and washed out. If it is too low, shadow detail disappears.
Contrast controls the white level. Increase contrast until the brightest white detail begins to merge, then reduce it slightly until adjacent near-white steps are distinguishable. Excessive contrast clips highlights and can introduce color tinting in bright areas.
These controls interact, so check both patterns again after making changes. The goal is not a dramatic image. It is clean separation in dark and bright details.
3. Choose the correct color temperature
For most commercial content, a target near 6500K, often labeled D65, provides a neutral reference white. Projector menus may offer choices such as Cool, Medium, Warm, or Normal. Start with Warm or a 6500K option, then assess grayscale with a measurement device when available.
A Cool setting can look brighter because it adds blue, but white documents, skin tones, and gray backgrounds may appear noticeably cold. A setting that is too warm can create yellow or red bias. In a multi-projector installation, matching all units to a consistent white point is usually more valuable than pursuing a single projector's maximum brightness.
4. Adjust color and tint carefully
The Color or Saturation control changes overall color intensity. Begin at the selected mode's default setting and use a color bar pattern or calibrated test image to make small changes. Over-saturation is common in rooms where staff want a more vivid result, but it causes red, blue, and green content to lose detail.
Tint, sometimes called Hue, balances red and green. It should normally remain close to the default value when the signal format is correct. If large tint changes appear necessary, first check whether the source is sending the wrong color space, limited versus full RGB range, or an incorrect HDMI setting.
5. Use RGB gain and offset only with measurement tools
Advanced menus may include RGB gain, RGB offset, white balance, or grayscale controls. Gain affects brighter areas, while offset affects darker grayscale levels. These are useful controls for correcting a measured red, green, or blue imbalance, but they should not be adjusted by eye on a production installation.
Use a colorimeter or spectrophotometer with compatible calibration software where color accuracy is contractual, brand-critical, or required for image blending. Record pre-calibration readings, target values, and final results. Measurement-based calibration reduces variation between technicians and provides evidence of completed service work.
6. Verify the color gamut and real content
If the projector provides a color management system, it may allow individual adjustment of red, green, blue, cyan, magenta, and yellow. Use this feature only when the projector supports meaningful gamut control and measurements show a correctable error. Unnecessary CMS changes can create uneven color tracking.
Finish with real content relevant to the installation: presentation slides, video, spreadsheets, product imagery, or signage assets. Look for neutral whites, natural skin tones, readable dark text, and consistent color from corner to corner. A calibration pattern confirms technical performance; real content confirms that the installation is usable.
Account for Lamps, Filters, and Optical Components
Color calibration is not permanent. Lamp-based projectors gradually lose brightness and may shift color as operating hours increase. A replacement lamp can restore light output but may also change the projector's white balance compared with the previous lamp. Check calibration after lamp replacement, especially for boardrooms, classrooms, galleries, and blended-display systems.
Airflow also matters. Dust buildup can increase internal temperature and contribute to unreliable performance over time. Regular filter inspection and replacement helps protect the optical engine and supports stable operation. Where a projector uses an interchangeable lens, confirm that the lens is clean, correctly seated, and appropriate for the required throw ratio. Light loss or uneven focus at the screen cannot be solved with color controls.
For service providers managing multiple brands, use compatible replacement components from a supplier that can support accurate model matching, dependable availability, and warranty requirements. ZORSIKA supports this operational need with projector bulbs, filters, lenses, and other accessories designed for professional replacement markets.
Document Settings for Repeatable Field Service
A calibrated projector is easier to maintain when the final configuration is documented. Record the projector model, serial number, firmware version, lamp or laser hours, input type, picture mode, brightness, contrast, color temperature, and any advanced white-balance adjustments. Include the screen type and approximate ambient-light condition when the installation is sensitive to room changes.
This record is especially useful when a customer reports that a replacement projector "looks different" from the original. The difference may be caused by a new lamp, a different production batch, changed room lighting, or a source device that has reverted to default video settings. A service baseline helps technicians identify the cause quickly instead of recalibrating without direction.
When Calibration Will Not Solve the Problem
Some image faults are hardware issues rather than calibration issues. Persistent yellowing, colored patches, severe corner discoloration, flicker, unstable brightness, or an image that changes color during operation may indicate lamp, color wheel, LCD panel, DLP optical engine, polarizer, or cooling-system problems. Do not compensate for these defects with extreme RGB settings.
If multiple inputs show the same color issue, test with a known-good cable and source before replacing parts. If the fault remains, inspect service history, operating hours, filter condition, and the projector's internal diagnostics. Accurate calibration starts with a projector that is operating normally.
A well-calibrated projector should make the system disappear from the user's attention: whites look neutral, colors remain credible, and the image stays consistent from one service visit to the next. That result comes from controlled settings, clean optics, reliable replacement parts, and records that make future maintenance faster.