How to Clean a Projector Lens Safely at Work
A projector can appear to have a lamp, alignment, or signal problem when the actual issue is contamination on the front optical surface. For service teams supporting installed fleets, knowing how to clean projector lens safely prevents unnecessary part replacement, protects image quality, and reduces the risk of costly lens damage.
A projector lens is not ordinary glass. It typically has precision optical coatings that control reflection, color performance, and contrast. Aggressive wiping, household cleaning products, or poor handling can create micro-scratches, remove coating material, or force dust into the optical path. A safe process is therefore controlled, minimal, and based on inspection rather than routine over-cleaning.
Identify Whether the Lens Needs Cleaning
Before cleaning, confirm that visible lens contamination is affecting the projected image. Fingerprints, haze, dried spots, and loose dust on the outer lens element can reduce brightness and produce a soft or uneven image. However, a blurry image is not always caused by a dirty lens.
Check focus, zoom position, projector alignment, source resolution, and lens shift first. If the image remains soft after focus adjustment but the outer lens appears clear, the contamination may be internal. Internal dust, fungus, haze between lens elements, or optical engine contamination requires qualified service. Do not disassemble a projector lens assembly in the field unless the manufacturer specifically provides a service procedure and the technician is equipped to perform it.
For rental, education, corporate, and event installations, record the projector model and lens part number before service. This is especially useful for interchangeable-lens models, where the correct cleaning approach and removal procedure can differ by manufacturer.
Prepare the Projector and Work Area
Always power the projector off and disconnect it from AC power before touching the lens. Allow the unit to cool completely. Lamp-based projectors can retain significant heat around the front assembly and exhaust path, while even laser projectors should be isolated before maintenance.
Work on a stable bench or cart in a clean, low-dust area. Avoid cleaning near open windows, active air vents, drilling, sanding, or unpacking areas. Loose dust can settle on the lens immediately after cleaning or enter exposed lens mounts when an interchangeable lens is removed.
Technicians should handle the lens barrel rather than the optical surface. If a removable lens must be taken off, install the appropriate projector body cap and lens cap promptly. This limits dust exposure inside the projector and protects the rear lens element, which is often easier to damage during handling.
Use Materials Made for Optical Surfaces
The safest supplies are simple, clean, and dedicated to optical work. Avoid paper towels, shop rags, tissues, cotton swabs, and used microfiber cloths. Their fibers or embedded debris can scratch coatings.
Keep the following items in a service kit:
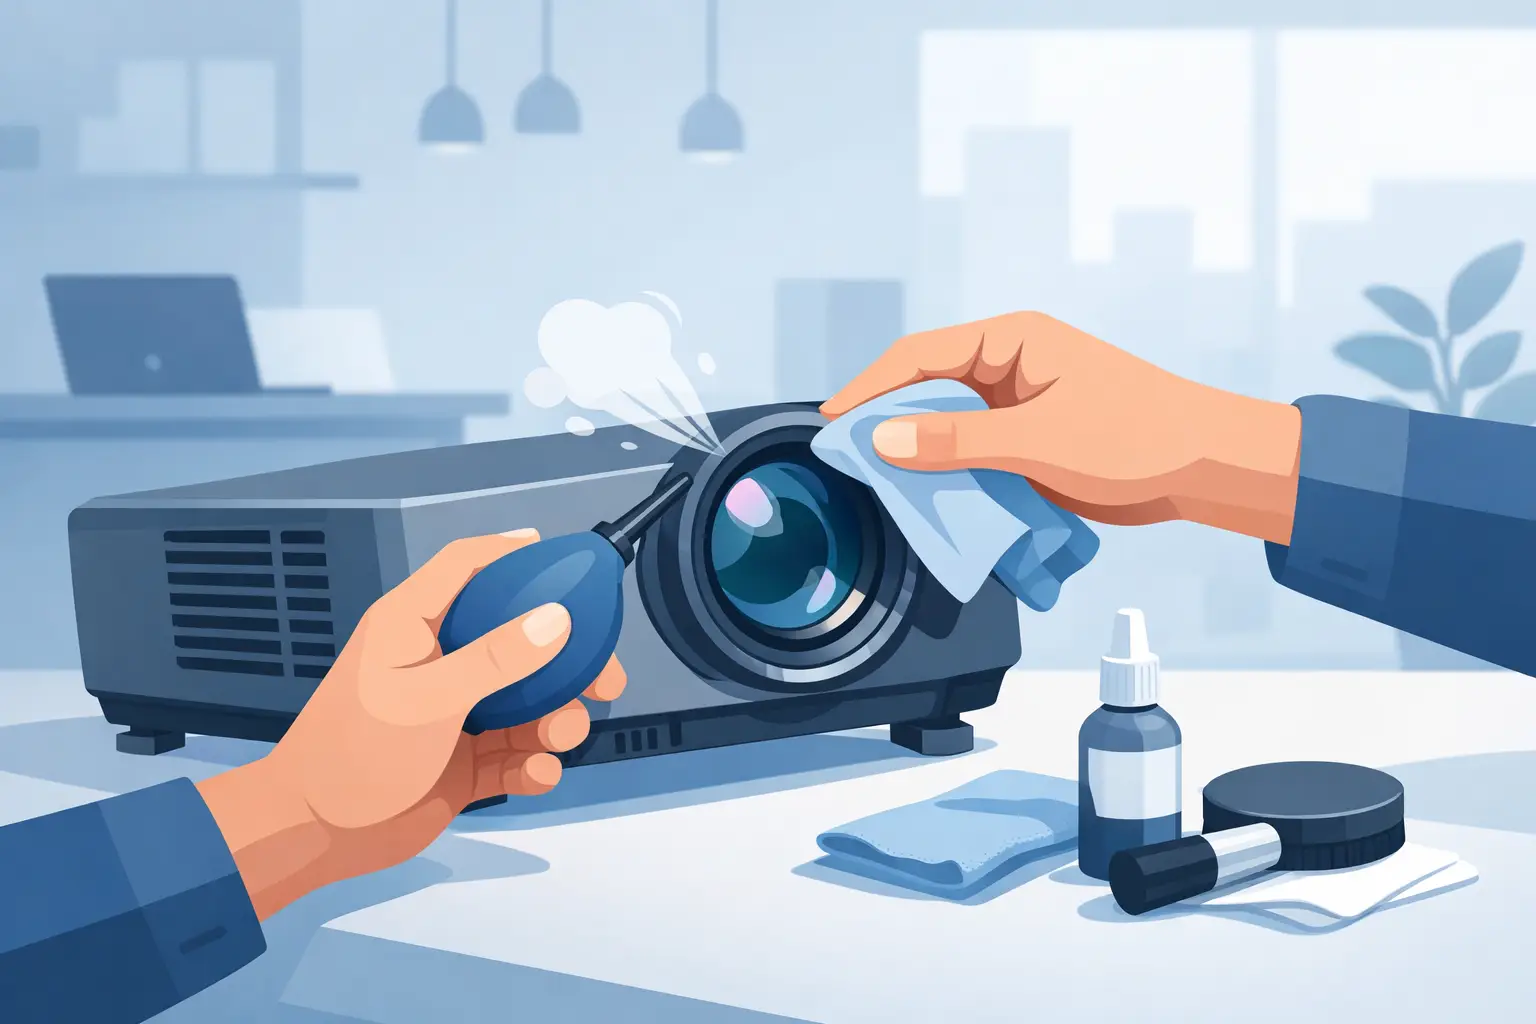
- A manual air blower designed for camera or optical equipment
- A clean, high-quality microfiber lens cloth
- Single-use optical lens tissues
- Optical cleaning solution formulated for coated lenses
- Nitrile gloves for handling removable lenses and avoiding fingerprints
A manual blower is preferred for removing loose dust because it does not introduce propellant residue. Compressed air cans should be used cautiously, if at all. Tilting a can or spraying too closely can release cold liquid propellant onto the lens, leaving residue or creating thermal stress. High-pressure shop air is not suitable because it may contain moisture, oil, or abrasive particles.
Do not use glass cleaner, alcohol wipes intended for general surfaces, acetone, ammonia-based products, disinfectant sprays, or water applied directly to the lens. Some optical coatings tolerate limited isopropyl alcohol, but compatibility depends on the lens construction and manufacturer guidance. When the coating specification is unknown, use only a purpose-made optical cleaning fluid in a very small amount.
How to Clean Projector Lens Safely
Start with the least invasive method. Inspect the lens under angled light to locate dust, fingerprints, or residue. Do not rub the surface while dry if particles are visible.
First, use the manual blower to remove loose dust. Hold the projector so dust can move away from the optical surface rather than deeper into the lens housing. Use several gentle bursts while keeping the blower tip away from the glass. Never touch the lens with the blower nozzle.
If dust remains, lightly brush it away only with a clean optical brush intended for lenses. For many service operations, a blower and microfiber cloth are sufficient, provided the cloth is kept protected from contamination between uses.
For fingerprints or oily marks, place one or two drops of optical cleaning solution on the microfiber cloth or lens tissue. The cloth should be slightly damp, not wet. Never apply fluid directly to the projector lens, where it can run into the lens barrel or projector chassis.
Wipe with very light pressure from the center outward in a smooth spiral or straight overlapping passes. The goal is to lift residue, not polish the lens. Repeated circular rubbing in one small area increases the chance of visible wipe marks and fine scratching.
Use a fresh section of cloth or a new lens tissue for a final dry pass if needed. Then inspect again under angled light. If a mark does not improve after one or two controlled attempts, stop. Persistent residue may be on an internal element, may be coating damage, or may require a manufacturer-approved cleaning method.
Avoid Common Field-Service Errors
The most frequent damage occurs when cleaning is treated as a cosmetic task rather than optical maintenance. A lens may look clean after aggressive wiping but still lose contrast because its coating has been scratched or chemically affected.
Do not clean lenses on a fixed schedule without inspection. In a clean conference room, unnecessary cleaning can cause more risk than benefit. In dusty classrooms, exhibit halls, houses of worship, or event venues, inspection intervals may need to be more frequent. The correct service interval depends on the operating environment, projector placement, and air filtration condition.
Also avoid touching the lens after cleaning to check whether it is dry. A fingerprint on the front element can immediately reduce image clarity, especially on high-brightness projectors where glare and light scatter are more noticeable.
If the projector has an air filter, inspect and maintain it according to the equipment schedule. A clean external lens will not solve recurring internal dust issues caused by restricted airflow, missing filters, smoke exposure, or operation in contaminated environments. Good ventilation and properly matched projector air filters protect the optical system as well as the cooling path.
When Cleaning Is Not the Correct Repair
Lens cleaning cannot correct every optical complaint. Replace or escalate the unit for evaluation when there are scratches, coating discoloration, internal haze, fungus-like growth, cracked glass, a loose lens mount, or dust visible inside sealed optical sections. These conditions can affect color uniformity, brightness, and focus across the image.
For interchangeable lenses, inspect the rear element and mount contacts at the same time. Do not clean electronic contacts with lens fluid. If contact contamination is suspected, follow the projector manufacturer's approved electrical-contact procedure. Improper cleaning can create intermittent lens recognition, zoom, focus, or lens-shift faults.
Service organizations should document the lens condition before and after cleaning, particularly for customer-owned equipment. A quick photo and maintenance note can distinguish pre-existing coating damage from surface contamination and support clear repair recommendations.
For high-use fleets, the best result comes from treating lens cleaning as one part of preventive maintenance, alongside filter replacement, cooling-path inspection, lamp or laser performance checks, and correct lens storage. A clean optical surface helps preserve the image the projector was specified to deliver, while disciplined handling keeps a minor maintenance task from becoming an avoidable replacement cost.