How to Identify Projector Lamp Housing Fast
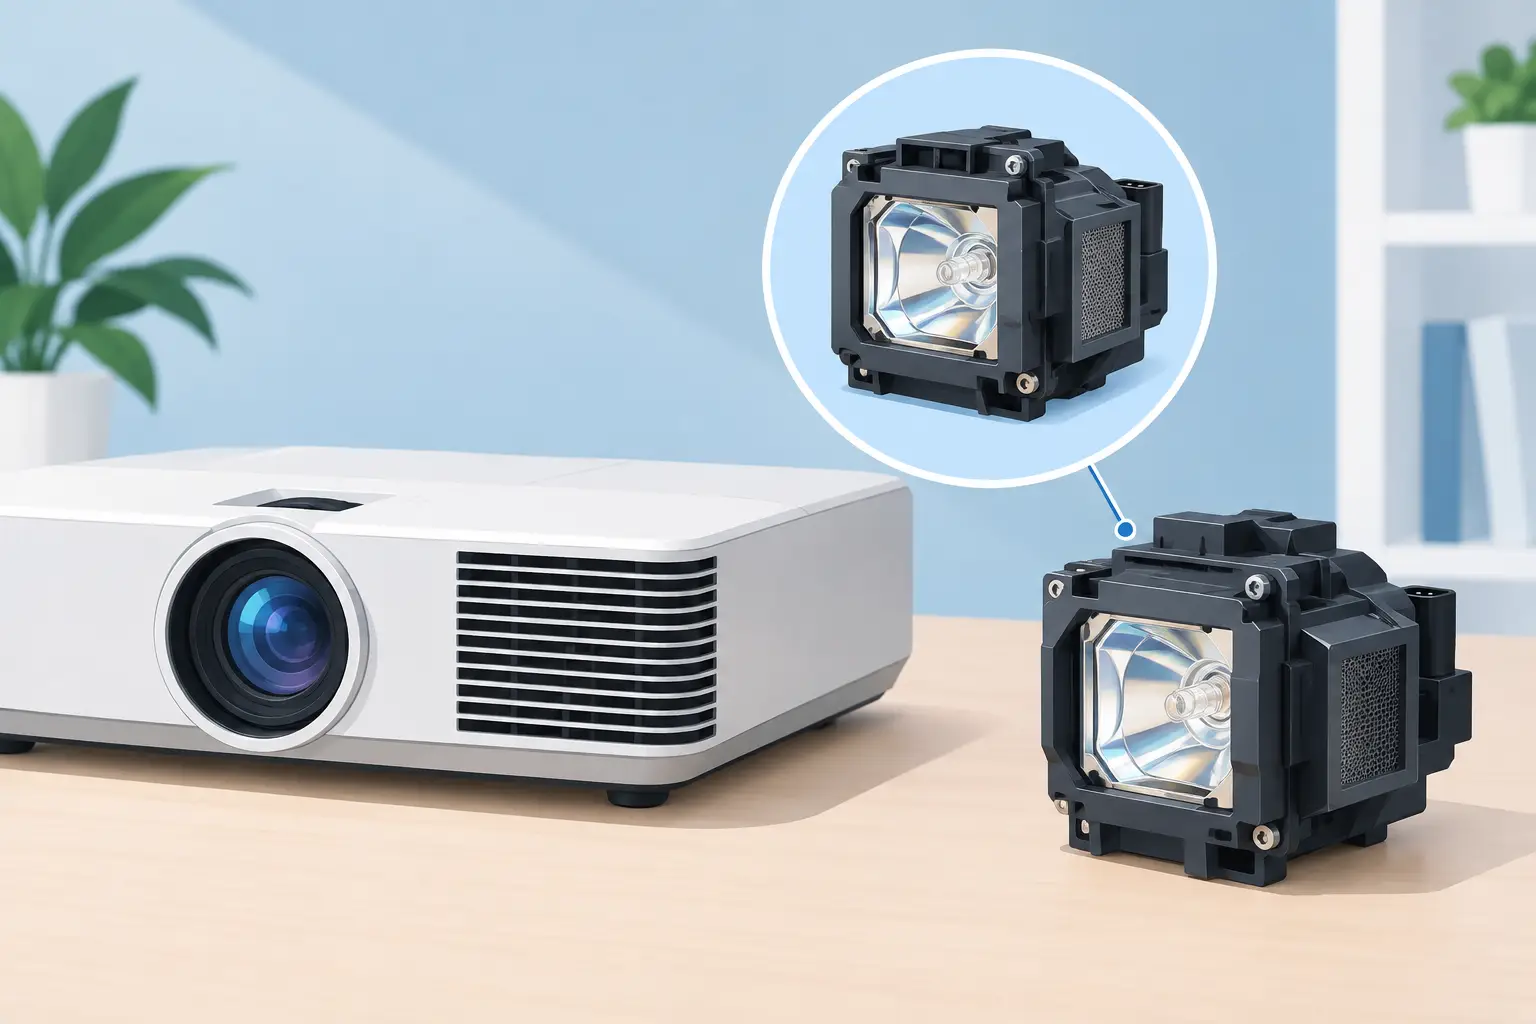
A projector that needs a lamp replacement rarely arrives with perfect documentation. The installed module may be dusty, the label may be faded, and the customer may only know the projector brand. Knowing how to identify projector lamp housing accurately is therefore a practical service and procurement task. A correct match protects installation time, avoids return freight, and helps keep classrooms, meeting rooms, venues, and display systems operational.
For professional buyers, the objective is not simply to find a lamp that looks similar. It is to confirm the complete lamp module configuration: the projector compatibility, housing geometry, connector arrangement, mounting position, and lamp specification. Similar-looking housings are not necessarily interchangeable.
Start With the Projector Model, Not the Housing Shape
The projector's exact model number is the strongest starting point. It is normally printed on the bottom panel, rear panel, or identification label of the unit. Record the full model, including suffixes, regional codes, and revision marks. A model family name alone may not be sufficient because manufacturers sometimes use different lamp modules across revisions or brightness versions.
For example, two projectors in the same series may share an outer chassis but use lamp housings with different connectors, air-channel positions, or mounting tabs. If a service ticket says only "Epson projector" or "BenQ classroom unit," request the full model number before quoting a replacement.
When the projector is available, compare the model number against the lamp module part number. This two-point verification is more reliable than ordering from either reference alone. For fleet maintenance, add both identifiers to the service record so future replacements can be processed faster.
How to Identify Projector Lamp Housing by Part Number
The lamp housing part number is the preferred identification reference when it is visible and legible. It may appear on a label attached to the plastic or metal housing, on a barcode sticker, or molded into the assembly. Depending on the manufacturer, it can be listed as a lamp module number, replacement lamp number, service part number, or assembly code.
Do not confuse the housing part number with the bare burner number. A bare lamp burner may carry markings from Philips, Osram, Ushio, Phoenix, or another lamp manufacturer. Those markings identify the light source inside the module, but they do not by themselves confirm the correct housing for the projector.
A complete lamp housing includes the burner and the components that make it installable in a specific projector. The part number may be partially obscured by heat discoloration or dust. In that case, take a clear photo before cleaning aggressively. Solvents or abrasion can remove a weak label and eliminate a useful reference.
If only part of the code can be read, use it as a supporting clue rather than a final match. Match it with the projector model, physical housing details, and connector type before purchase.
Separate a Complete Lamp Module From a Bare Bulb
This distinction prevents a common sourcing error. A complete projector lamp module, also called a lamp housing or lamp assembly, is ready to install. It typically contains the burner, reflector assembly, electrical leads, terminal block or connector, protective housing, screws, and mounting features.
A bare bulb is only the burner or lamp element. Replacing it requires transferring components from the old housing and working around high-voltage lamp connections. This may be appropriate for experienced repair operations with controlled procedures, but it increases labor time and introduces additional handling risk. For many service providers and end users, a complete housing is the more consistent replacement option.
The replacement request should clearly state whether the buyer needs a complete lamp with housing or a bare burner. A price comparison between those two products is not like-for-like. The lower-priced item may require reuse of an old, heat-aged housing that is already damaged or distorted.
Inspect the Physical Features That Determine Fit
When a model number or part number is unavailable, the removed housing can be identified through a structured physical inspection. Photograph the unit from the top, bottom, both sides, connector end, and air-intake side. Include a ruler in at least one image when possible.
Check the following features together:
- Overall housing length, width, height, and the shape of the front reflector opening
- Connector type, wire length, terminal position, and polarity orientation
- Screw locations, mounting tabs, guide rails, handles, and retention clips
- Airflow openings, mesh screens, heat shields, and ventilation channel placement
- Reflector profile and burner position inside the housing
The connector deserves particular attention. Two housings may have the same general dimensions but different terminal blocks or lead routing. Forcing a connector, stretching a lead, or modifying a mounting tab is not an acceptable compatibility solution. It can create poor electrical contact, restricted airflow, cover-fit issues, or premature lamp failure.
Housing color is a weak identification factor. Manufacturers may use black, gray, silver, or clear protective components across multiple product families. Use geometry and electrical layout instead.
Check the Lamp Door and Installation Direction
The position of the lamp door provides another useful confirmation. Some modules slide in horizontally; others install vertically or at an angle. Compare the handle position and screw access points with the projector's lamp bay. A housing that appears correct outside the projector may still be wrong if its handle blocks the door or its fastening screw does not align with the chassis.
Before installing a new module, verify that the projector is powered off, disconnected, and fully cooled. Projector lamps operate at high temperature and high pressure. Service personnel should follow the equipment manufacturer's safety instructions and avoid touching the reflector or bare glass with unprotected hands.
Use the Old Housing as Evidence, Not as the Only Source
An old lamp assembly can be misleading. Previous technicians may have installed an incorrect module, reused a housing from another model, or replaced only the burner. A housing with aftermarket markings also may not match the original projector specification.
This is why experienced service teams use a verification sequence rather than relying on appearance alone. Confirm the projector model first, identify any readable module code second, then compare the connector and mechanical layout. If the old assembly conflicts with the projector model data, stop and investigate before ordering.
This approach is especially valuable in managed fleets. Education, corporate, exhibition, and rental environments often contain equipment purchased over several years. Similar projectors may have different internal lamp systems, even when they are installed in the same building.
Avoid These Costly Identification Errors
The most frequent error is ordering by projector brand only. Brand-level searches produce too many possible housings and create a high risk of a near match. The second is ordering by lamp wattage. Wattage can support a match, but it does not define the housing, connector, or mechanical fit.
Another issue is assuming an OEM reference always maps to one universal replacement. Some part numbers are superseded, region-specific, or associated with multiple production runs. Confirm whether the replacement module is specified for the exact projector model and whether any alternate part number is an approved equivalent.
For distributors and repair businesses, it is useful to standardize the information collected at intake: projector brand and full model, readable lamp module code, photos of the old housing, connector image, and the customer's preferred replacement type. This reduces clarification cycles and makes technical support more efficient.
Build a Repeatable Identification Process
A repeatable workflow improves speed without sacrificing accuracy. Begin with the projector model and serial information. Then document the old module, identify the assembly number if available, and compare physical details before release. If the equipment is not onsite, require photos of both the projector label and the removed lamp housing.
Keep records of confirmed cross-references for frequently serviced models, but review them when a supplier changes housing design or when a projector manufacturer issues a revision. A reliable accessory supplier should be able to support this process with model-based compatibility information, consistent specifications, and warranty-backed replacement options.
ZORSIKA supports professional buyers with projector accessories designed around practical model matching, service continuity, and cost-effective replacement sourcing. For high-volume operations, accurate lamp-housing identification is not a small administrative step. It is the control point that protects margins, reduces repeat visits, and keeps the customer's projector fleet available for use.
When the label is unclear or the housing does not match expected references, do not make a visual guess. Pause the order, collect better photos and the exact projector model, and verify the full module configuration before the replacement leaves the warehouse.