How to Inspect a Projector Filter Correctly
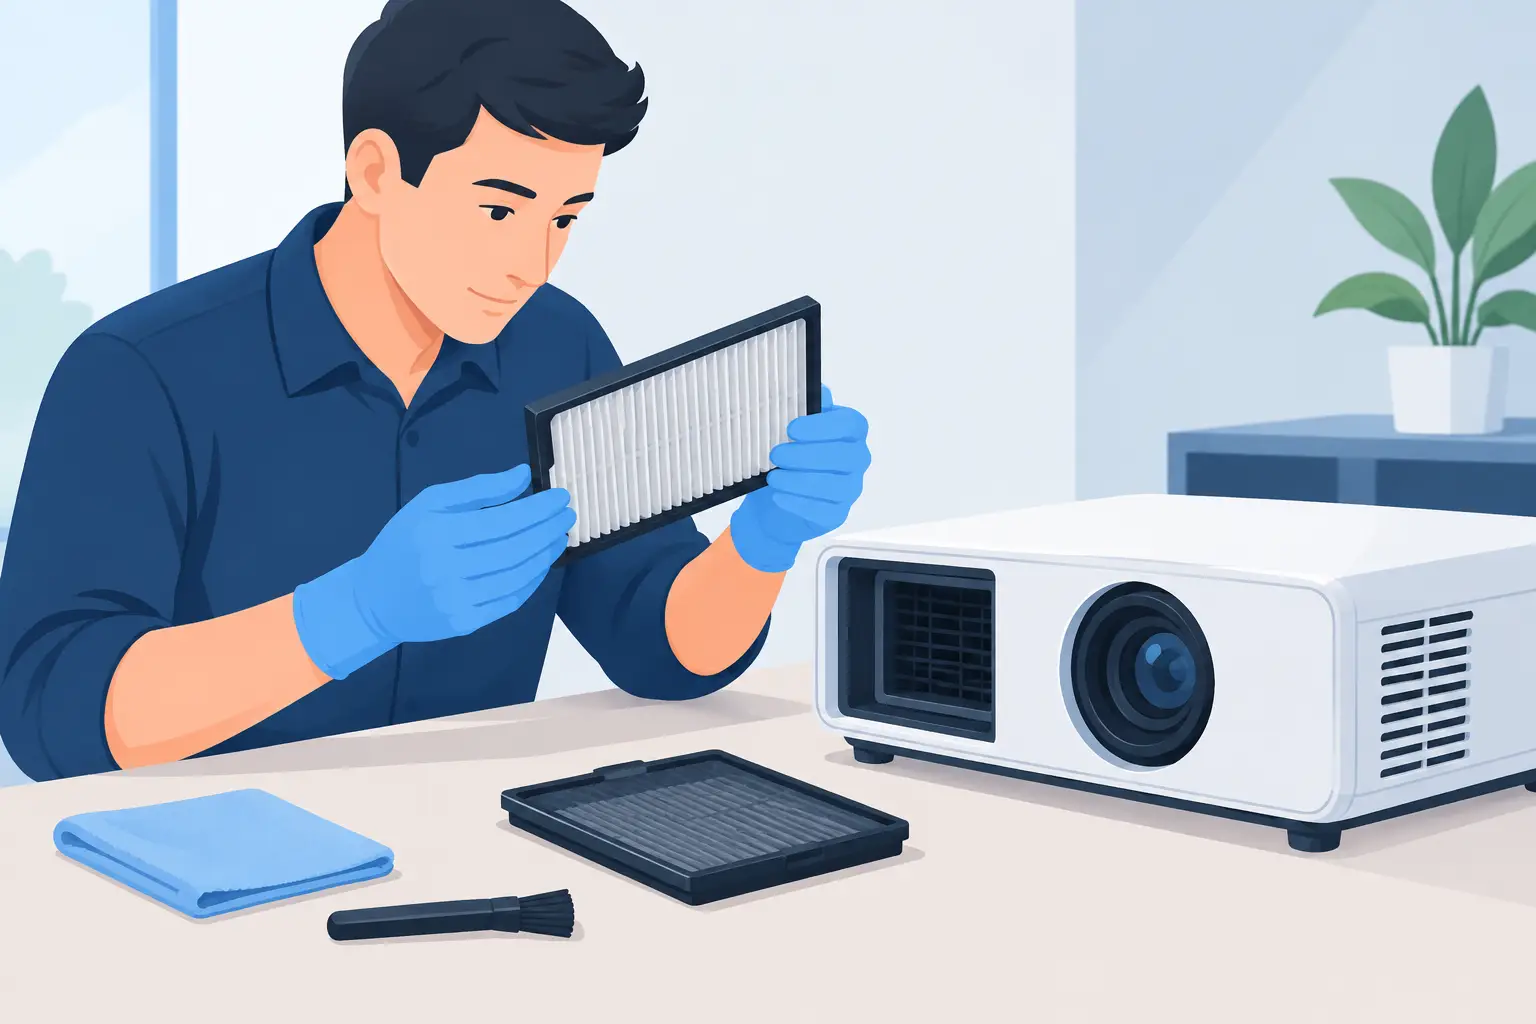
A projector filter is a small service part with a direct effect on lamp life, thermal stability, image reliability, and maintenance cost. For service teams supporting installed fleets, knowing how to inspect projector filter assemblies properly helps identify a developing airflow problem before it becomes an overheating shutdown or a premature lamp failure.
The inspection itself is straightforward, but the decision to clean, reinstall, or replace the filter requires more than a quick visual check. Dust loading, smoke exposure, filter deformation, and poor seating can all reduce effective airflow even when the filter does not look severely dirty.
Start With the Correct Projector Model and Filter Position
Before opening the unit, confirm the exact projector model and the applicable filter part number. Commercial projector platforms often use filters with similar dimensions but different frames, tabs, media density, or airflow direction. A filter that appears to fit may not seal correctly, and an imperfect seal allows unfiltered air to bypass the media and enter the optical block.
Review the service documentation for the filter access panel, cleaning instructions, and any maintenance counter requirements. Some projectors use a removable intake filter, while others use a combined filter cartridge, fan-side screen, or multiple filter sections. In ceiling-mounted equipment, note the installation orientation before removal. Loose debris can fall into the projector if the filter is pulled out carelessly.
Power the projector off, allow it to complete its cooling cycle, disconnect the power source, and let the lamp area cool fully. This is especially necessary for high-brightness models, where internal temperatures remain elevated after shutdown.
How to Inspect Projector Filter Condition
Remove the filter slowly and inspect both the media and the frame under adequate lighting. Start with the intake-facing side, which usually shows the greatest dust accumulation. Then examine the inner side. Heavy contamination on both sides may indicate that the filter has been overloaded, damaged, installed incorrectly, or exposed to unusually dusty conditions.
A serviceable filter should have an even structure with open airflow paths. Light surface dust may be acceptable where the manufacturer permits cleaning. A filter should be replaced when the media is packed with fine dust, visibly darkened by smoke residue, oily to the touch, torn, warped, or detached from its frame.
Pay close attention to contamination type. Dry, loose dust is different from smoke, grease, construction debris, or humid dirt. Smoke and oil can bind particles deep inside the media, restricting airflow even after vacuum cleaning. In kitchens, bars, retail entrances, workshops, warehouses, and construction-adjacent sites, replacement is often the more reliable maintenance decision.
Check the Frame, Gasket, and Retention Tabs
The media is not the only component that matters. Inspect the plastic frame for cracks, bending, and heat distortion. Check any foam gasket or sealing edge for compression, gaps, brittleness, or missing sections. A damaged gasket can create an air bypass path that exposes internal fans, LCD panels, DLP optics, and heat sinks to contamination.
Also inspect the retention tabs and access cover. If the filter slides loosely, binds during insertion, or does not sit flush, do not force the cover closed. Confirm the orientation and compare the removed part with the specified replacement. A secure fit is as important as compatible dimensions.
Inspect the Filter Compartment and Air Intake Path
A clean filter does not guarantee a clean air path. With the filter removed, inspect the filter compartment, intake grille, and accessible fan inlet areas for dust buildup. Use a low-power vacuum with a soft brush attachment where appropriate. Avoid pushing debris deeper into the unit with uncontrolled compressed air.
Compressed air can be useful only when the manufacturer permits it and when the technician can control direction and pressure. Blowing air through an intake may drive debris into the optical engine or fan housing. For field service work, vacuum removal is generally the safer first option.
Look for evidence that the projector has been drawing air from an unsuitable environment. Fine gray dust may point to office or classroom exposure. Fibers can indicate carpeted spaces, fabric installations, or equipment stored near drapes. Sticky residue and odor can indicate smoke exposure. These findings should influence the maintenance interval, not just the current filter decision.
If contamination is visible beyond the filter compartment, inspect the cooling performance after reassembly. Persistent high fan speed, temperature warnings, unexpected shutdowns, or recurring filter messages may indicate internal cleaning is required. Replacing the filter alone will not correct a blocked fan, obstructed exhaust, or contaminated heat sink.
Decide Whether Cleaning Is Appropriate
Always follow the projector manufacturer's filter maintenance guidance first. Some filters are designed for periodic vacuum cleaning, while others are intended for replacement only. Washing a non-washable filter can damage the media, alter its pore structure, or leave moisture that promotes dust adhesion after reinstallation.
Where vacuum cleaning is approved, use gentle suction on the intake side and avoid pressing hard against the filter media. Do not brush aggressively, fold the material, or use solvents. The objective is to remove loose debris without enlarging the pores or separating the media from the frame.
For a professional service operation, replacement is often the better choice when labor time, site conditions, and equipment criticality are considered. A low-cost filter is not worth extending beyond its effective service life if it puts a high-value projector, lamp, or installation schedule at risk. This is particularly true for education, conference room, museum, event, and digital signage applications where access windows may be limited.
Confirm Airflow Direction and Reinstall Correctly
Before installing the filter, identify its airflow direction. Some replacement filters include an arrow or marked intake side. If there is no marking, compare the new filter with the removed part and check the frame design, tab locations, and sealing surfaces. Never assume that a symmetrical-looking filter can be installed either way.
Seat the filter fully without bending the frame. Close the access panel and confirm it locks without force. A cover that will not close normally can indicate incorrect orientation, an incompatible part, or debris in the compartment.
After reconnecting power, start the projector and listen for abnormal fan noise. Verify that no filter cover, fan, or temperature warning appears. If the projector has a filter timer or maintenance counter, reset it only after the filter has been properly cleaned or replaced. Resetting the counter without servicing the filter removes a useful maintenance control and can lead to missed replacement intervals.
Set Maintenance Intervals by Environment, Not Calendar Alone
A fixed annual filter schedule is easy to administer, but it is not always accurate. Two identical projectors can require very different service intervals based on operating hours, mounting position, room ventilation, nearby construction, occupancy, and airborne contaminants.
For clean corporate meeting rooms, periodic visual inspection may be sufficient between scheduled preventive maintenance visits. For schools, houses of worship, retail sites, warehouses, and public venues, more frequent inspection is usually justified. Projectors installed near floor level or close to return-air vents often load filters faster than units placed in protected ceiling positions.
Service records should capture the inspection date, operating hours, filter condition, contamination type, action taken, and replacement part number. This creates a useful maintenance history for fleet planning. If one location repeatedly shows heavy loading, the operational solution may include changing the filter interval, improving room cleaning practices, relocating the projector intake, or specifying a more suitable filter replacement program.
Select Replacement Filters With More Than Size in Mind
When sourcing filters for multi-brand projector fleets, compatibility should include the model application, physical fit, sealing design, and ventilation performance. A filter that is too dense can reduce airflow. One that is too open may allow fine dust through. Both conditions can create avoidable service issues.
For distributors, repair centers, and integrators, stocking filters by validated model coverage helps reduce equipment downtime and avoids last-minute substitutions. ZORSIKA projector air filters are developed to provide effective protection from dust and smoke while maintaining ventilation performance for normal projector operation. For any replacement part, match the specific projector model rather than relying on appearance alone.
A filter inspection takes only a few minutes, but it provides a clear view of the operating environment around the projector. Treat that evidence as part of the service decision, and the next maintenance visit can be planned before heat, dust, and downtime make the decision for you.