How to Replace Projector Lamp Without Downtime
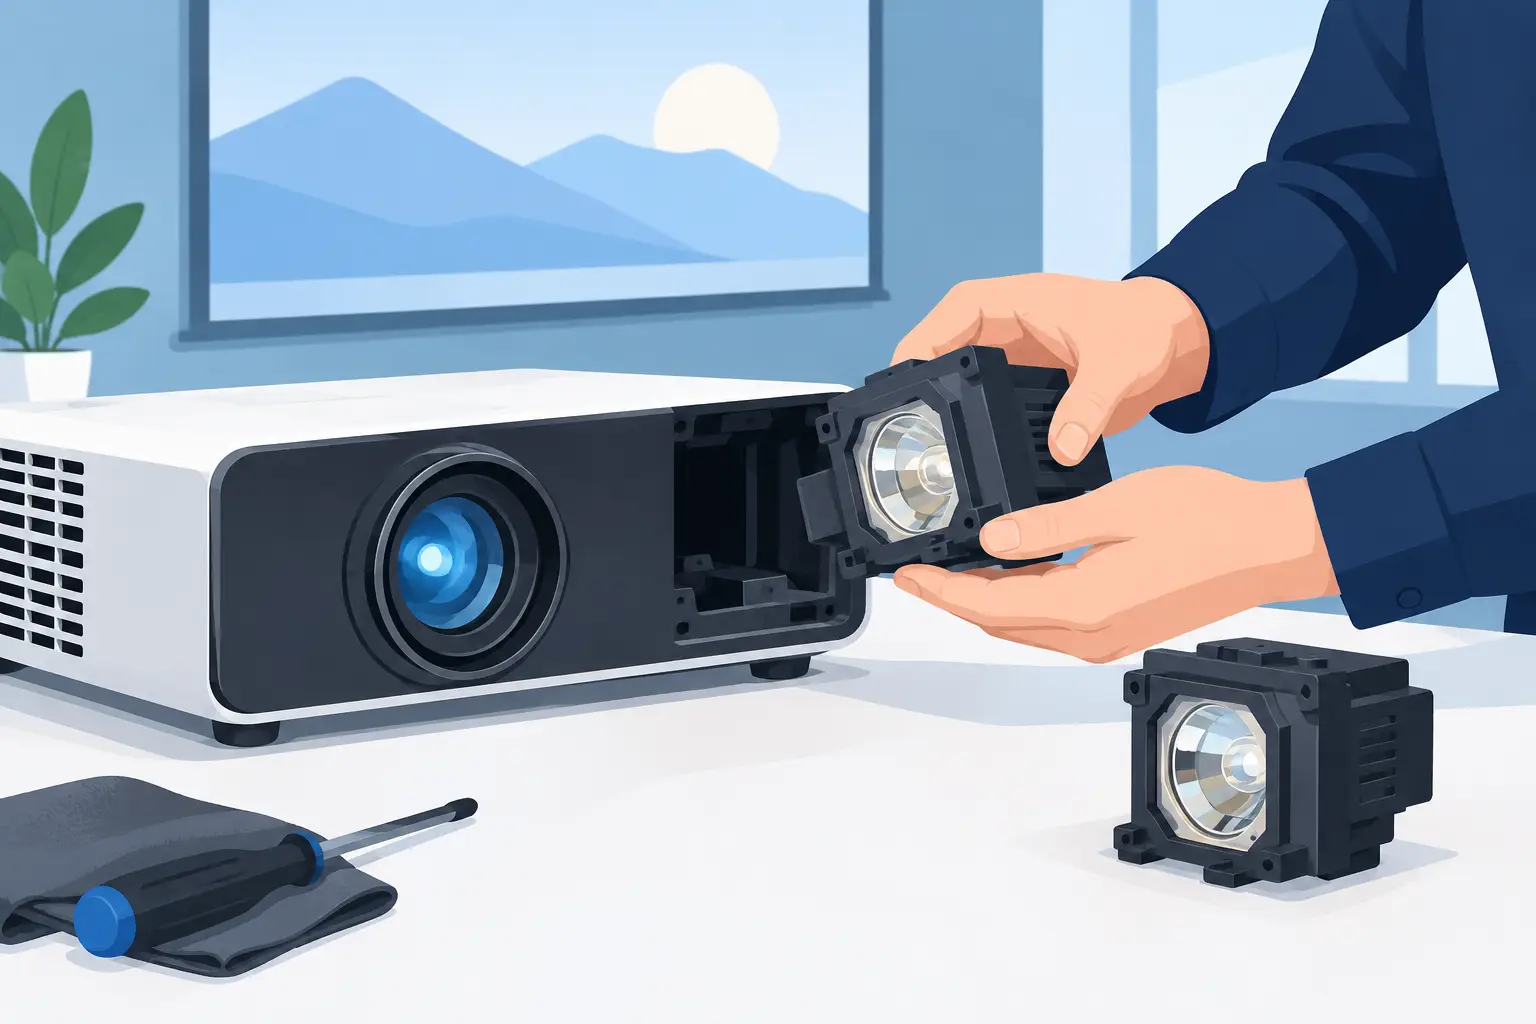
A lamp warning during a classroom session, boardroom presentation, or rental event is not a minor maintenance issue. It can stop a scheduled installation from operating as specified. Knowing how to replace projector lamp assemblies correctly helps service teams restore output quickly while avoiding compatibility errors, premature lamp failure, and unnecessary projector damage.
For professional AV service providers, the replacement itself is usually straightforward. The critical work happens before installation: identifying the exact projector model, selecting the correct lamp assembly, verifying its condition, and following the manufacturer’s reset procedure. A low-cost part that does not match the projector or fails early is more expensive than a properly sourced replacement.
Confirm That the Lamp Is the Actual Fault
Do not replace a lamp based only on dim output or a warning message. Many projectors issue lamp-related alerts when their service timer reaches a preset threshold, even if the lamp is still operating. A lamp may also appear dim because of a blocked air filter, contaminated optics, an incorrect picture mode, or a power supply issue.
Check the projector’s on-screen status menu first. Record the lamp hours, any error code, and the operating mode. Compare the reported hours with the rated lamp life for that model. Standard mode, high-brightness mode, altitude mode, frequent power cycling, and poor ventilation can all shorten real operating life.
Physical symptoms provide useful evidence. A projector that starts, runs briefly, and shuts down may have a failing lamp, but it may also be overheating. A popping sound followed by no light can indicate lamp rupture. Flickering, color instability, or reduced brightness near the end of the rated life often point to lamp deterioration. Inspect the air filter and cooling path before fitting a new lamp, especially in education, exhibition, and high-use commercial environments.
Match the Correct Replacement Before Opening the Projector
Projector lamp compatibility is determined by more than wattage or physical appearance. The lamp module must match the projector’s housing geometry, electrical connection, burner specification, and thermal requirements. Ordering by a similar-looking lamp can create installation problems or unstable operation.
Use the full projector model number from the equipment label, not only the product family name. Where available, also record the original lamp part number and the projector serial number. Some projector series use different lamp modules across regional versions or production revisions.
There are two common replacement formats. A complete lamp module includes the burner, reflector, housing, wiring, and connector. It is the preferred option for most service operations because it reduces handling risk and installation time. A bare lamp requires transferring the burner into the existing housing. This can reduce the purchase cost, but it requires trained technicians, clean handling, and careful alignment. For managed fleets, the labor and failure risk often make a complete module the more cost-effective choice.
Replacement quality also matters. Original-equivalent performance depends on burner quality, reflector accuracy, electrical stability, and correct assembly. ZORSIKA supplies projector lamp solutions designed for broad model coverage, including burner options developed for commonly installed projector models. For resellers and repair businesses, a consistent source of compatible modules can help protect service margins without compromising operational continuity.
How to Replace Projector Lamp Assemblies Safely
Follow the model-specific service documentation whenever it is available. Access panel location, screw type, lamp orientation, and timer reset steps vary by manufacturer. The following process applies to most lamp-based projectors.
First, turn off the projector using its normal shutdown command. Let the cooling fans complete their cycle. Disconnect the power cord after the unit has shut down, then allow at least 45 to 60 minutes for the lamp and surrounding components to cool. High-pressure projector lamps operate at very high temperatures. Opening the compartment too early creates a burn risk and can damage nearby parts.
Place the projector on a stable, clean work surface. If it is ceiling mounted, remove it only when access to the lamp door is restricted or when the service procedure requires it. Protect the lens and avoid placing pressure on focus rings, lens shift controls, or optical assemblies.
Remove the lamp cover using the correct screwdriver. Keep screws organized because some lamp-door screws are captive while others are separate. Before touching the module, inspect the compartment for dust buildup, discoloration, broken glass, or heat damage. If the old lamp has ruptured, wear gloves and follow the projector manufacturer’s cleanup procedure. Do not use a household vacuum inside the optical engine, where static and contact damage can create additional problems.
Loosen the lamp module retaining screws. In many designs, these screws remain attached to the lamp housing. Pull the handle or designated grip straight outward and remove the module slowly. Do not force it at an angle. A connector can be damaged if the housing is twisted during removal.
Before installing the new module, compare it directly with the removed unit. Check the connector position, housing tabs, screw locations, reflector opening, and model label. This simple comparison prevents a large share of field installation errors. Do not touch the lamp burner or reflector surface with bare fingers. Oils and residue can create hot spots and reduce lamp life.
Insert the replacement lamp module in the same orientation as the original. It should seat fully without excessive force. Tighten the retaining screws firmly but do not overtighten them. Reinstall the lamp cover, secure all screws, reconnect power, and start the projector. Most units will not operate if the lamp cover is not properly installed.
Reset the Lamp Timer Only After Installation
After a successful startup, reset the lamp timer through the projector’s menu or service control sequence. The exact path differs by brand, but it is commonly located under Setup, Maintenance, Information, or Lamp Settings. Resetting the counter tells the projector that a new lamp has been installed and prevents premature replacement warnings.
Do not reset the timer when retaining an old lamp. Accurate lamp-hour records help technicians forecast maintenance, diagnose failures, and make warranty decisions. For fleet management, log the installation date, projector model, lamp part number, old lamp hours, new lamp source, and technician name. This record is particularly useful when the same projector population is deployed across multiple customer sites.
After reset, allow the projector to run for 15 to 30 minutes. Confirm stable brightness, normal fan behavior, no warning indicators, and correct image color. Check that the projected image is centered and free of unusual flicker. If the unit uses an air filter, verify that it is clean and seated correctly before returning the projector to service.
Avoid the Failures That Shorten Lamp Life
A new lamp cannot compensate for poor operating conditions. The projector needs sufficient airflow around intake and exhaust vents. Ceiling enclosures, dusty classrooms, smoking areas, and crowded equipment racks require more frequent filter inspection. A blocked filter raises internal temperature and can sharply reduce lamp life.
Avoid disconnecting power while the projector is cooling down. The fan cycle removes residual heat from the lamp chamber. Repeated hard shutdowns can stress the burner and internal electronics. Likewise, frequent short presentations followed by shutdown may be harder on a lamp than longer, stable operating sessions. Where the application permits, use normal or eco mode rather than maximum brightness.
If a newly installed lamp does not ignite, do not immediately assume the replacement is defective. Recheck the lamp cover, module seating, connectors, timer state, and any error code. If the old lamp failed explosively, inspect the lamp chamber for fragments and damage. Persistent ignition failure may point to the ballast, power board, thermal sensor, or control circuitry rather than the lamp assembly.
Plan Lamp Replacement as Scheduled Service
For integrators and service companies, lamp replacement is most efficient when handled before a failure affects an event or site. Track lamp hours by device and schedule replacements around planned maintenance windows. Keep the correct replacement modules available for high-use projector models, along with filters and basic service tools.
The right replacement process protects more than image brightness. It reduces emergency callouts, prevents compatibility disputes, and gives customers a clearer maintenance record. When a projector is mission-critical, a correctly matched lamp module and clean cooling path are practical insurance against avoidable downtime.