How to Test Projector Ballast Output Safely
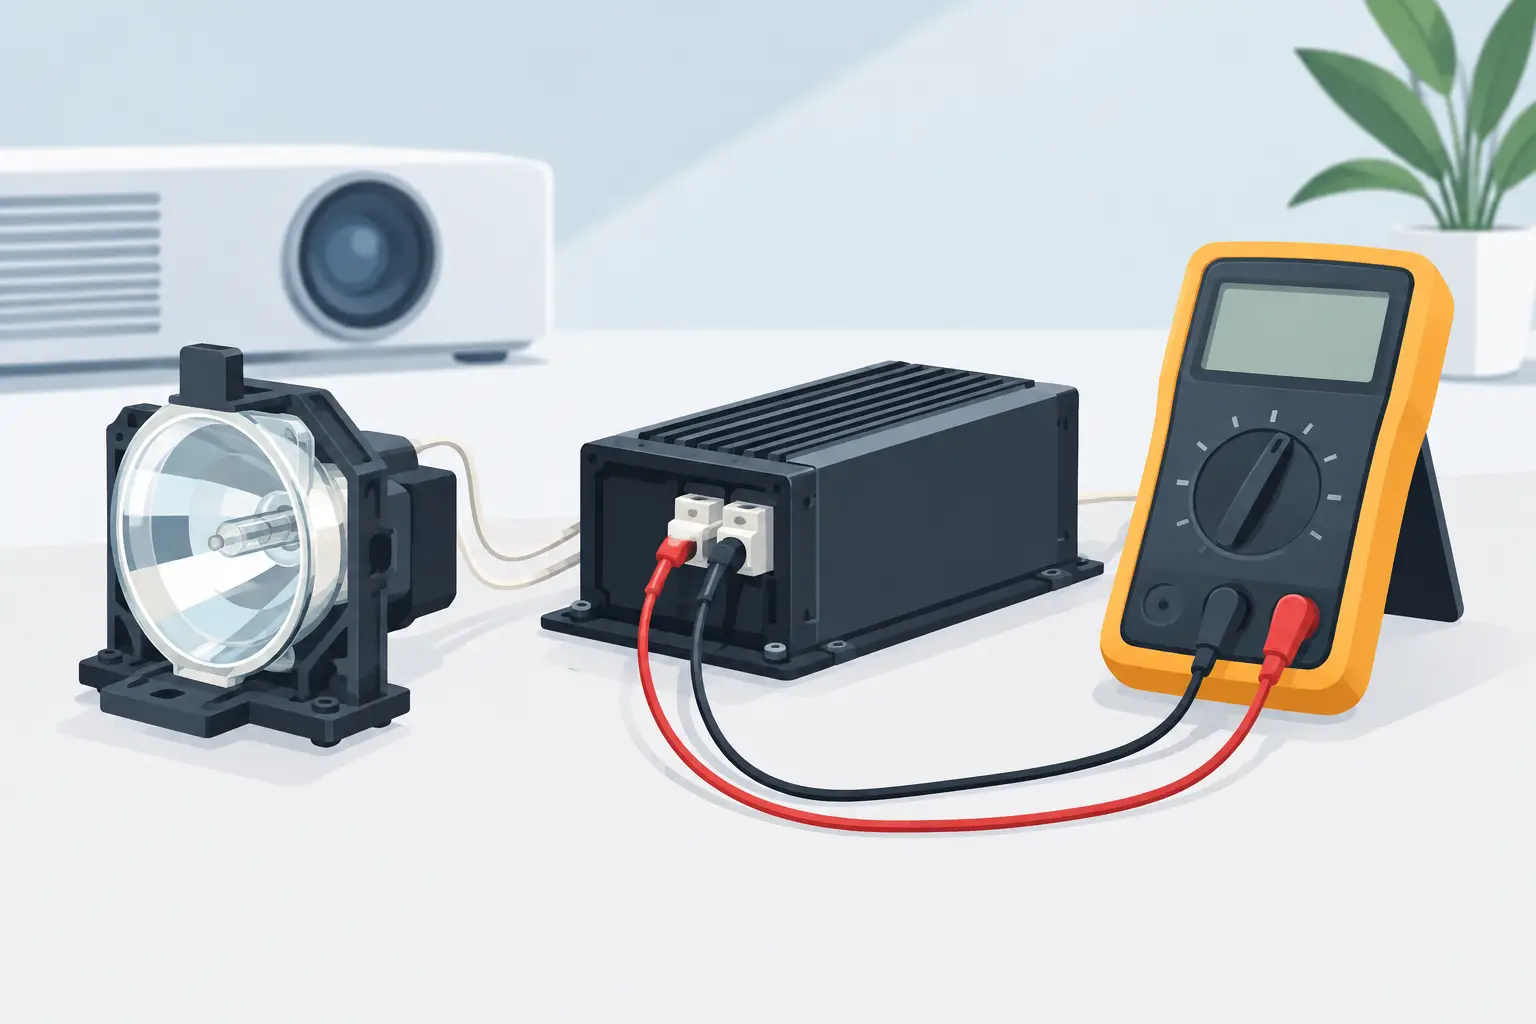
A projector that powers up, runs its fans, and then shuts down with no light is not automatically a lamp failure. For service teams, knowing how to test projector ballast correctly prevents unnecessary parts replacement, shortens downtime, and protects technicians from a high-voltage circuit that must not be treated like an ordinary DC power supply.
The ballast, also called a lamp driver or lamp power supply in some service documentation, provides the controlled ignition and operating power required by UHP, mercury, xenon, and other arc lamps. It works with the projector main board, cooling system, lamp door switch, and lamp itself. A reliable diagnosis therefore means verifying the entire lamp circuit, not simply measuring one component.
Safety comes before projector ballast testing
A projector ballast can generate a very high ignition pulse to strike the lamp arc. The output characteristics vary by model, but the initial voltage can be hazardous and may remain present briefly after shutdown. Do not connect a standard multimeter directly across the ballast lamp output while the unit is attempting to start. A normal meter is not designed to validate ignition pulses, and an incorrect measurement can damage the meter, the ballast, or the projector.
Use the manufacturer service manual whenever it is available. It identifies approved test points, expected input voltage, control signals, fault codes, and lamp-hour reset procedures. If a live output measurement is required, it should be performed only by qualified personnel using a properly rated high-voltage probe, oscilloscope setup, or dedicated lamp-driver test equipment.
Before opening the projector, disconnect AC power and allow the unit to cool completely. Lamps, heat sinks, and surrounding metal parts can remain hot long after the image disappears. Remove jewelry, use insulated tools where appropriate, and work on a clean bench with adequate lighting. For installed projectors, confirm that building power is locked out before servicing begins.
Understand the symptoms before removing parts
Ballast faults have recognizable patterns, but they overlap with lamp, thermal, power supply, and control-board faults. Start with the projector's status LEDs, on-screen warnings, event log, or service menu. A lamp indicator, repeated start attempts, or a shutdown after several seconds provides more useful information than a general report of "no image."
Listen to the startup sequence. Many projectors will start cooling fans, check the lamp door interlock, energize the ballast, and attempt ignition. A brief click or electrical ticking followed by shutdown can indicate that the ballast is attempting to strike the lamp but cannot sustain an arc. That may point to an exhausted lamp, poor lamp connection, incorrect lamp module, or a weak ballast.
No ignition attempt at all can indicate a missing enable signal, an open safety interlock, a power-supply problem, or a control-board fault. This is why replacing the ballast based on symptoms alone is often an expensive mistake.
How to test projector ballast inputs and control signals
The safest and most practical method is to verify the ballast's low-voltage and AC input conditions first. Access the ballast only after confirming the correct procedure for the projector model. Photograph connector positions or label harnesses before disassembly, especially when servicing fleets with similar but non-identical chassis.
With power disconnected, inspect the ballast and its surrounding components. Look for overheated connectors, darkened PCB areas, cracked solder joints, swollen capacitors, corrosion, loose ground points, or damaged lamp leads. Check that the lamp module is fully seated and that its contacts are clean and not burned. A high-resistance connection can prevent stable lamp operation while making the ballast appear defective.
Next, check continuity of the lamp door switch or cover interlock. Many commercial projectors will not authorize ballast startup if the lamp cover is not correctly installed. Also inspect thermal sensors and fan connections. If the projector detects inadequate airflow or an over-temperature condition, it may disable lamp ignition as a protective action.
After visual and continuity checks, reconnect the necessary harnesses and apply power only if you are trained and equipped to work on energized equipment. At the ballast input connector, verify the supply voltage specified in the service documentation. Depending on the design, the ballast may receive rectified high-voltage DC from the main power supply or a dedicated AC feed. Measure only at approved, accessible input test points.
If the specified input supply is absent or collapses when the projector attempts to start, the ballast is not yet the primary suspect. Trace the issue back to the power supply, fuse, wiring harness, relay, or main board. If input power is stable, check for the ballast enable, lamp-on, or control signal identified in the schematic. A ballast with correct power but no enable command may be functioning normally because the projector is deliberately withholding startup.
Separate a failed lamp from a failed ballast
The most dependable field test is substitution with a known-good, compatible lamp module. Use a lamp that matches the exact projector model and lamp housing specification. A lamp with the wrong wattage, connector arrangement, or reflector geometry can create false results and may damage the projector.
If a known-good lamp starts and remains stable, the original lamp module is the likely fault. Examine the removed lamp for a darkened arc tube, distorted reflector, broken electrodes, loose housing connections, or unusually high recorded lamp hours. However, lamp hours alone are not a final diagnosis. Lamps can fail early because of poor ventilation, frequent power cycling, operating environment, or inconsistent quality.
If the known-good lamp also fails, while ballast input voltage and enable signals are correct, the ballast becomes a strong suspect. At that point, replacement is generally more efficient than component-level repair. Ballasts are application-specific assemblies with controlled output characteristics, connector layouts, mounting geometry, and communication requirements. Installing a similar-looking unit without confirming the part number can lead to immediate failure or unreliable operation.
For high-volume service operations, maintain a controlled known-good lamp inventory by projector family. This is faster and more defensible than judging lamp condition by appearance alone. Record the projector model, original lamp part number, ballast part number, fault code, lamp hours, measured input condition, and substitution result. These records reduce repeat diagnostics and improve purchasing accuracy.
When output testing is justified
Direct ballast output testing is usually reserved for repair centers with the proper equipment and technical procedures. It can be justified when a known-good lamp is unavailable, when the model has an unusually costly lamp module, or when repeated field failures require root-cause analysis.
The technician must use a test method rated for the ignition pulse and operating waveform of that specific ballast design. The correct approach may include a manufacturer-approved dummy load, lamp simulator, high-voltage probe, or dedicated ballast analyzer. Do not improvise with resistors, household lamps, exposed leads, or an unverified test lamp. Arc-lamp ballasts are not interchangeable bench power supplies.
A ballast can also appear to start correctly but fail after warming up. Intermittent shutdown may be caused by heat-sensitive components inside the ballast, restricted airflow, clogged filters, failing fans, or an aging lamp that cannot maintain a stable arc. In these cases, monitor the projector through a full warm-up cycle and confirm that intake and exhaust paths are clear before replacing electronic assemblies.
Replace the ballast with a verified match
When replacement is necessary, match the ballast by the projector model, original ballast part number, lamp type, connector configuration, and mounting format. Do not rely only on the projector brand name. The same manufacturer may use multiple ballast versions across closely related models, and regional power designs can differ.
After installation, verify that all harnesses are fully locked, grounding points are restored, and lamp-cover interlocks engage correctly. Run the projector long enough to confirm stable ignition, normal brightness, fan operation, and no recurring warning indicators. Reset lamp hours only when a lamp has actually been replaced, following the projector manufacturer's procedure.
For distributors and repair businesses, sourcing discipline matters as much as the diagnosis. A replacement ballast should have clear compatibility information, consistent build quality, and warranty support appropriate for commercial service work. ZORSIKA supports projector accessory buyers with model-focused replacement solutions designed to help maintain service continuity across diverse installed projector fleets.
Keep the service decision defensible
A good ballast diagnosis is based on evidence: correct input power, valid control authorization, working safety interlocks, a confirmed compatible lamp, and stable operation after repair. That process protects margin, avoids repeat site visits, and gives customers a clear reason for the replacement decision. When high-voltage output testing is required, move the unit to a qualified repair environment rather than taking unnecessary risks in the field.