How to Test Projector Lamps Before Replacement
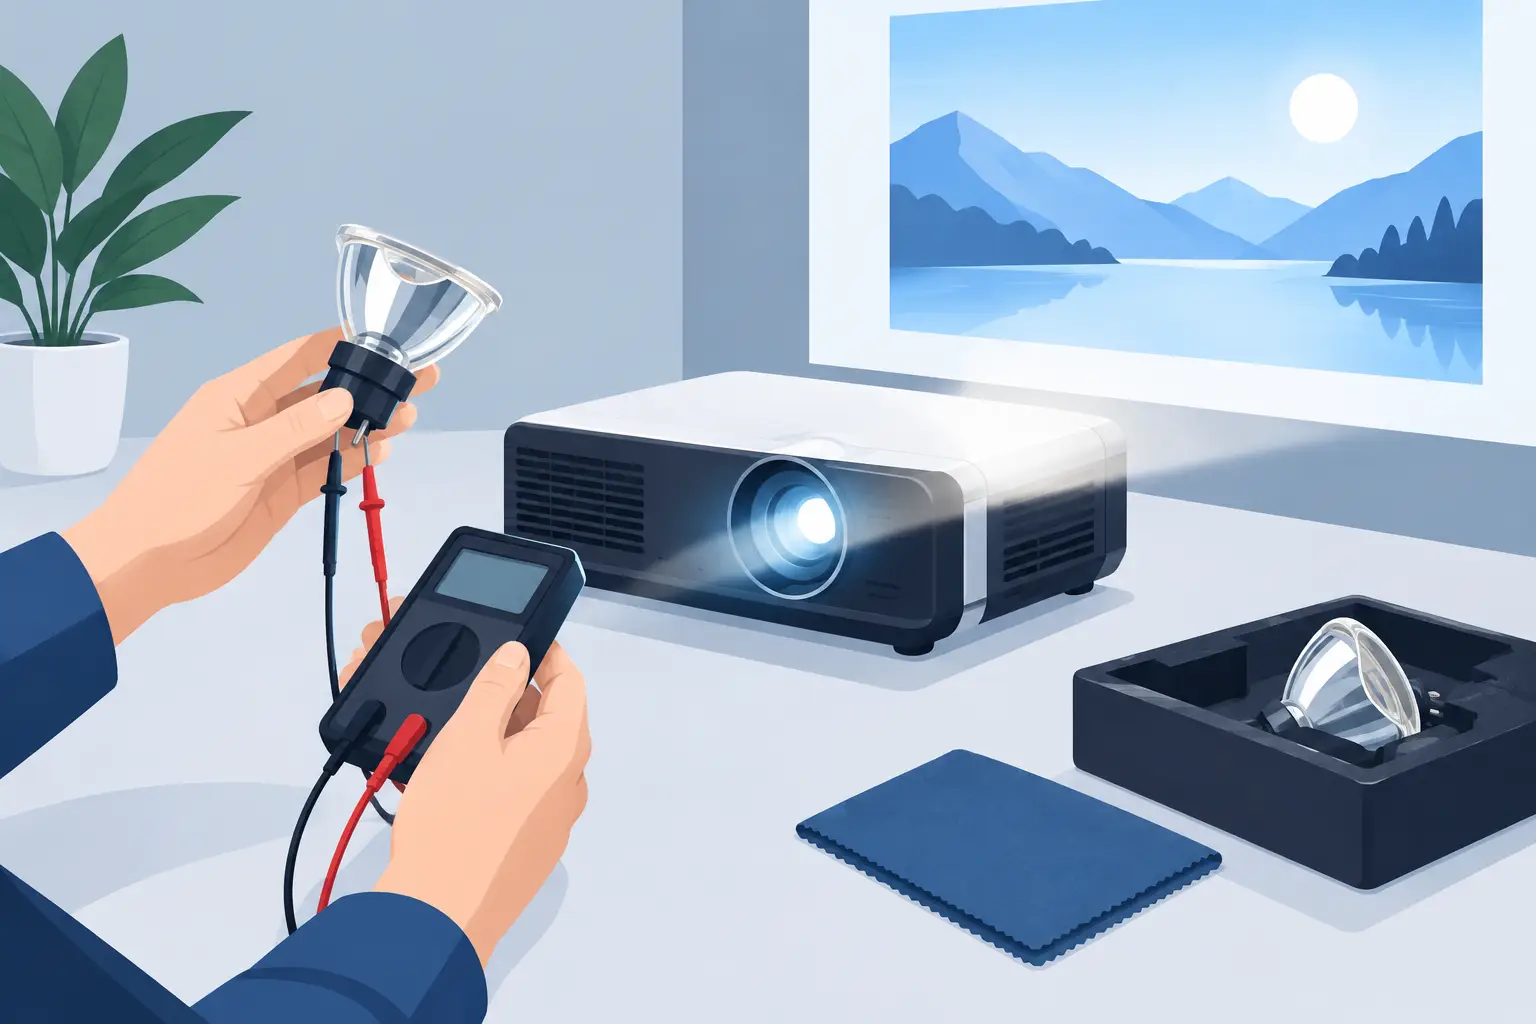
A projector that powers on but produces a dim, unstable, or completely black image is not automatically a lamp failure. In commercial fleets, the same symptoms can come from a contaminated optical path, blocked air filter, failing ballast, color wheel issue, power-board fault, or an incorrectly seated lamp module. Knowing how to test projector lamps methodically helps service teams avoid unnecessary parts replacement, reduce return risk, and restore installed equipment faster.
For most modern lamp-based projectors, the practical objective is not to prove a bare arc lamp is electrically perfect on a bench. It is to determine whether the complete lamp module can ignite, maintain a stable arc, and deliver usable light within the projector's normal operating conditions.
Start With Safety and the Correct Test Scope
Projector lamps operate at high temperature and high voltage. Allow the projector to cool fully before opening the lamp door. Disconnect AC power, follow the manufacturer's service procedure, and avoid touching the quartz envelope of a bare lamp with unprotected fingers. Oil residue can create hot spots and shorten lamp life.
A standard multimeter is useful for checking related circuits, but it cannot reliably certify a high-pressure projector lamp. UHP, P-VIP, and similar arc lamps require a high-voltage ignition pulse and controlled operating current. A continuity reading or resistance measurement across the lamp terminals does not confirm that the lamp will strike or operate correctly.
For field service, test the lamp module in the intended projector whenever possible. This evaluates the lamp, reflector assembly, connector condition, ballast interaction, cooling path, and projector control system together.
Confirm the Service History First
Before removing the module, access the projector menu or management interface and record lamp hours, lamp mode, error codes, and recent operating conditions. Hours alone do not establish failure, but they provide useful context.
A lamp operating near or beyond its rated service interval has a higher probability of reduced brightness, difficult ignition, arc instability, or sudden end-of-life failure. However, usage mode matters. A projector used consistently in Eco mode may retain acceptable output longer than one operated in high-brightness mode in a warm, dusty enclosure.
Also ask whether the problem developed gradually or appeared at startup. Gradual image dimming commonly points toward lamp aging, optical contamination, or both. Repeated startup failures, a flashing lamp indicator, or a brief image followed by shutdown may indicate a worn lamp, weak ballast, poor module connection, or cooling-related protection.
Perform a Visual Inspection of the Lamp Module
Remove the lamp module only after the projector is cool and powered down. Inspect the housing, reflector, burner, connector, and retaining hardware under good lighting. A visual inspection often identifies a failed unit without further testing.
Look for these conditions:
- A broken, cracked, or visibly deformed burner
- Dark gray or black deposits inside the reflector or around the arc tube
- A cloudy reflector surface, heat discoloration, or damaged UV coating
- Melted plastic, burnt terminals, loose leads, or corrosion at the connector
- A swollen lamp housing or damaged mounting points
- Shattered glass or loose material inside the module
Darkening near the electrodes can be normal as a lamp accumulates hours. The concern is excessive blackening, severe clouding, or reflector deterioration that materially reduces light output. A module may still ignite in this condition but fail the practical brightness standard expected by the customer.
Do not reinstall a lamp housing with heat damage or loose electrical connections. The module supports lamp alignment, airflow, and electrical contact. Reusing a compromised housing can cause intermittent faults and create a repeat service call.
How to Test Projector Lamps in the Projector
Reinstall the inspected lamp module, secure all fasteners, close the lamp cover, and reset only the fault condition required by the manufacturer's procedure. Do not reset the lamp-hour counter merely because a lamp is being tested. Resetting it before replacement removes useful maintenance history.
Start the projector and observe the complete ignition cycle. A healthy lamp should strike within the normal startup period, reach a stable image, and remain on without flicker or an abnormal brightness shift. Test it with a known-good source and a neutral test image rather than judging performance from a dark presentation slide.
Let the projector operate for at least 20 to 30 minutes. Some weak lamps ignite when cold but become unstable as operating temperature rises. During the run test, check for flickering, pulsing brightness, unusual color shift, repeated fan speed changes, warning indicators, and unplanned shutdown.
If the projector offers multiple brightness modes, compare Normal and Eco operation. A lamp that is marginal in Normal mode but stable in Eco mode may be near end of life, though ballast performance and thermal conditions should still be checked before assigning root cause.
Measure Light Output When Consistency Matters
For service organizations managing classrooms, meeting rooms, museums, or rental inventory, subjective image judgment is not enough. Use a calibrated lux meter at a fixed distance from the screen or projection surface. Record the projector model, lens position, zoom setting, image mode, lamp mode, ambient light, and measurement location.
Compare the result with a known-good projector of the same model or with your established internal baseline. Manufacturer lumen ratings are measured under controlled conditions and are not a direct field-service pass or fail value. The more useful question is whether the tested unit produces materially less light than a comparable known-good configuration.
A consistent measurement process helps identify lamps that still start but no longer meet the application requirement. This is particularly valuable for multi-projector installations where uneven brightness is immediately visible.
Separate Lamp Faults From Ballast and Cooling Faults
If a lamp will not ignite, do not assume the lamp is defective until basic supporting checks are complete. Verify that the lamp door safety switch is engaged, the module connector is fully seated, and the projector has no blocked ventilation path. A heavily loaded air filter can raise internal temperature and cause protection shutdowns that resemble lamp failure.
Where service documentation permits, inspect ballast output connections and power supply condition. Ballast diagnosis should be performed only by qualified technicians using appropriate procedures and instruments. The ignition circuit can retain hazardous energy, and improvised probing is not acceptable.
The most practical isolation method is substitution with a verified compatible lamp module. If a known-good module operates normally in the same projector, the original lamp module is the likely failure point. If both modules show the same fault, continue diagnosis with the ballast, power supply, thermal sensors, fan operation, interlocks, and main board.
This is also why compatibility control matters. A lamp module may look similar while using a different wattage, connector position, reflector geometry, or housing design. Testing with an incorrect replacement can produce misleading results or damage the projector.
Avoid Common Testing Errors
The first error is treating lamp hours as a definitive diagnosis. Lamp life is a statistical service range, not a guaranteed cutoff. Some lamps fail early, while others continue operating beyond the expected interval with reduced brightness.
The second is testing only at cold startup. A lamp can strike once and still fail under sustained thermal load. The third is overlooking airflow. Dust accumulation, clogged filters, or failed fans can shorten lamp life and trigger recurring lamp warnings after replacement.
Finally, avoid judging replacement quality only by whether the projector turns on. A suitable replacement should provide stable ignition, acceptable brightness, proper mechanical fit, and dependable service life. For commercial buyers, these factors affect labor cost, warranty exposure, and customer confidence as much as initial purchase price.
Document the Result Before Ordering
A clear service record should include projector model, lamp module part number, recorded lamp hours, observed fault symptoms, visual inspection findings, startup behavior, runtime test result, and any light-output measurement. This information supports correct part matching and makes warranty evaluation more efficient if a replacement issue occurs.
For high-volume repair operations, retain a known-good reference lamp module for common projector models. It is one of the fastest ways to distinguish a lamp-related fault from a projector electronics issue. ZORSIKA supports professional buyers with compatible projector bulbs designed for broad model coverage, helping service teams balance replacement cost, availability, and dependable field performance.
The best lamp test is one that produces a decision your team can act on: keep the module in service, replace it with a correctly matched unit, or continue troubleshooting the projector. That discipline prevents a simple lamp job from becoming an unnecessary return or a second truck roll.