How to Verify Projector Bulb Compatibility
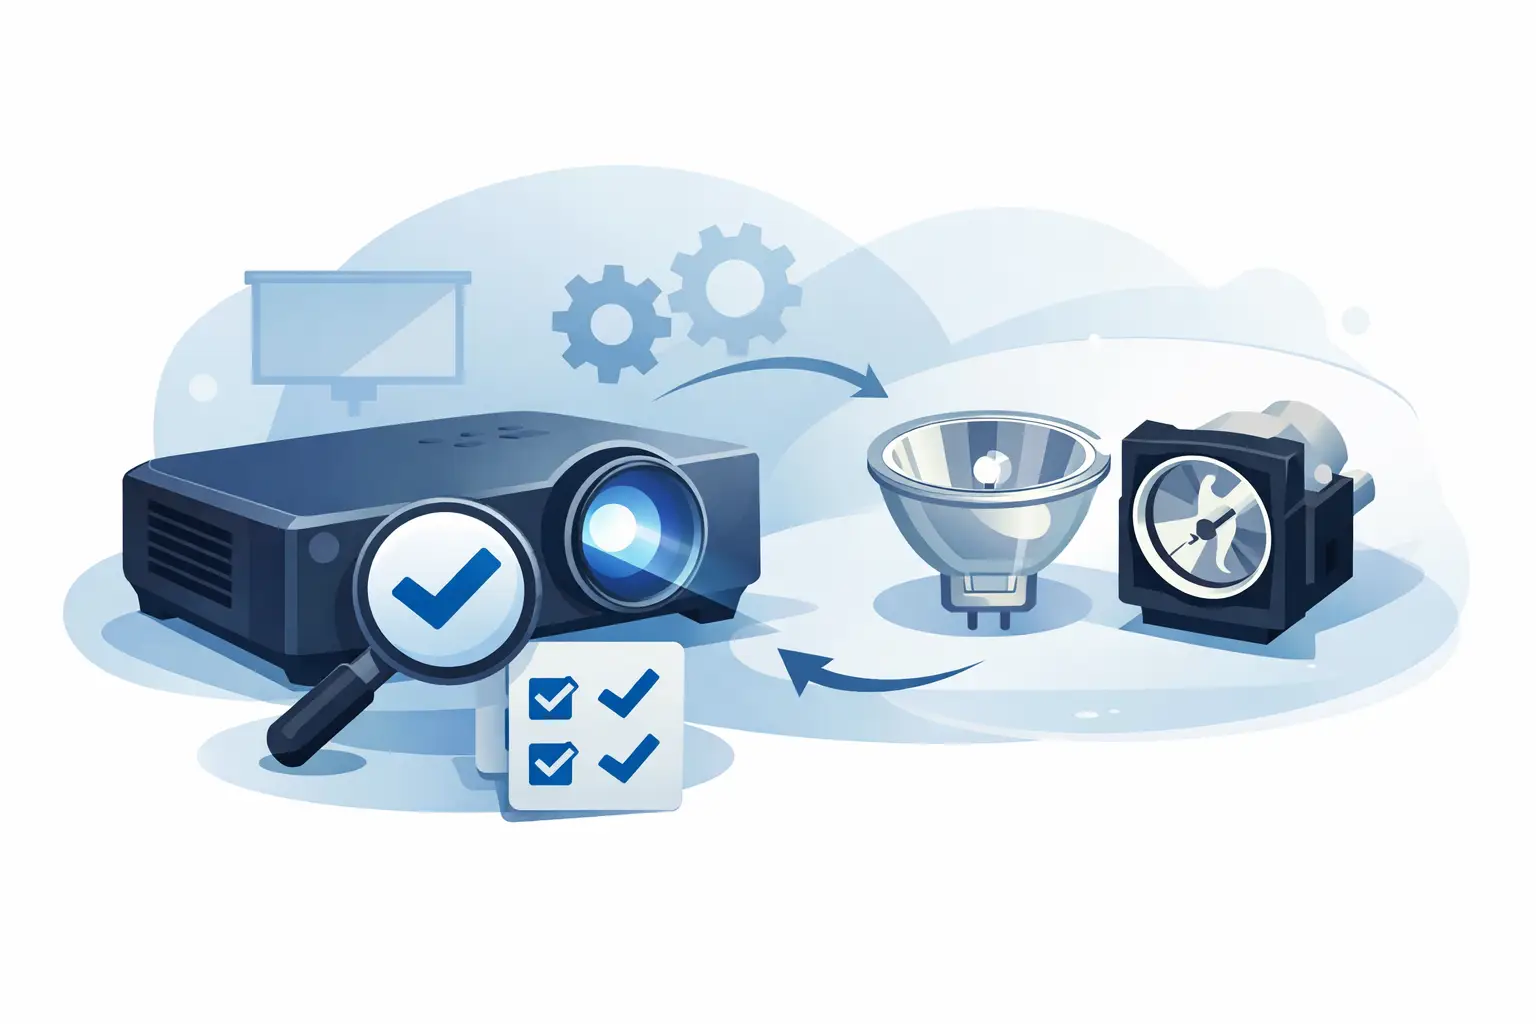
A lamp that looks correct can still be the wrong replacement. For service teams and AV distributors, knowing how to verify projector bulb compatibility before ordering prevents avoidable return freight, installation delays, and projector downtime. The reliable approach is to match more than the projector brand or a product photograph. Verify the projector model, the manufacturer lamp part number, the lamp module construction, and the electrical specifications as a complete set.
Start With the Exact Projector Model
The projector model is the first filter, not the final confirmation. Record the full model number from the rating label on the projector chassis, the unit's menu, or the original purchase documentation. Do not rely on a series name, a shortened name printed on a remote control, or a customer description such as “an Epson classroom projector.”
Many projector families use similar chassis across multiple versions. A standard model, a short-throw version, a regional version, or a higher-brightness version may use different lamp modules despite sharing much of the same exterior design. A single added suffix can change the required lamp, housing, wattage, or connector arrangement.
For fleet service work, record the manufacturer, complete model number, serial number, and region of sale in the service ticket. This makes later confirmation easier when one customer operates several visually similar projectors.
Confirm the Original Lamp Part Number
The original lamp module part number is generally the strongest compatibility reference. It may appear on the existing lamp housing, in the projector service manual, on a maintenance label, or in the projector's lamp replacement instructions. Manufacturers may list it as a lamp unit, replacement lamp, lamp module, or part number.
Match the full number, including letters, prefixes, hyphens, and suffixes. Similar codes are not automatically interchangeable. For example, two modules may use the same burner but have different housings or connectors, making one unsuitable for the other projector.
There is also a useful distinction between the lamp module number and the bare burner number. The module number identifies the complete service assembly: burner, reflector, housing, wiring, connector, and sometimes a safety screen or mounting bracket. The bare burner number identifies only the light source inside the housing. If a buyer needs a ready-to-install replacement, the module number is the correct purchasing reference.
When the original lamp label is missing or unreadable, use at least two independent sources for confirmation. The projector model and a documented replacement-lamp reference are a better basis for purchasing than an image match alone.
Match the Lamp Housing and Connector
A lamp burner can be technically correct while the assembled module is not. The housing positions the burner at the required optical focal point and provides the physical interface with the projector. A mismatch can prevent installation, cause poor light output, or create an unsafe fit.
Before placing an order, compare the existing module with the proposed replacement. Check the housing shape, screw locations, handle location, air-channel openings, reflector orientation, and connector position. Confirm whether the module uses a plug connector, terminal wires, or direct contacts. The number of pins and the direction of the connector matter.
Also examine any micro-switch tab, safety cover interface, or retaining bracket. These small mechanical details often distinguish otherwise similar lamp assemblies. A module that cannot fully engage the projector's safety mechanism may not power on even if its lamp specification appears correct.
Photographs are useful for this stage, but they should support part-number verification rather than replace it. Product photos can show different production batches, and perspective can conceal meaningful differences in housing depth or connector placement.
Verify Wattage and Electrical Requirements
Projector lamps are matched to a specific ballast and optical engine. The lamp wattage, operating current, ignition characteristics, and arc geometry must be appropriate for the projector design. Installing a higher-wattage lamp does not create a safe brightness upgrade. It can overload the ballast, increase thermal stress, damage internal components, or cause unstable operation.
Check the wattage printed on the original lamp or listed for the module. If the projector offers Normal and Eco modes, those are operating modes of the same approved lamp assembly, not evidence that a different wattage lamp can be substituted.
The ballast is another reason compatibility claims require care. Some projectors share a housing design while using different lamp drivers. A replacement that fits physically but does not strike reliably, flickers, shuts down, or reports a lamp error may be electrically incompatible. For commercial service providers, this is why model-level cross-reference data should be maintained rather than relying on generic “fits many models” descriptions.
Determine Whether You Need a Complete Module or Bare Lamp
This decision affects both compatibility risk and labor cost. A complete lamp module is normally the best choice for resellers, field technicians, schools, and facilities teams. It arrives in the correct housing and is designed for direct installation, which reduces assembly variables and speeds up service.
A bare lamp, sometimes called a burner, can be appropriate for experienced repair operations that have the correct housing, tooling, handling process, and quality-control capability. It may lower acquisition cost, but the trade-off is additional labor and risk. Incorrect burner alignment, contamination on the reflector, damaged terminals, or loose wiring can reduce brightness and shorten operating life.
Do not assume every bare lamp marked with a familiar burner brand is equivalent to the original assembly. The burner specification, reflector design, and module construction all affect final performance. For most installed-projector support programs, complete modules provide the more predictable result.
Use Cross-Reference Data Carefully
A reputable supplier may list multiple compatible projector models for one lamp module. This can be valuable when managing mixed fleets, but cross-reference data should be specific and traceable. The best listings identify the replacement lamp code and the exact compatible models, rather than using broad statements based only on brand or series.
Compatibility can change across regional product names. A projector sold in North America may have a different model designation in another market, even when the hardware is identical. Conversely, two regional models with nearly identical names may use different lamps. Confirm the actual lamp module part number whenever regional naming creates uncertainty.
For recurring purchasing, build an approved compatibility table containing the customer’s projector model, OEM lamp part number, qualified replacement module, purchase date, and field performance notes. This converts one-time research into a repeatable sourcing process and reduces errors across future orders.
Inspect the Existing Module Before Ordering
An inspection of the removed lamp can resolve most unclear cases. Photograph the label, connector, housing front and rear, and mounting surfaces. Capture any printed codes on the burner and reflector, but treat those codes as supplemental references unless they identify the complete module.
Look for signs that a prior repair used a nonstandard assembly. Modified wires, replaced connectors, cracked housings, missing shields, or added spacers indicate that the installed lamp may not represent the original specification. In that case, return to the projector model and manufacturer replacement reference instead of duplicating the existing module.
If the projector has suffered repeated lamp failures, compatibility is only one part of the diagnosis. Check air filters, fan operation, exhaust paths, installation angle, power quality, and the lamp-hour reset procedure. A correct lamp installed in an overheating projector will not deliver expected service life.
Avoid Common Purchasing Shortcuts
The most expensive mistakes usually start with incomplete information. Avoid ordering by bulb shape, projector brand, approximate wattage, or the claim that a lamp “looks the same.” Avoid treating a low price as proof of a suitable substitute, especially when the listing does not identify the lamp module code or detailed compatible models.
It is also wise to distinguish between a compatible replacement and an unverified generic lamp. A qualified replacement should be specified for the target projector and built with consistent burner, housing, and electrical characteristics. ZORSIKA supports this requirement with model-based lamp matching and replacement solutions designed for broad commercial projector coverage.
Before releasing a purchase order, confirm the complete projector model, original lamp module number, housing and connector configuration, and rated lamp specification. For high-volume orders, validate one sample installation before standardizing the replacement across the fleet.
A disciplined compatibility check takes only a few minutes when the correct information is available. It protects service margins, keeps installations on schedule, and gives end users a replacement lamp they can rely on rather than another problem to troubleshoot.