Lens Brightness Effects in Projector Systems
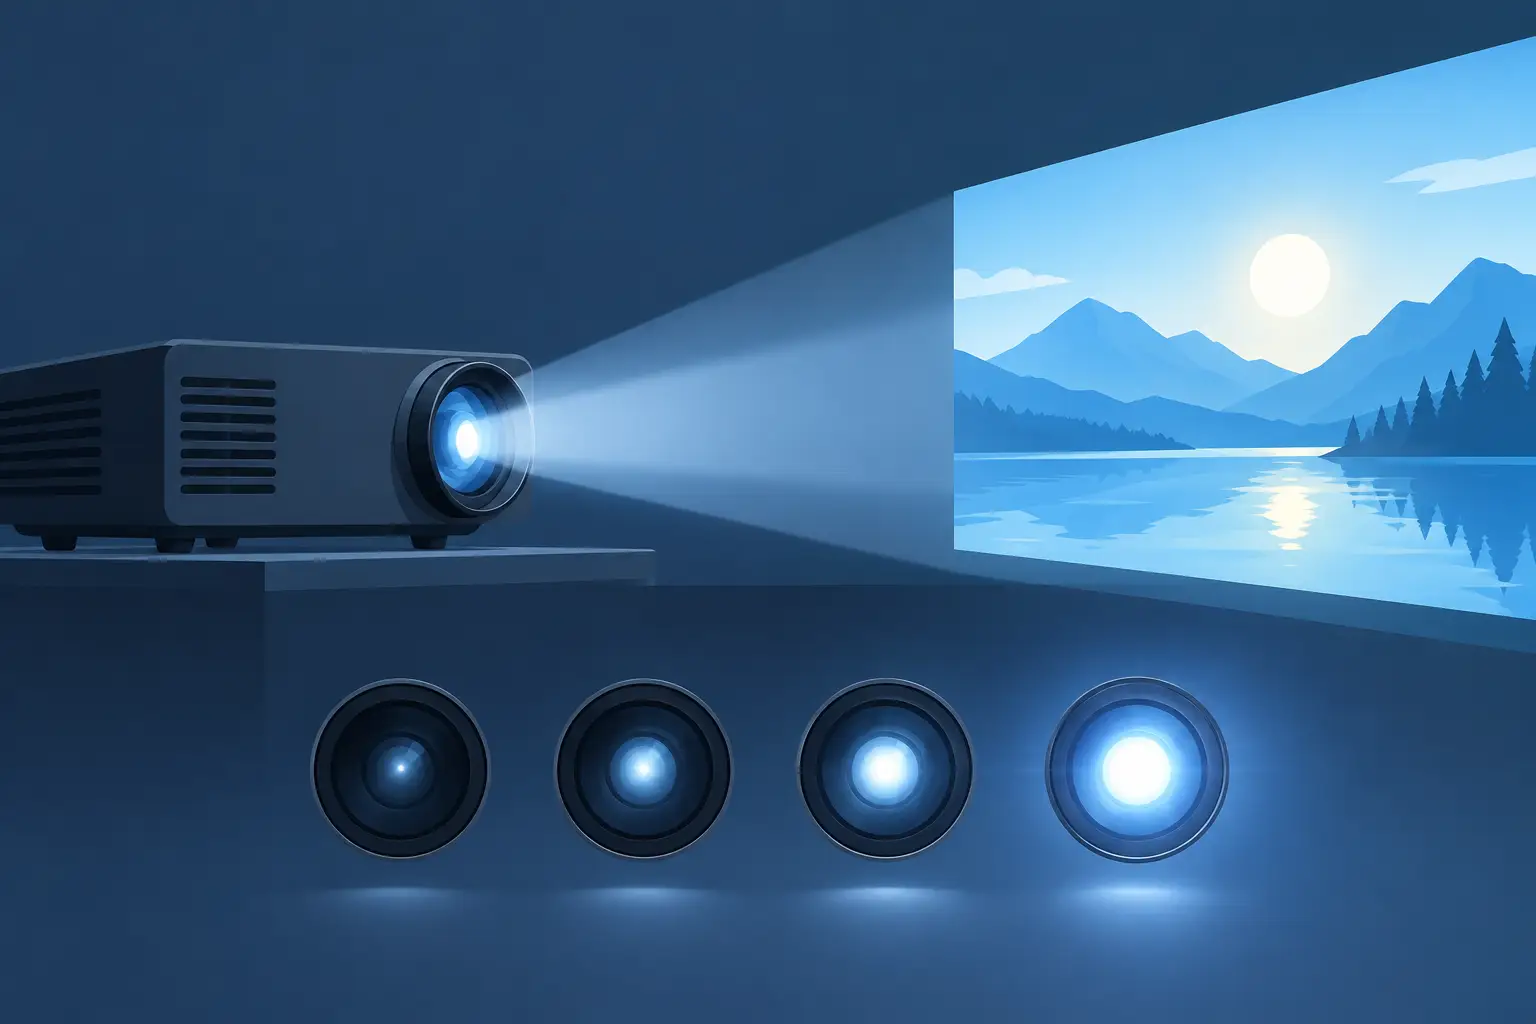
A projector can have a new lamp or a high-output laser engine and still produce a disappointing image if the optical path is poorly matched. Lens brightness effects are a practical concern for AV service teams because the lens determines how much usable light reaches the screen, how evenly it is distributed, and whether the system can meet the application’s required image size and viewing conditions.
For distributors, integrators, and repair providers, the issue is not simply whether a replacement lens fits the projector. The correct lens must support the required throw distance, preserve acceptable brightness and contrast, and maintain image quality across the screen. A compatible but optically unsuitable lens can create complaints that are often blamed on the projector, lamp, or screen.
What Lens Brightness Effects Mean in Practice
A projector’s rated brightness is measured at the projector output under defined test conditions. The brightness seen on the screen is lower and depends on the entire projection chain: light source condition, optical engine, lens transmission, zoom setting, throw distance, screen size, ambient light, and screen material.
The lens acts as both a transmission component and an image-forming component. Every optical surface absorbs or reflects a small portion of the light passing through it. Lens coatings, glass quality, internal design, and mechanical alignment all affect the amount of light delivered to the screen. Higher transmission means less light loss and a brighter usable image.
Brightness is also not the only result that matters. A lens that delivers more light but causes poor edge focus, color shift, flare, or uneven illumination may not be the right commercial solution. In boardrooms, classrooms, museums, and live-event installations, a consistent image across the full screen is usually more valuable than a small gain in center-screen brightness.
Aperture and f-number
Lens aperture is commonly described by its f-number. A lower f-number generally indicates a larger aperture, allowing more light to pass through the lens. For example, an f/1.7 lens can generally transmit more light than an f/2.4 lens when other optical factors are comparable.
This does not mean the lowest f-number is automatically best. Larger-aperture lenses can be more expensive and may be intended for specific projector models or short-throw applications. The correct choice depends on the installation geometry, required image size, and available projector output. Service teams should compare the manufacturer’s lens specifications for the exact projector platform rather than making a decision based on aperture alone.
Transmission efficiency and lens coatings
A projector lens contains multiple glass elements. Without effective optical coatings, each air-to-glass surface creates reflections that reduce transmission and can lower contrast. Quality coatings reduce these losses while helping control flare and unwanted internal reflections.
For replacement-lens buyers, transmission efficiency is especially relevant when supporting older lamp-based units. As lamps age, available light output falls. A lens with unnecessary light loss can make a still-serviceable projector appear ready for replacement. A high-transmission replacement lens can help preserve usable screen brightness and extend the value of installed equipment.
Throw Ratio, Zoom, and Brightness Trade-Offs
The lens selected for a projector determines the usable throw range. Throw ratio is the relationship between projector-to-screen distance and image width. A short-throw lens creates a larger image at a shorter distance, while a long-throw lens is designed for projection from farther away.
Throw ratio affects brightness because the same projector output is spread across the image area. A larger image receives less light per unit of screen area. If an installation increases from a 100-inch image to a 150-inch image without increasing projector output, the perceived brightness reduction can be significant.
Zoom position also matters. Many zoom lenses do not maintain identical light transmission throughout the full zoom range. Depending on lens design, the wide or telephoto end may show a measurable brightness difference. This is why commissioning should be completed at the actual installed zoom position, not only during a temporary bench test.
When reviewing a project, buyers should confirm the screen width, mounting distance, desired aspect ratio, and expected ambient-light condition before selecting a lens. A lens that technically covers the distance may still be the wrong option if the resulting image is too dim for the room.
How Lens Brightness Effects Influence Contrast and Color
Brightness and contrast are closely connected, but they are not interchangeable. A bright image can still look washed out if black levels are elevated by flare, stray light, or room illumination. Lens design affects this performance because internal reflections reduce the separation between dark and bright areas of the image.
A quality projector lens should preserve high contrast while maintaining color consistency. Poor coatings, damaged optical surfaces, or contamination inside a lens assembly can create haze and light scatter. These issues reduce apparent contrast and may cause colors to look less saturated, particularly in dark scenes or detailed presentation content.
For 4K-capable projector systems, optical precision is also critical. A lens may transmit sufficient light but still fail to resolve fine detail evenly across the image. Edge softness, chromatic aberration, and focus instability reduce the value of a high-resolution projector. Professional buyers should evaluate brightness, resolution support, color reproduction, and contrast as one optical-performance package.
Installation Factors That Can Reduce Screen Brightness
Not every brightness complaint is caused by the lens. Before replacing a component, technicians should assess the operating environment and the complete projector system. Four issues appear frequently in field service:
- A lamp may have reached the end of its useful brightness life even when it still powers on.
- Dust on the lens, mirrors, optical engine, or air path can absorb light and raise operating temperature.
- An incorrect lens setting, iris position, picture mode, or zoom adjustment can reduce available output.
- A screen that is too large, too low-gain, or exposed to excessive ambient light can make a correctly operating projector appear dim.
Airflow deserves particular attention. Restricted filters allow dust accumulation and can contribute to thermal stress, optical contamination, and reduced long-term performance. For high-use commercial projectors, lens cleaning and air-filter inspection should be part of the same preventive-maintenance visit.
Selecting a Replacement Lens for Commercial Service
Replacement lens selection begins with exact model matching. Projector families may use similar-looking lenses with different mounts, electronics, focal ranges, or optical requirements. Confirm the projector model, existing lens part number when available, throw-distance requirement, and application before ordering.
Then consider whether the replacement is being used to restore the original configuration or change the installation geometry. A repair business replacing a damaged standard lens needs optical equivalence and dependable fit. An integrator relocating a projector may require a different throw-ratio lens, which changes the brightness calculation and may require a higher-output projector or a revised screen plan.
Availability and consistency also matter for fleet support. Education, corporate, and exhibition customers often operate multiple units across different rooms. Standardizing on verified, compatible replacement accessories reduces troubleshooting time and helps maintain predictable image performance. ZORSIKA supports this requirement with projector lenses designed for low light loss, high color reproduction, 4K support, high contrast, and practical installation.
A Practical Brightness Check After Installation
After installing or replacing a lens, check performance under actual operating conditions. Project a full white field to look for illumination uniformity, then inspect a dark image for flare or stray reflections. Review focus at the center and corners, and verify that color and sharpness remain stable across the intended zoom range.
If a meter is available, take readings at multiple screen points rather than checking only the center. This helps distinguish low overall output from lens-related uniformity problems. Compare the readings against the project requirements and the projector’s expected condition, not only its original factory rating.
A well-matched lens protects more than image brightness. It protects installation margins, service efficiency, and the customer’s confidence in the entire AV system. When a screen looks dim, start with the complete optical path, verify the lens specification against the installation, and make replacement decisions based on measured performance rather than appearance alone.