Lens Shift Limits: What Installers Need to Know
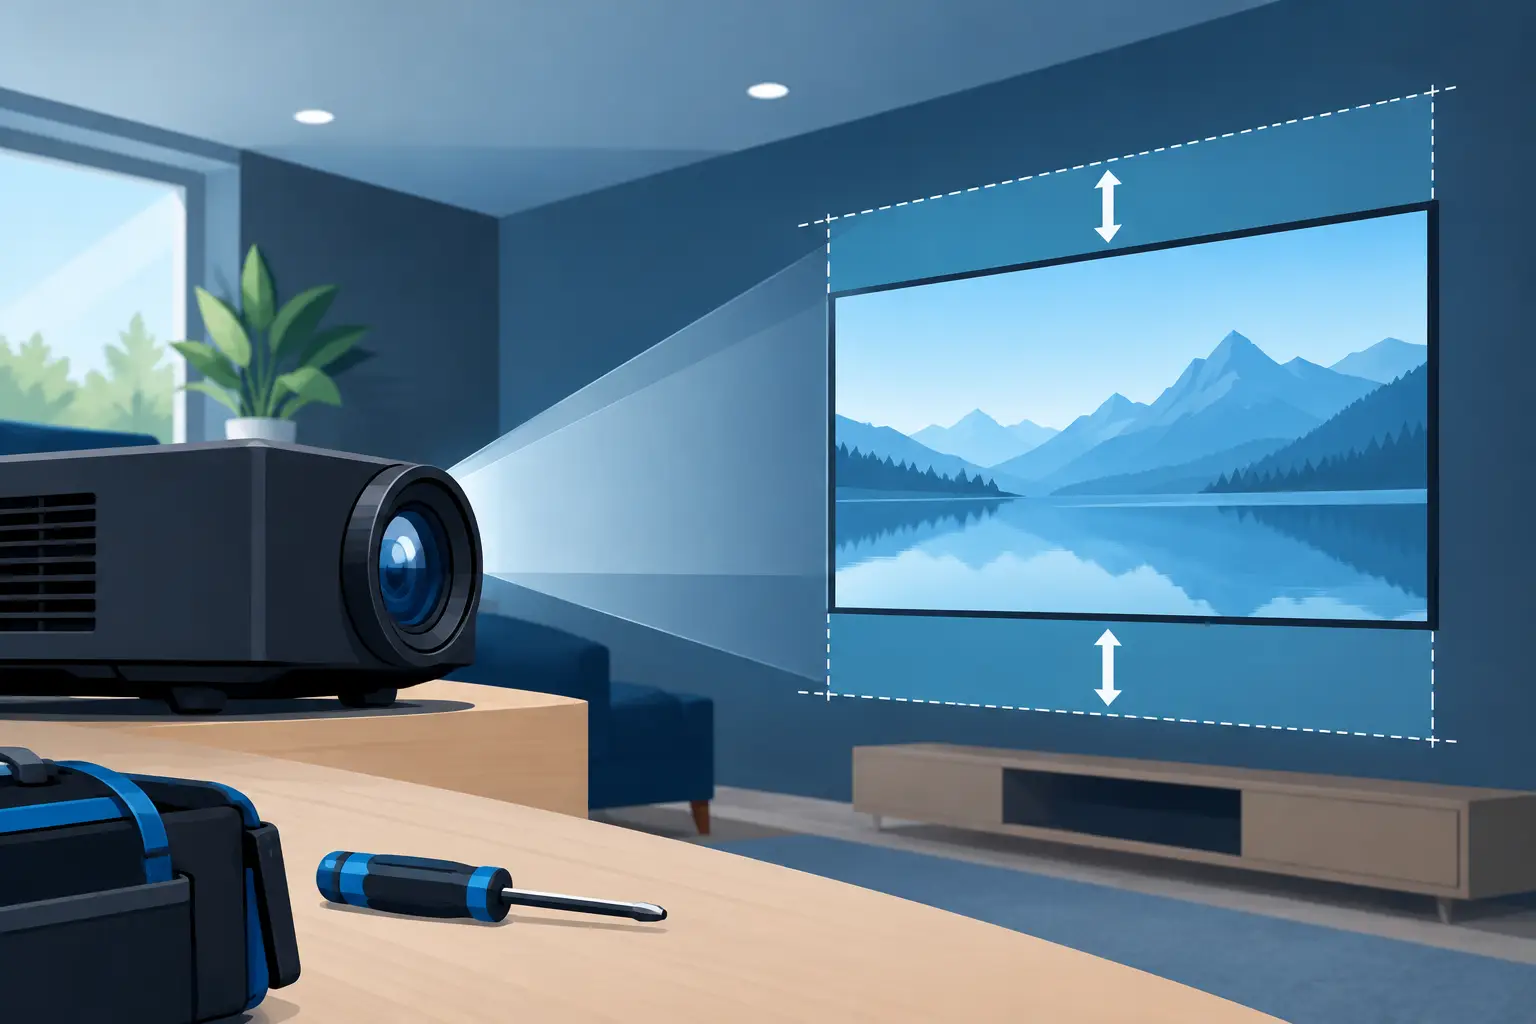
A projector can be perfectly centered on the screen in a drawing and still miss its usable installation position by several inches on site. Ceiling structure, existing mounts, HVAC runs, room geometry, and screen height all affect the result. Understanding lens shift limits before selecting a projector or replacement lens prevents image-position problems that cannot be corrected without moving hardware.
For AV integrators, service teams, and distributors supporting installed fleets, lens shift is not a secondary specification. It determines whether a projector can be mounted where the job requires while preserving image geometry, brightness, and focus uniformity. The usable range must be evaluated alongside throw ratio, screen size, resolution, and mounting location.
What Lens Shift Limits Actually Measure
Lens shift moves the projected image optically by repositioning lens elements relative to the projector's imaging system. It allows vertical or horizontal image placement without tilting the projector body. This is fundamentally different from digital keystone correction, which reshapes the image electronically and can reduce usable pixel detail.
Manufacturers commonly state vertical lens shift as a percentage of image height and horizontal lens shift as a percentage of image width. A specification such as +60% vertical shift generally means the image can move upward by an amount equal to 60% of the projected image height from its reference position. However, the reference point and whether the specification is expressed as a total range or a maximum offset vary by manufacturer.
For that reason, do not compare percentages from two product sheets without checking the manufacturer's diagram. One lens may be specified as plus or minus 50%, while another may show a 100% total movement range. Those figures can describe different physical capabilities.
A lens with broad shift capacity gives installers more mounting flexibility, but it is not automatically the better choice. Large-shift lenses may have a narrower throw-ratio range, higher cost, or a different fit within a projector series. The correct choice is the lens that meets the actual placement requirement with operating margin.
Vertical Shift and Horizontal Shift
Vertical shift is the most frequently used adjustment in commercial AV projects. It supports ceiling-mounted projectors above a screen centerline or tabletop units below it. In classrooms, meeting rooms, museums, and retail displays, vertical shift can avoid a longer mount pole or allow the projector to clear ceiling obstructions.
Horizontal shift is valuable when the projector cannot sit on the screen centerline. Structural beams, lighting tracks, access panels, and existing mounting points often create this condition. Horizontal adjustment is usually more limited than vertical adjustment, especially on standard fixed lenses.
The stated maximum values should be treated as mechanical boundaries, not preferred operating positions. Installing at or near an extreme can leave little room for final alignment and may expose performance limitations that are less visible near the center of the adjustment range.
How to Calculate Lens Shift Limits for a Screen
Start with the actual projected image dimensions, not only the diagonal screen size. For a 16:9 screen, a 120-inch diagonal image is approximately 59 inches high and 105 inches wide. If the lens offers a vertical shift of plus or minus 50% of image height, the theoretical vertical adjustment from the reference position is about 29.5 inches in either direction.
The basic calculation is straightforward:
Vertical shift distance = image height × vertical shift percentage
Horizontal shift distance = image width × horizontal shift percentage
For example, a 150-inch-wide image used with a lens rated for plus or minus 10% horizontal shift has a theoretical side-to-side adjustment of 15 inches from the reference position. That number should be verified against the model-specific installation manual because some specifications are measured from screen center, while others use the lens centerline or a defined home position.
The next step is to compare this range with the required offset. Measure the planned lens center relative to the screen centerline, then account for the mount structure and the projector's physical lens location. The lens barrel is not always centered in the projector chassis. Using the chassis center instead of the lens center can introduce a placement error that becomes significant on large screens.
Keep a practical installation margin. If a calculation shows that the projector needs 28 inches of vertical shift and the lens reaches 29.5 inches, the design is too close to the limit. Field conditions, screen positioning, mount adjustment, and manufacturing tolerances can consume the remaining range. A more reliable plan places the required position comfortably inside the available shift envelope.
Combined Shift Is Not Always the Full Stated Range
A common specification mistake is adding maximum vertical and maximum horizontal shift together as though both are available at the same time. On many interchangeable lenses, that is not the case. The available movement follows a combined-shift curve, often shown as an oval or circular chart in the lens documentation.
At maximum vertical shift, horizontal movement may be greatly reduced or unavailable. The same restriction applies in reverse. A lens rated at plus or minus 50% vertical and plus or minus 20% horizontal may only deliver its full 20% horizontal range when the vertical shift is near center.
This matters most in offset installations, such as an auditorium projector mounted both high above the screen and to one side of center. Evaluate the required vertical and horizontal position together using the specific lens chart. If the combined position falls outside the permissible curve, no amount of fine adjustment will correct it.
Why Lens Shift Limits Affect Image Quality
Optical lens shift preserves the rectangular image shape far better than tilting the projector and applying keystone correction. Still, extreme optical shift is not always performance-neutral. Depending on the projector and lens design, operation near the limit can affect edge focus, illumination uniformity, or geometric precision. High-resolution 4K installations make small focus differences more visible, particularly on large screens and detailed content.
The impact depends on the lens design, the screen size, and the audience distance. A moderate shift on a conference-room display may perform very well, while a near-limit shift on a large venue screen may require more careful commissioning. Test focus at the center and all four corners after finalizing the shift position. Also check color uniformity and image brightness across the screen, especially where high contrast or critical visual content is required.
Do not use lens shift to compensate for incorrect throw distance. Shift changes image location, not image size. Zoom and throw ratio determine whether the projector can produce the required image size from the selected mounting distance. A proper design confirms both conditions independently.
Replacement Lens Selection Requires More Than a Shift Rating
For service providers, a failed or damaged lens creates pressure to restore the installation quickly. Selecting a replacement solely because it has a similar shift percentage is a compatibility risk. Interchangeable projector lenses are typically designed for specific projector chassis, mounting interfaces, optical engines, and control systems.
Verify the projector model, existing lens part number, desired throw-ratio range, screen dimensions, and required shift position. Confirm whether the original installation relies on powered zoom, focus, or lens memory. These functions are especially relevant in multipurpose rooms, edge-blended systems, and installations with multiple screen formats.
A compatible replacement must also preserve the performance expected from the projector. For professional deployments, assess 4K support, color reproduction, light transmission, contrast performance, and mechanical fit. Low light loss is particularly important when replacing a lens in a system already operating near its brightness requirement. A lower-cost lens that reduces usable brightness can create a larger service problem than the original failure.
ZORSIKA supplies projector lenses developed for practical installation requirements, with attention to high color reproduction, low light loss, 4K support, high contrast, and installation-friendly mechanical structure. For distributors and repair businesses, accurate model matching remains the first requirement before confirming a lens order.
A Practical Pre-Installation Check
Before releasing a lens or finalizing a projector layout, technical teams should document the screen's viewable width and height, its centerline, the intended lens-center location, and the projector-to-screen distance. Then confirm the throw ratio at that distance and calculate the required vertical and horizontal offsets.
Review the manufacturer's shift diagram for combined movement, rather than relying on headline percentages. Confirm whether the required position leaves sufficient margin for field adjustment. Finally, account for the projector's physical access needs: lens removal clearance, filter service access, cable routing, and mount adjustment can all influence the final location.
A lens that reaches the required image position on paper may still be a poor service choice if technicians cannot access it after installation. Planning for maintenance access protects uptime and reduces future labor cost.
Lens shift should be treated as a placement tolerance, not a rescue feature. When the selected lens has the right throw range, compatible mount interface, and sufficient shift margin, installation teams can align the image accurately without sacrificing the system's long-term serviceability.