Plan a Museum Projection Upgrade That Lasts
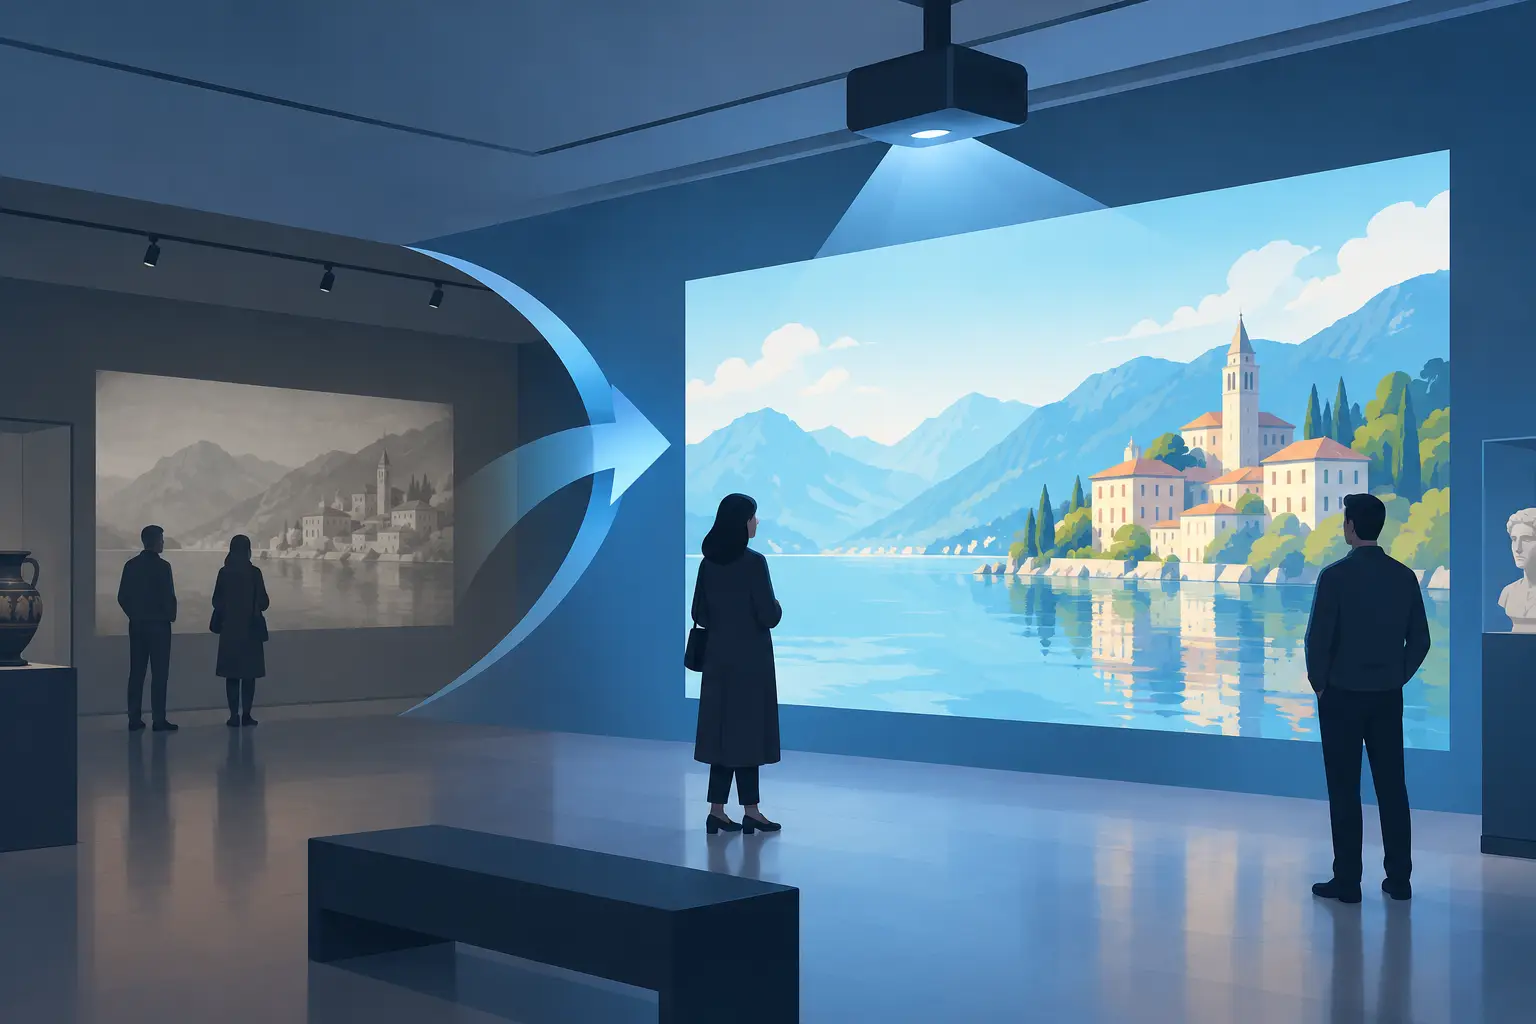
A museum projection upgrade is rarely a simple projector replacement. A new unit may improve brightness, resolution, or operating life, but the result still depends on throw distance, lens choice, ambient light, content format, mounting conditions, and the service plan behind the installation. For AV integrators and technical service teams, the objective is not only a stronger image on opening day. It is stable performance across daily operating hours, rotating exhibitions, and years of maintenance.
Museum environments make weaknesses visible. Visitors notice uneven brightness across a panoramic wall, a visible blend line, inaccurate color in a digital artwork, or an exhibit that is dark because a lamp has reached the end of its usable life. Procurement decisions therefore need to balance image specification, compatibility, replacement-part availability, and total service cost.
Start the Museum Projection Upgrade With the Exhibit
The correct equipment decision begins with the display task, not the projector catalog. A compact object-label projection, a 30-foot immersive wall, and a projection-mapped architectural gallery require different optical and maintenance approaches.
First, document the physical conditions at the site. Measure the throw distance, available mounting locations, screen or wall dimensions, projector orientation, and access clearance for service. Record ambient-light levels at different times of day, especially where galleries have windows, open entrances, or lighting changes tied to the exhibition design.
Then review the content itself. Native resolution matters, but so do aspect ratio, frame rate, color space, black-level expectations, and whether the image includes small text or high-detail artwork. A projector with high stated brightness can still be the wrong fit if its lens cannot produce the required image size at the available distance or if its contrast performance does not suit a low-light gallery.
For multi-projector displays, create a complete system map before ordering. Include every projector model, lens model, lamp or light-source type, mount, control connection, signal path, and replacement accessory. This prevents a common service problem: a venue has several visually similar projectors, but each requires a different lamp, filter, or lens.
Lens Selection Determines More Than Image Size
In many museum installations, the projection lens is the component that decides whether a proposed upgrade is practical. It determines the projector's placement flexibility, image geometry, focus consistency, and usable brightness at the screen.
A short-throw lens can be necessary when projectors must remain close to the display surface or hidden above visitor sightlines. However, short-throw optics require careful alignment. Small changes in mounting angle or surface flatness can create noticeable geometric distortion. They are effective where space is limited, but they should not be selected simply because a short throw ratio is available.
Long-throw lenses are often appropriate for rear projection, ceiling-mounted installations, and large galleries where the projector can be placed away from visitors. Their trade-off is the need for a clear optical path and sufficient available space. In either case, the lens must be matched to the exact projector platform and planned throw ratio.
For edge-blended or projection-mapped work, use lenses that support accurate focus across the full image area. Corner softness, uneven illumination, and inconsistent color reproduction become more obvious when several images meet. A lens with low light loss and strong color performance helps preserve the value of a high-resolution projector rather than limiting it.
Service teams should also confirm mechanical compatibility before deployment. Check the lens mount, supported zoom range, shift range, projector orientation, and whether the lens can be removed safely in the installed position. An otherwise compatible lens is not a practical choice if technicians must dismantle a finished exhibit to reach it.
Brightness Must Be Planned for the Full Service Interval
Projector brightness should be evaluated at the condition visitors will actually see, not only at initial installation. Lamp-based projectors lose brightness over time, while optical contamination and incorrect settings can further reduce visible output. A new lamp may make an underperforming installation look acceptable for a short period, only for the exhibit to fall below expectations well before the next planned service visit.
For lamp projector fleets, establish replacement thresholds based on measured image performance and operating hours. Waiting for lamp failure can cause unplanned downtime, while replacing lamps strictly by the maximum published life can waste usable parts. The suitable interval depends on gallery lighting, projector operating mode, criticality of the exhibit, and the museum's tolerance for gradual brightness change.
Replacement lamps should be selected by exact projector model and lamp assembly specification. Buyers should verify burner quality, housing fit, electrical connection, and expected brightness consistency. A lower-cost lamp that creates unstable output, poor color balance, or early failures can add labor cost and affect the institution's confidence in the service provider.
A quality alternative lamp is often a sound procurement choice for compatible legacy equipment, particularly when OEM availability is limited or pricing is difficult to support across a large installed base. The decision should still be based on supplier traceability, warranty terms, model matching, and practical performance data rather than unit price alone.
Air Filters Protect the Upgrade Investment
Dust is a predictable risk in museum projection systems. Historic buildings, exhibit construction, visitor traffic, fabric installations, and nearby HVAC activity can all raise airborne particulate levels. When filters are neglected, dust accumulation restricts airflow, increases thermal load, and can contribute to reduced optical performance and shortened component life.
Filter replacement is not a minor consumable task. It should be part of the maintenance specification for every projector location. Record the filter part number, replacement interval, access method, and environmental conditions for each unit. A projector inside a sealed plenum or high ceiling may need a different service schedule from one in an open gallery.
The right filter needs both proper fit and sufficient ventilation. A poorly fitting filter leaves gaps that allow contaminants into the chassis. An overly restrictive filter can reduce airflow. For high-use installations, keeping matched filters in local stock is a practical way to prevent a basic maintenance requirement from becoming a downtime event.
Build a Phased Upgrade Plan
A full equipment replacement may be justified when projectors are unreliable, unsupported, or unable to meet resolution and brightness requirements. But not every museum needs to replace every unit at once. A phased plan can protect capital budgets while improving the exhibits with the highest operational or visual risk.
Prioritize galleries where a projection failure would close an exhibit, disrupt timed programming, or affect a signature visitor experience. Next, identify installations that require frequent lamp changes, have difficult service access, or use parts with uncertain availability. Less critical displays can remain in operation if compatible replacement lamps, filters, and lenses are available and their image performance remains acceptable.
Before standardizing a new platform, validate it in the actual gallery. Test the proposed projector and lens under normal lighting conditions. Review focus at corners, color match against adjacent displays, fan noise, control integration, and the time required for a trained technician to replace service parts. A bench test cannot fully show how the system will perform in a finished exhibition space.
Standardization can reduce service complexity, but it should not force one optical solution into every gallery. It is reasonable to standardize projector families, spare-part sourcing, and maintenance records while using different lenses and configurations for different display conditions.
Specify Parts Sourcing as Part of the Project
A projection upgrade is incomplete if replacement parts are treated as an afterthought. Include the recommended quantity of spare lamps, air filters, and any high-risk lenses or accessories in the project scope. The appropriate stock level depends on the number of installed units, shipping lead times, exhibit criticality, and whether a museum has on-site technical staff.
For distributors, resellers, and integrators supporting multiple sites, reliable model identification is essential. Confirm projector brand, full model number, existing lens part number, and lamp module code before ordering. Similar model names can use different accessories, and regional variations may have distinct part requirements.
ZORSIKA supports professional buyers with compatible projector lenses, replacement bulbs, and air filters designed around practical service requirements. For museum projects, the value is not only access to a part number. It is the ability to maintain image quality and service continuity across mixed projector fleets without unnecessary procurement delays.
A well-planned upgrade gives the museum a clearer operating position: the right optical performance for the exhibit, documented maintenance intervals, and parts that can be sourced before an audience ever sees a dark screen.