Projection Mapping Hardware for Reliable Results
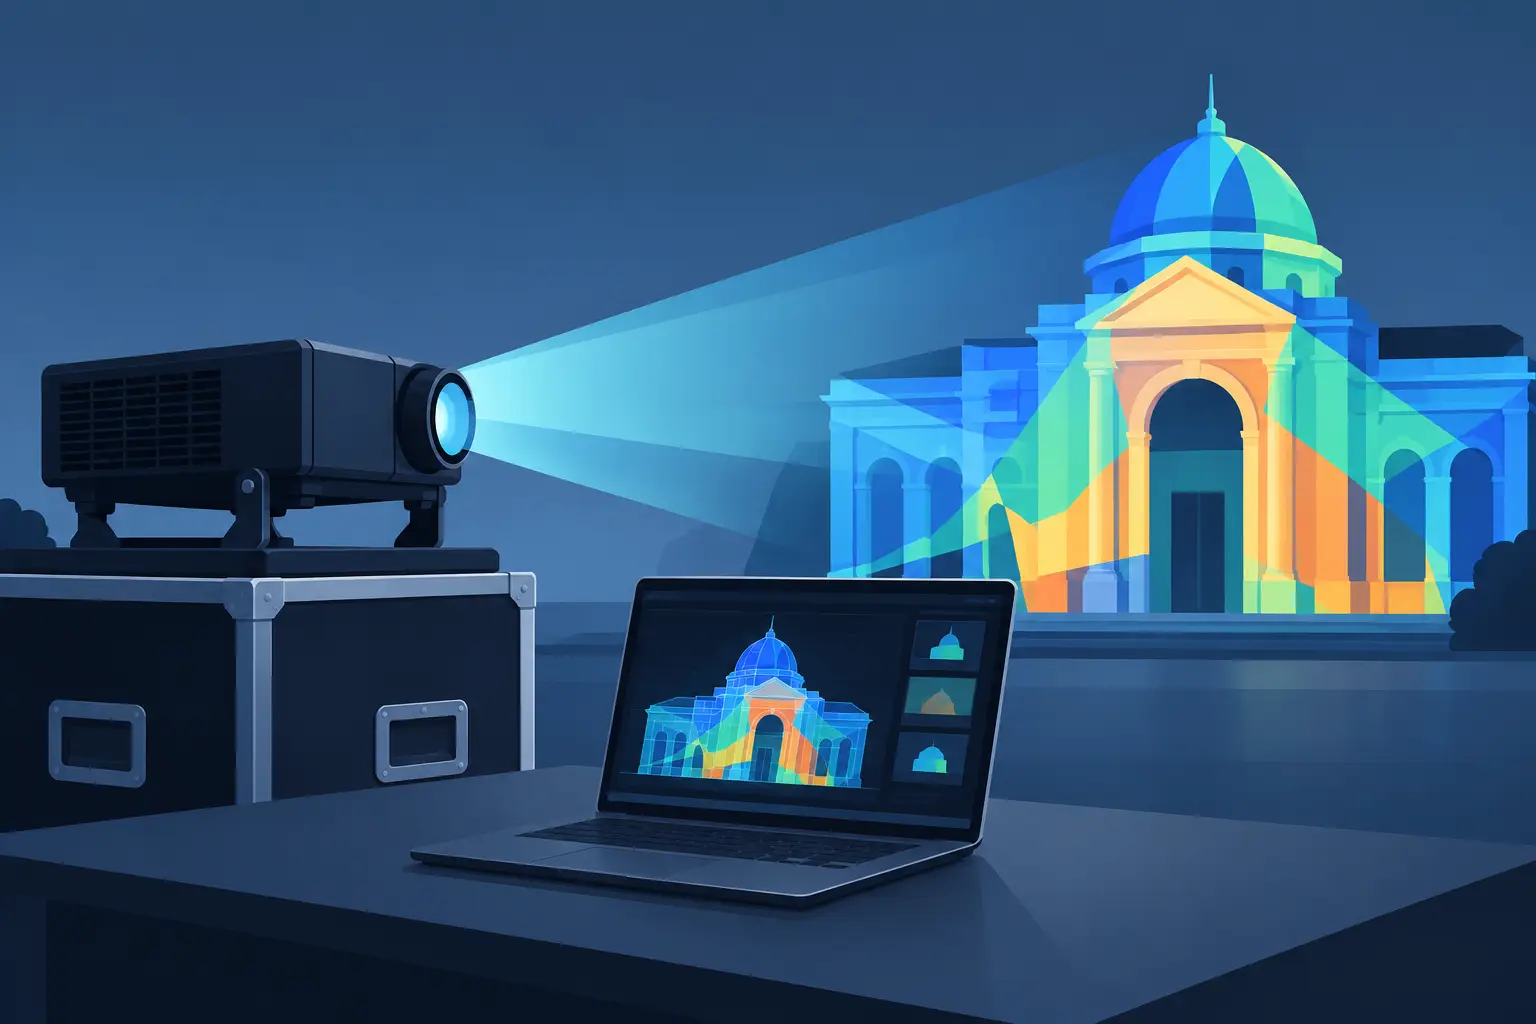
Projection mapping can turn an irregular wall, stage set, architectural facade, vehicle, or retail fixture into an active visual surface. For integrators and service providers, however, the effect is only as reliable as the projection hardware behind it. A content server can compensate for geometry, but it cannot correct a dim lamp, a poorly matched lens, unstable focus, or an optical path degraded by dust.
Commercial buyers should treat mapping projects as complete projection systems rather than software-led installations. Lens selection, light output, projector placement, maintenance access, and replacement-part availability all affect whether the installation performs as designed after opening night, not only during its first calibration.
What projection mapping demands from a projector
Unlike a standard presentation screen, a mapped surface rarely provides a flat, centered, white rectangle. The image may extend across multiple planes, wrap around corners, follow scenic elements, or align with physical objects. The media system uses warping, masking, blending, and edge alignment to place content accurately, but the projector must provide enough optical quality and mechanical stability for that correction to hold.
The first requirement is usable brightness at the surface. Projector specifications are often compared by rated lumen output, but the real decision depends on ambient light, projection distance, surface reflectivity, image size, and the amount of brightness lost through lens position and software correction. A dark exhibition room may support lower output and deeper black levels. A lobby, retail space, or outdoor evening event usually needs significantly more light reserve.
Resolution matters for close viewing and detailed content. Fine architectural lines, product graphics, text, and edge transitions reveal pixel structure quickly when viewers stand near the surface. A 4K-capable optical path is particularly valuable where content must remain sharp across large images or where several projectors form a single canvas. High contrast also improves perceived depth, especially on textured sets and darker mapped surfaces.
Lens selection sets the physical limits
A projector lens is not an interchangeable afterthought in a mapping design. It determines throw distance, image size, placement flexibility, focus quality, and how easily a team can maintain the installation without moving the projector.
Throw ratio should be calculated from the actual projection width and available distance, not from an early floorplan estimate. A minor placement change can force a different lens range, alter brightness at the screen, and create unwanted shadows from audience paths or scenic structures. Short-throw lenses can solve tight-space problems, but they can also make alignment more sensitive to projector movement and may increase visible distortion on uneven surfaces. Long-throw configurations offer greater separation from the viewing area but require more depth and can lose practical brightness over distance.
Lens shift is equally important. Optical lens shift preserves image quality better than relying heavily on digital keystone correction. Digital correction has a legitimate role in mapping workflows because complex surfaces require geometric warping. Still, starting with the projector optically aligned as closely as possible reduces scaling artifacts, preserves effective resolution, and leaves more processing headroom for the final alignment.
For multi-projector systems, lens consistency matters across every channel. Differences in focal behavior, color response, image uniformity, or zoom range complicate blending and create visible transitions. Buyers supporting fleets across multiple brands should verify the exact projector and lens pairing before ordering. A lens that appears physically similar may have a different mount, throw range, or supported shift specification.
Light source decisions affect operating cost and service planning
Laser projectors are common in permanent and high-duty-cycle installations because they offer long operating life and reduced lamp replacement requirements. They are often well suited to museums, corporate experience centers, education facilities, and fixed retail displays. Their higher initial cost may be justified when access is difficult or when the installation runs for long hours.
Lamp-based projectors remain relevant in many rental, staging, temporary exhibition, and budget-controlled applications. They can offer a practical installed base, familiar servicing procedures, and a lower equipment investment. Their trade-off is that light output declines with use, which can affect color matching and blended images before a lamp reaches end of life.
For mapped displays using multiple projectors, replace lamps strategically rather than only after failure. A single aging lamp can shift brightness and color enough to make a blend line visible. Keeping compatible replacement bulbs available supports faster field service and reduces the risk of using mismatched alternatives across a system. Replacement performance should be evaluated by brightness, operating life, arc stability, and compatibility with the specific projector model, not price alone.
Calibration is ongoing, not a one-time setup
The most impressive mapping sequence can look misaligned after a projector is bumped, a lens is serviced, a stage element moves, or environmental conditions change. Permanent installations need a documented recalibration process. Temporary projects need a clear responsibility for final alignment after all scenic, lighting, and projector positions are fixed.
Initial calibration normally includes physical aiming, focus adjustment, color and brightness balancing, geometric warping, edge blending, and playback verification. Each stage affects the next. For example, changing zoom or focus after blend adjustment may alter overlap zones. Replacing a lamp can change white balance. Cleaning the optical path may improve brightness enough to require a new color match.
Networked monitoring can help identify runtime, temperature warnings, and input issues before a visible failure occurs. But visual inspection remains necessary. Technicians should check for focus drift, dark corners, color variation, dust artifacts, and changes in the projected surface itself. A painted wall, fabric treatment, or scenic finish can change appearance as it ages or is cleaned.
Air filtration protects image quality and uptime
Mapping installations frequently operate in demanding locations: trade shows, performance venues, lobbies, warehouses, museums, and architectural spaces. These environments may expose projectors to dust, haze fluid, smoke residue, fibers, or high foot traffic. Contamination can reduce cooling efficiency, increase operating temperature, and create visible particles or uneven illumination.
A correctly matched projector air filter is a low-cost maintenance item with a direct impact on reliability. It must balance filtration with sufficient airflow. Restrictive or poorly fitted filters can contribute to overheating, while ineffective filters allow debris into the projector. Service teams should establish inspection intervals based on the environment rather than using a single schedule for every location.
This is especially important for installations mounted high above ceilings, truss, or architectural structures. Access equipment, labor, and downtime can cost more than the filter itself. Planning replacement access and stocking compatible filters in advance protects the service margin and prevents avoidable outages.
A practical specification brief for buyers
Before sourcing projectors, lenses, bulbs, or filters for a projection mapping project, procurement and technical teams should document these five items:
- The mapped surface dimensions, material, color, texture, and viewing distance.
- Available projector locations, throw distances, mounting limits, and maintenance access.
- Ambient light conditions during actual operating hours, not only during a site survey.
- Required runtime, redundancy expectations, and acceptable downtime for servicing.
- Exact projector model, existing lens model, and part numbers for consumables.
This information avoids common purchasing errors, including a lens that cannot achieve the required image width, a bulb that does not match the installed projector, or a filter that fits the housing but limits airflow. It also helps distributors and resellers quote accurately without unnecessary back-and-forth.
Building a service-ready mapping installation
Projection mapping has a visible creative side, but dependable results come from disciplined hardware decisions. Specify the lens from verified site measurements, maintain enough brightness reserve for the environment, and plan for calibration after service events. For long-running installations, keep critical consumables available before they are urgently needed.
ZORSIKA supports projector service channels with compatible lenses, replacement bulbs, and air filters designed to help maintain projector performance across diverse commercial fleets. For a mapping system, the right replacement part is not simply one that installs. It is one that restores the optical, thermal, and operational conditions the design requires.
The most useful next step is to review the actual projector population before the project reaches the site. Confirm model numbers, lens requirements, operating hours, and access conditions early, then build replacement-part coverage around the equipment that will remain in service.