Projector Ballast Troubleshooting Guide for Pros
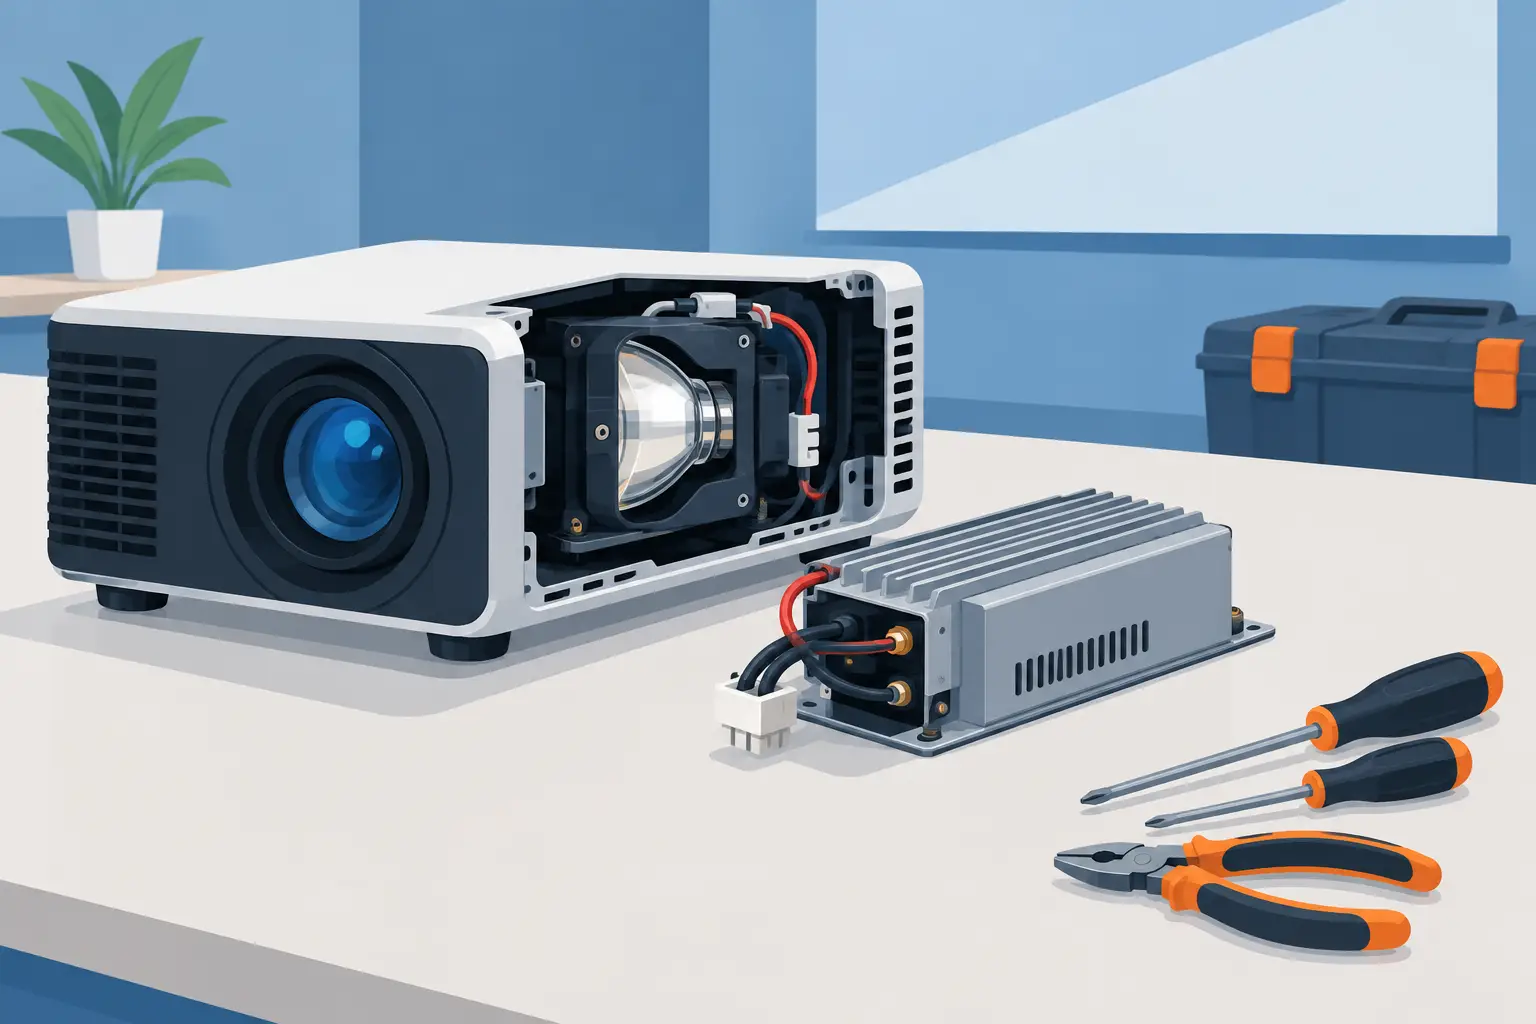
A projector that powers on, runs its fans, and then shuts down without producing light often sends technicians toward the lamp first. That is reasonable, but not always correct. The ballast is the high-voltage lamp driver, and a weak or failed unit can create the same symptoms as a worn lamp. This projector ballast troubleshooting guide helps service teams separate lamp, ballast, power, thermal, and control-board faults before ordering a replacement part.
For commercial AV fleets, accurate diagnosis protects more than the repair margin. It reduces repeat service calls, avoids unnecessary lamp returns, and keeps installed equipment in classrooms, meeting rooms, museums, and event spaces available for use.
What a Projector Ballast Does
In lamp-based projectors, the ballast converts incoming DC power into the controlled high-voltage output required to ignite and operate a UHP, P-VIP, or similar arc lamp. Startup requires a high-voltage ignition pulse. Once the lamp is lit, the ballast regulates operating power so brightness remains stable within the projector's design limits.
A ballast does not work independently. The projector's main board must authorize lamp startup, the power supply must provide correct voltage, cooling systems must report normal operation, and lamp-door and thermal interlocks must be closed. A ballast may be functional yet unable to start the lamp because another circuit is preventing authorization.
That dependency is why replacing the ballast based on a no-light symptom alone is a costly shortcut.
Common Symptoms of a Ballast Fault
Ballast failures vary by projector platform, but a few patterns appear regularly in field service. The projector may attempt startup several times, with fans running but no image appearing. You may hear a brief click or ticking sound during ignition attempts, followed by shutdown and a lamp or status warning.
Another common symptom is intermittent ignition. The projector starts after several attempts, starts only when cold, or works with one lamp but not another known-good compatible lamp. Flickering, sudden loss of light during operation, and repeated lamp-error messages can also indicate unstable ballast output, although lamps, connectors, and overheating can produce the same behavior.
A burned odor, visible heat damage, swollen capacitors, cracked solder joints, or darkened ballast connectors are stronger indicators of an electrical fault. Do not treat visual inspection as proof by itself. Heat discoloration can result from a poor lamp connection or extended use in a restricted-airflow environment.
Safety Before Ballast Diagnosis
Ballasts generate hazardous voltage during lamp ignition and can retain stored electrical energy after the projector has been unplugged. Disconnect AC power, allow the projector to cool fully, and follow the service procedure specified for the model before removing covers or handling the lamp and ballast assembly.
Do not probe ballast output with a standard multimeter. Conventional meters are not designed to measure ignition pulses, and an incorrect test method can damage equipment or expose the technician to dangerous voltage. Output verification should be performed only by qualified personnel using manufacturer-approved procedures and suitable high-voltage test equipment.
For most repair operations, diagnosis should focus first on low-voltage inputs, connector condition, error history, and substitution with confirmed compatible parts.
Projector Ballast Troubleshooting Guide: A Practical Sequence
Start with the simplest checks and move toward component replacement only after the surrounding conditions are verified. This approach is especially effective when supporting multiple projector brands and mixed-install fleets.
1. Read the Projector's Error Indicators
Record the exact behavior before opening the unit. Note indicator LED colors and flash counts, displayed error messages, fan activity, startup timing, and whether the projector attempts lamp ignition more than once. Many models store lamp, temperature, fan, cover, or power-related errors that point away from the ballast.
Clear any old error record only after it has been documented. A recurring code after a controlled restart provides much better diagnostic evidence than a code history with no baseline.
2. Confirm the Lamp Is Correct and Serviceable
Install a known-good lamp assembly with the correct part number or verified compatibility. A lamp can appear intact while its arc tube has reached end of life or its internal burner characteristics no longer support reliable ignition. Conversely, a new low-quality or incorrectly matched lamp may cause ballast-like symptoms immediately after installation.
Inspect the lamp housing, terminals, and lamp-door switch. Look for loose contacts, oxidation, bent terminals, carbon tracking, or heat marks at the connection points. Reset the lamp timer only after a proper replacement has been installed. A timer reset will not repair a lamp-start fault, but some projector platforms use service counters and error logic that can complicate diagnosis.
3. Check Airflow, Fans, and Interlocks
Restricted airflow can cause shutdown shortly after ignition, while a failed fan or open cover switch can prevent startup entirely. Inspect air filters, intake paths, exhaust channels, and fan connectors. In high-dust installations, blocked filters can increase internal temperature enough to shorten both lamp and ballast life.
Confirm that the lamp cover is seated correctly and that its safety switch engages. Also inspect thermal sensors and fan feedback connections where accessible. If the projector shuts down after the image appears for a short period, thermal protection is often more likely than a failed ignition circuit.
4. Inspect the Ballast and Power Connections
With power disconnected, inspect the ballast mounting area and harnesses. Verify that input and output connectors are fully seated and that wires are not pinched, brittle, or damaged by heat. Check for corrosion or arcing at lamp terminals and for signs that the ballast board has been exposed to dust, smoke residue, or moisture.
If service documentation is available, verify the low-voltage supply reaching the ballast input and the control or enable signal from the main board. A missing enable signal, incorrect supply voltage, or unstable power source means the ballast should not be condemned yet. The same applies if the projector's power supply is sagging under startup load.
5. Isolate by Substitution When Possible
For service centers handling repeated models, substitution remains one of the fastest dependable methods. Test the suspected ballast with a known-good compatible lamp, or test the known-good lamp in a projector with a confirmed working ballast. Where inventory permits, a known-good ballast can complete the isolation.
Use only the correct ballast version for the projector model and lamp specification. Similar-looking boards may use different connector pinouts, control logic, wattage ratings, mounting positions, or firmware-related identification. A physical fit is not proof of electrical compatibility.
Distinguishing Ballast Failure From Similar Faults
A failed lamp often causes no ignition, repeated startup attempts, or a lamp warning. The key difference is whether a verified compatible lamp restores normal operation. If it does, the original ballast was likely not the root cause.
A power supply problem may allow fans and standby functions to operate while failing under the higher load needed for lamp startup. This can resemble a ballast fault, particularly if the unit restarts or shuts down at a consistent point in the startup cycle.
Main-board faults can prevent the ballast enable signal from being issued. In these cases, the ballast has no instruction to ignite the lamp. A fan fault, open cover switch, or thermal sensor issue can trigger the same protective behavior. This is why live-output testing is rarely the first or only diagnostic step.
Intermittent faults require extra discipline. Record whether failure occurs when the projector is cold, after warm-up, with a particular input source, or after a certain runtime. Temperature-dependent behavior may indicate aging capacitors, connector expansion, heat stress, or marginal lamp performance rather than a completely failed ballast.
When Ballast Replacement Is the Right Repair
Replace the ballast when a known-good lamp is installed, airflow and safety interlocks are confirmed, input power and enable conditions are correct, and the projector still cannot ignite or sustain the lamp. Physical evidence of ballast damage also supports replacement, provided the source of overheating or arcing has been corrected.
For professional buyers, the replacement decision should include part-number verification, lamp compatibility, connector configuration, and warranty support. The lowest-priced board can become the most expensive option if it creates repeat failures, inconsistent ignition, or installation delays. A qualified replacement should match the original operating requirements and be supplied with clear model coverage.
ZORSIKA supports projector service channels with compatible accessories designed for practical replacement sourcing across diverse projector fleets. Matching the correct ballast, lamp, and air-filter condition as a system helps reduce avoidable downtime and protects the expected service life of the repair.
A ballast fault is rarely diagnosed by one symptom alone. Build the repair record around the lamp condition, error behavior, cooling status, power inputs, and compatibility checks. That evidence gives technicians a defensible replacement decision and gives procurement teams a clearer basis for stocking the parts that keep customer equipment operating.