Projector Lamp Housing Fitment Prevents Downtime
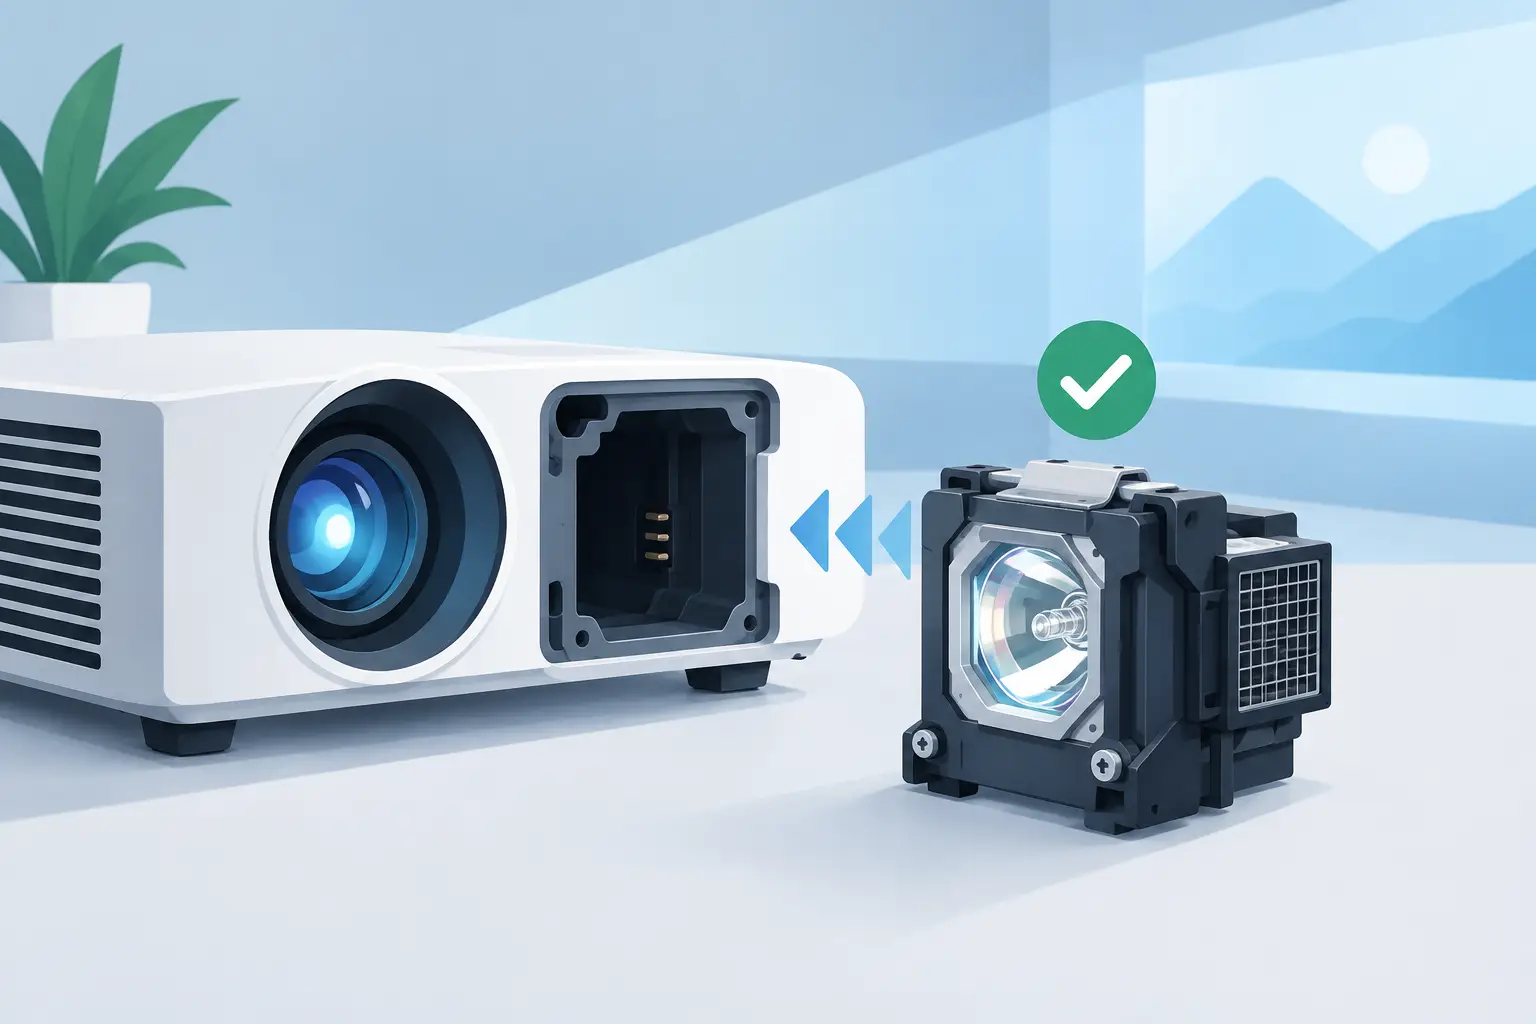
A replacement projector lamp can produce the correct brightness and still create a service problem if the housing does not seat correctly. Poor lamp housing fitment can cause intermittent power faults, inadequate cooling, light leakage, cover alignment issues, and repeat technician visits. For distributors, repair centers, and AV integrators supporting mixed projector fleets, fitment must be verified as carefully as lamp specification.
A lamp module is not simply a bulb in a plastic enclosure. It is an assembly designed to position the burner correctly within the optical path, connect safely to the projector power system, and maintain the airflow route specified for that model. The part may look similar to another module, but small differences in geometry or electrical design can determine whether it operates reliably.
What Projector Lamp Housing Fitment Actually Covers
Lamp housing fitment refers to the physical and functional match between a replacement lamp module and a specific projector model. The housing must slide into the lamp bay without force, lock in its intended position, align with the reflector and optical system, and allow the projector cover to close normally.
Correct fitment also includes the electrical connection. Contact points must meet the projector terminals at the proper position and with sufficient pressure. A module that appears to fit but has misaligned or weak contacts can lead to start-up failures, flickering, arc instability, or unexpected shutdowns.
Thermal design is equally significant. Projector lamp housings use vents, shields, brackets, and material spacing to manage heat around the burner and direct airflow through the lamp chamber. If vents are blocked, shifted, or incompatible with the projector chassis, heat may build up even when the projector turns on and produces an image.
For service teams, the practical rule is simple: a correct lamp module should install smoothly, sit flush, secure with the original fastener arrangement, and operate without modification to the projector or housing.
Why Correct Lamp Housing Fitment Matters in Commercial AV
In corporate meeting rooms, classrooms, museums, houses of worship, and event environments, a failed projector is rarely an isolated hardware issue. It can interrupt a scheduled presentation, delay a room handover, or require an unplanned on-site visit. The cost of a poor replacement choice includes labor, freight, downtime, and customer confidence, not only the price of the lamp.
A correctly fitted housing supports stable lamp positioning. This is necessary for proper light output and image uniformity. If the burner is positioned even slightly outside the designed focal relationship, brightness may be reduced and the projected image may show uneven illumination. These symptoms can be mistaken for an inferior lamp when the underlying issue is module geometry.
Fitment also protects the projector itself. Excess heat can shorten the life of internal components, including fans, color wheels, polarizers, optical blocks, and power boards. A lamp module should work with the projector's designed cooling path, not interfere with it. This matters especially for high-brightness commercial models that operate for long hours or run in less controlled environments.
The Identification Process Before Ordering
The projector model number is the starting point, but it should not be the only reference. Manufacturers may use similar model names across regions, revisions, or product generations. In some cases, two projectors from the same series use different lamp modules despite having similar external dimensions.
The most dependable identification process compares the projector model, the existing lamp module part number, and the housing configuration. Technicians should verify the label on the removed module whenever possible. This is more reliable than relying only on a lamp code printed in a service record, particularly when the unit may have received a prior replacement.
Check the lamp module for its connector arrangement, screw positions, handle location, ventilation openings, housing profile, and reflector orientation. These details help distinguish parts that use the same or a similar burner but require different housings. The burner alone does not establish compatibility.
For procurement teams managing large inventories, it is useful to maintain a cross-reference that connects projector models, original module numbers, compatible replacement modules, and any revision notes. A controlled cross-reference reduces incorrect orders and makes it easier for service staff to identify alternatives when OEM availability is limited.
Common Lamp Housing Fitment Errors
The most common mistake is ordering by visual similarity. Many lamp modules share a familiar shape, black plastic housing, metal reflector, and pull handle. However, a minor difference in an internal bracket, connector depth, or vent opening can prevent correct installation.
Another issue is treating the bare lamp and the lamp module as interchangeable products. A bare lamp is the burner assembly only. Replacing it requires transferring the burner into an existing housing, which demands careful handling, correct hardware, and accurate alignment. It can be a practical option for experienced repair operations, but it carries more assembly risk than using a complete module.
A complete lamp module includes the lamp installed in its dedicated housing. For most field replacements, this is the more consistent option because the housing geometry, connector position, and mounting points are already configured. It reduces installation time and avoids errors caused by reusing a damaged, warped, or contaminated original housing.
Technicians should also avoid forcing a module into the projector bay. Resistance during insertion often indicates a mismatch, an obstruction, or incorrect orientation. Forcing the assembly can damage terminals, crack the housing, or distort the lamp compartment. A lamp door that will not close normally is another clear signal to stop and recheck the part number and fitment details.
A Practical Check During Installation
Once the correct module has been selected, installation should follow the projector manufacturer's power-down and cooling requirements. The unit must be unplugged and allowed to cool fully before the lamp cover is opened. High-pressure projector lamps operate at elevated temperatures, and the lamp chamber should be handled as a service area rather than a simple access panel.
Before fitting the new module, inspect the lamp bay for broken retaining points, dust buildup, damaged connectors, or loose fasteners. A new housing cannot correct a damaged projector-side connector or an airflow problem caused by a blocked filter. In high-use installations, inspect the air filter and fan condition at the same service interval.
Insert the module in its intended orientation and confirm that it reaches the fully seated position without pressure. Secure it using the specified screws or locking mechanism. The housing should not move within the bay after fastening. Reinstall the lamp cover and confirm that it closes flush, since many projectors use a cover switch that prevents operation when the cover is not correctly installed.
After replacement, reset the lamp timer only when the projector requires it and only after the new module is fitted. Then run a functional check that includes start-up, image brightness, fan behavior, error indicators, and several minutes of stable operation. For installed systems, verify the image in the actual operating mode rather than limiting the test to a brief bench power-up.
Fitment, Quality, and Alternative Lamp Sourcing
Price pressure often leads buyers to focus on lamp wattage or quoted brightness alone. Those specifications matter, but they do not replace fitment verification. A lower-cost module that requires rework, creates a thermal fault, or produces a callback is not a cost-effective purchase.
The right alternative module balances compatible housing design, stable burner performance, consistent production control, and warranty support. For professional buyers, supplier capability matters because availability and model coverage affect how quickly they can restore equipment across multiple brands and generations.
ZORSIKA supplies projector lamp modules designed for broad market compatibility, with self-developed burners suitable for many circulating projector models and performance positioned as a practical alternative to imported lamps. For service businesses, the value is not merely access to replacement inventory. It is the ability to source a compatible module that supports dependable installation and continued operation.
When Fitment Problems Point to Another Fault
Not every lamp-related symptom is a fitment issue. If a verified compatible module seats correctly but the projector still fails to ignite, shuts down quickly, or displays a lamp error, the cause may be elsewhere. Common possibilities include a failing ballast, damaged power supply, defective lamp door switch, restricted airflow, fan error, or a control-board fault.
This distinction is important for repair operations. Replacing multiple lamps without testing the projector-side system increases cost and delays diagnosis. Where possible, inspect error codes, fan operation, connector condition, and lamp-hour history before classifying the lamp as defective.
Correct lamp housing fitment starts with disciplined part identification and ends with a clean operational test. That process takes only a few additional minutes, but it helps protect service margins, reduce repeat calls, and keep critical projection systems ready for the next scheduled use.