Projector Lens Throw Ratio Guide for AV Buyers
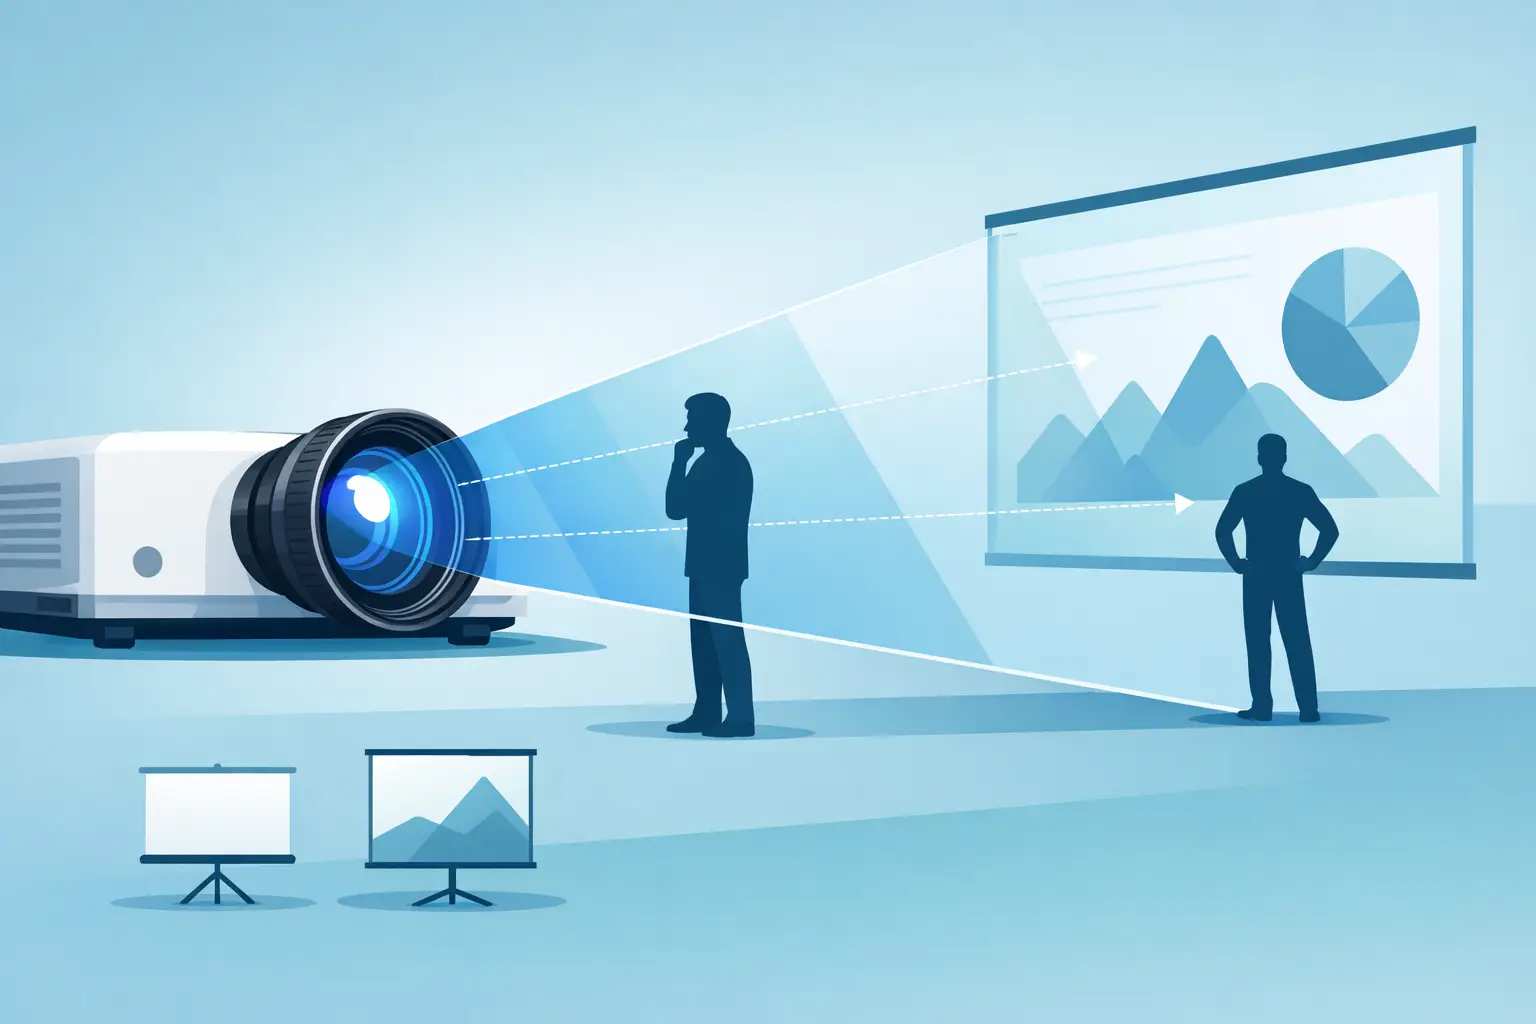
A lens that physically fits a projector can still be the wrong lens for the room. In commercial AV installations, a throw-ratio error can leave an image too small for a lecture hall screen, too large for a display wall, or impossible to focus at the planned mounting point. This projector lens throw ratio guide gives distributors, integrators, and service teams a practical method for selecting the correct lens before an order is placed or equipment reaches the site.
What Projector Lens Throw Ratio Means
Throw ratio is the relationship between the projection distance and the width of the projected image. It is normally expressed as a number, such as 1.50:1 or 0.38:1. A lower ratio produces a wider image from a shorter distance. A higher ratio requires more distance to create the same image width.
The basic calculation is straightforward:
Throw ratio = throw distance ÷ image width
For example, if a projector is installed 15 feet from the screen and the required image width is 10 feet, the required throw ratio is 1.5:1. A lens with a ratio around 1.50:1 can produce that image at that location.
The reverse calculation is equally useful during system design:
Throw distance = throw ratio × image width
If a 1.8:1 lens is specified for a 12-foot-wide image, the projector lens should be approximately 21.6 feet from the screen. Use the manufacturer’s stated measurement reference point, typically the lens center or projector front, because this detail varies by projector platform.
For procurement and service teams, throw ratio is not simply a specification to copy from a data sheet. It is a site-fit requirement. The correct ratio determines whether the projector can remain in the intended ceiling position, enclosure, booth, or rigging location without changing the screen size.
How to Calculate the Right Lens Throw Ratio
Start with the actual active image width, not the diagonal screen size alone. Projector lenses calculate against image width. A screen listed as 120 inches diagonal may have different widths depending on whether it is 16:9, 16:10, 4:3, or a custom wide format.
For a 16:9 image, a 120-inch diagonal screen has an image width of about 104.6 inches, or 8.72 feet. If the available lens-to-screen distance is 14 feet, the required throw ratio is:
14 ÷ 8.72 = 1.61:1
A lens with a fixed 1.60:1 ratio may be suitable, but a zoom lens with a range such as 1.54-1.93:1 provides more installation tolerance. That tolerance is valuable when field measurements differ from drawings, ceiling structures limit final projector placement, or a screen is adjusted during commissioning.
When calculating distance, confirm what has been measured. A room drawing may show distance from the rear wall, while a lens specification may refer to the distance from the lens center. Projector body depth, mounting hardware, rear service clearance, and enclosure dimensions can all affect the final lens position. A few inches may not matter with a broad zoom range, but they can cause a failure with a narrow-range or fixed-throw lens.
Use the Full Zoom Range, Not One Number
Many interchangeable lenses are identified by a range, such as 1.25-1.79:1. This means the lens can produce the required image within a band of mounting distances. It does not mean every location inside the room will work equally well.
For a required 10-foot-wide image, that 1.25-1.79:1 lens supports a throw distance from 12.5 to 17.9 feet. If the final mounting location is 18.2 feet, the lens is outside its range, even though it may appear close enough on a preliminary plan.
Avoid specifying a lens at the extreme end of its range whenever the installation allows a better choice. A small measurement change, an image-width revision, or screen-frame depth can push the projector beyond the available zoom adjustment. A practical target is to keep the calculated position inside the zoom range with reasonable room for field adjustment.
Common Throw Ratio Categories
Lens names differ among projector manufacturers, but the operating logic is consistent. Ultra-short-throw lenses are designed for very short distances and are commonly used where projector placement must stay close to the screen. They can be effective in constrained rooms, rear-projection installations, and interactive applications, although alignment is less forgiving and screen flatness becomes more critical.
Short-throw lenses generally support installations where the projector must sit closer than a standard lens allows but does not need to be directly adjacent to the screen. They are frequently used in classrooms, meeting rooms, simulation spaces, and retail environments.
Standard-throw lenses cover many conventional corporate, education, and exhibition installations. Their moderate ratios suit typical ceiling-mounted projector positions and often offer a useful balance of image size, brightness management, and installation flexibility.
Long-throw lenses are intended for auditoriums, houses of worship, large venues, projection booths, and other applications where the projector must be placed well behind the audience or outside the main presentation area. Long throw is often necessary for architectural reasons, but it can increase sensitivity to vibration, alignment, and available light output.
The lowest possible throw ratio is not automatically the best selection. Shorter throws can simplify placement, while longer throws can keep the projector out of sightlines and away from occupied areas. The correct lens depends on room constraints, screen position, projection angle, service access, and the projector model’s approved lens options.
Throw Ratio Is Only One Part of Lens Compatibility
A correct ratio does not establish compatibility. Interchangeable projector lenses are designed for specific projector chassis families, lens mounts, optical blocks, and control systems. A lens from one manufacturer, or even from a different series under the same manufacturer, may not install or operate correctly on another projector.
Before purchasing, verify the projector brand, exact model number, existing lens part number if available, and the required projection application. Also confirm whether the projector supports powered zoom, focus, and lens shift with the selected lens. A manual-adjustment lens may be acceptable for a fixed installation, but it may not meet the operational needs of a venue that stores multiple image presets.
Resolution and optical performance should be reviewed as well. For 4K projection, the lens should support the projector’s intended resolution and preserve usable detail across the screen. High-quality optical design also matters for color reproduction, contrast, and light transmission. A lens that technically creates the right image size but introduces excessive edge softness or light loss can undermine the value of a high-brightness projector.
Do Not Confuse Throw Ratio With Lens Shift and Offset
Throw ratio controls image size at a given distance. It does not determine how far the image can move vertically or horizontally without moving the projector. That adjustment is provided by lens shift.
Lens shift is particularly important in retrofits. An existing mount position may produce the correct image width, yet the lens center may sit above, below, or off-center from the screen. If the projector lacks adequate shift range, the installer may need to relocate the mount, change the screen position, or use digital keystone correction. Digital correction should be treated carefully in professional environments because it can reduce available pixel detail and may affect image geometry.
Offset is another separate specification. Some lenses project the image above or below the lens center by design, while others rely on lens shift for placement. Confirm the manufacturer’s projection geometry chart rather than assuming that a calculated throw distance guarantees a centered image.
Field Conditions That Change Lens Selection
Theoretical calculations should be checked against the installation environment. Architectural columns, HVAC equipment, lighting trusses, structural beams, and fire-suppression systems can all prevent the projector from occupying the ideal location. In rear projection, mirror paths and enclosure depth must be included in the optical distance calculation.
Ambient light also affects the decision. A longer throw lens may create the correct image size, but the optical system can influence delivered brightness. For bright rooms, large screens, and high-ambient-light environments, confirm the projector and lens combination can deliver the required brightness after accounting for screen gain, room conditions, and normal lamp or laser aging.
Service access deserves the same attention. A projector may be physically able to project from a tight ceiling recess, yet routine bulb, filter, or lens maintenance can become expensive if the unit must be removed for every service event. Procurement decisions should support both initial installation and the long-term maintenance plan.
A Practical Process for AV Buyers
For reliable ordering, collect the projector model, screen aspect ratio, active image width, planned lens-to-screen distance, mounting limitations, and required lens-shift direction before matching a lens. Then compare the calculated ratio with the lens’s published zoom range and confirm the lens is approved for that projector platform.
If drawings are preliminary or installation tolerances are tight, choose a compatible zoom lens with sufficient adjustment range rather than relying on a fixed-ratio selection. For replacement work, do not assume the installed lens is correct simply because it is present on the projector. Verify its part number and performance against the current screen size and projector location.
ZORSIKA supports professional buyers with projector lens solutions designed for strong color reproduction, low light loss, 4K support, high contrast, and practical installation. For multi-brand fleets, accurate model matching and throw-ratio verification help reduce return risk, avoid site rework, and keep service schedules on track.
A lens specification is most dependable when it starts with measured site conditions rather than a screen diagonal or an old purchase record. Confirm the image width, measure from the correct reference point, preserve adjustment margin, and verify projector-specific compatibility before committing inventory or installation labor.