Sharp Projector Lens Selection for Service Teams
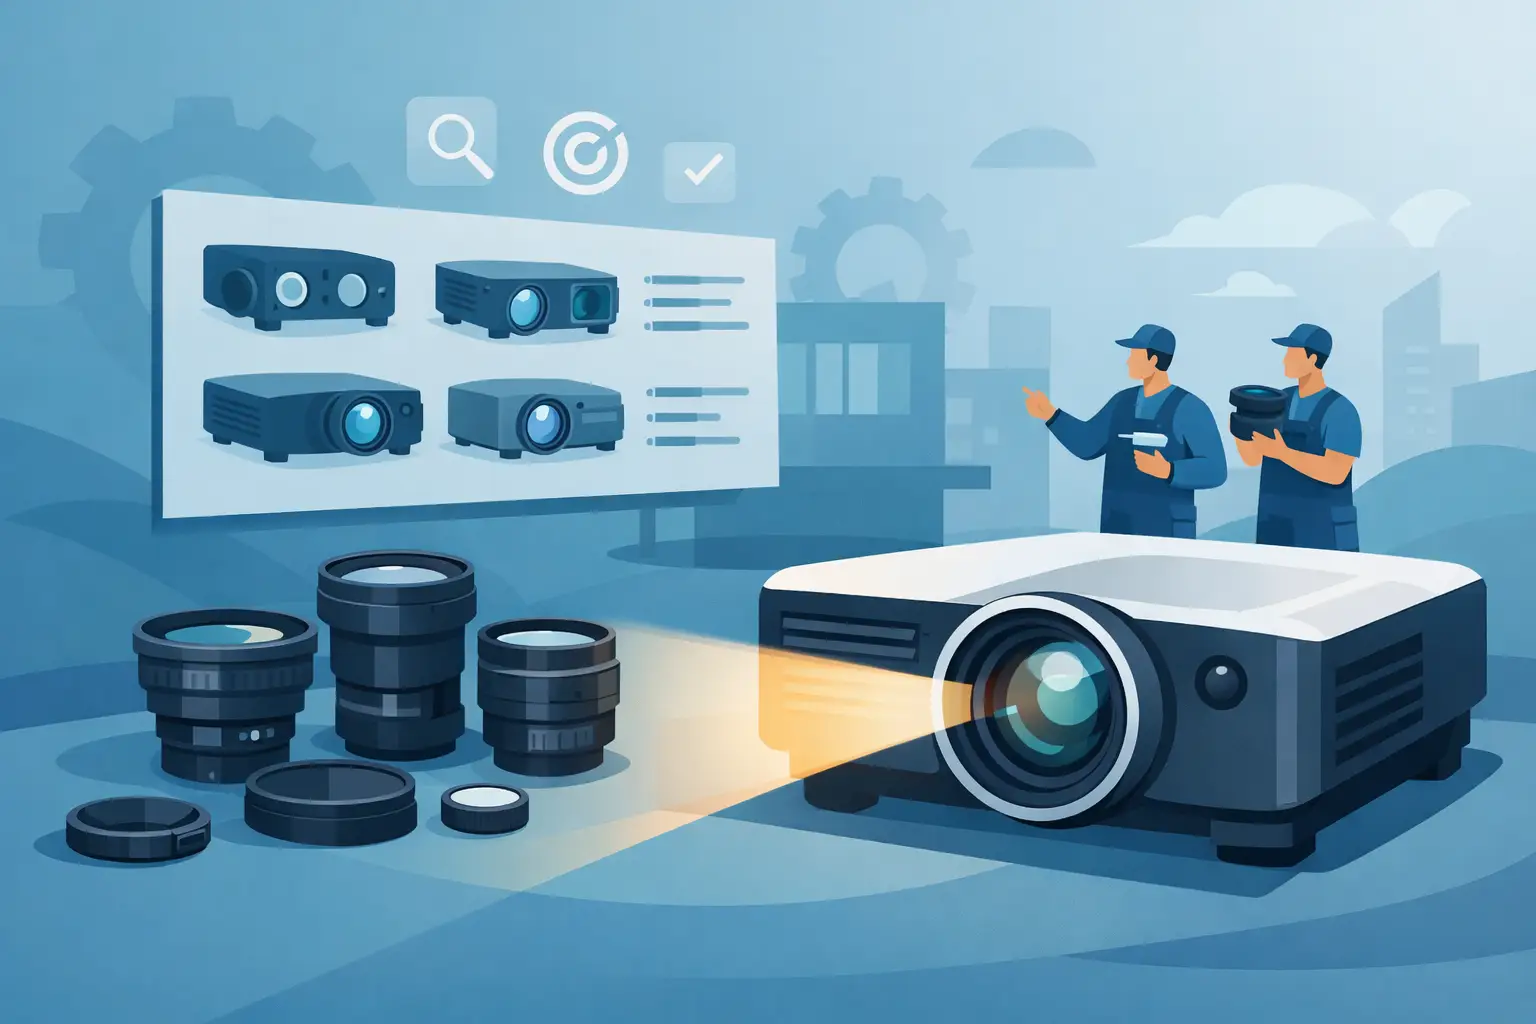
A sharp projector lens is not a generic replacement part. For service companies, AV integrators, and distributors supporting installed projector fleets, the lens determines whether a repaired unit returns to service with the expected image size, focus consistency, brightness distribution, and alignment range. A lens that appears physically similar but has the wrong optical specification can create repeat service calls, delay an installation, and increase the real cost of a low-price part.
The correct approach is to match the lens to the projector platform and the application, then confirm optical and mechanical compatibility before ordering. This is especially relevant in education, corporate meeting rooms, museums, houses of worship, and event venues, where a projector may be installed in a fixed position and the original throw ratio cannot be changed easily.
What a Sharp Projector Lens Must Match
When buyers search for a Sharp projector lens, the first requirement is to identify the exact projector model and, where applicable, the original lens part number. Sharp has produced projector platforms for different brightness classes, resolutions, and installation environments. A lens designed for one chassis may not fit another, even when the projectors share a similar housing or lamp type.
Model matching should be followed by a review of the lens configuration. Fixed lenses are common in portable and standard classroom projectors, while interchangeable lenses are generally found on higher-output installation models. An interchangeable lens must match the projector's mount, electrical communication requirements, and available adjustment range. Mechanical fit alone is not enough.
The critical optical specification is throw ratio. Throw ratio defines the relationship between the projection distance and image width. If the replacement lens has a longer throw ratio than the original, the image may be too small at the existing mounting point. If it has a shorter throw ratio, the image may overfill the screen or surrounding wall. In a finished installation, moving the projector may require labor, new cabling, ceiling work, and recalibration.
For procurement teams, this means the practical order of verification is straightforward: confirm the projector model, confirm the original lens or compatible part number, compare throw ratio, and check whether the installation requires zoom, lens shift, or a specific lens mount. These details prevent the most expensive compatibility errors.
Resolution and Image Quality Are Not Separate Issues
A lens does not create native resolution, but it must resolve enough detail for the projector's imaging system. A replacement lens with poor edge performance, weak coating quality, or inadequate optical design can make a high-resolution projector look soft, particularly at the outer areas of the image. The problem becomes more visible with 4K content, presentation text, detailed engineering drawings, and large-format projection.
Color reproduction and contrast also depend on the lens. Light passing through lower-quality optical elements can lose transmission efficiency or introduce unevenness across the screen. In practical service work, users may describe this as a dim image, faded color, poor focus, or an image that is clear in the center but not at the edges. Not every symptom is caused by the lens, but the lens must be evaluated as part of the complete optical path.
A quality replacement lens should support the projector's intended resolution and contrast capability while maintaining low light loss. This helps service providers deliver a repair outcome that is acceptable to the end user, rather than simply restoring basic operation.
Lens Features That Affect Installation Time
Installation performance matters as much as image performance. A replacement lens that is difficult to seat, has inconsistent locking engagement, or does not hold position after adjustment adds risk to every service visit. For high-mounted projectors, even a small alignment issue can turn a scheduled lens change into a longer maintenance call.
Zoom and focus controls should operate smoothly and maintain their settings after the projector is positioned. On installation-class equipment, lens shift is equally important. Vertical and horizontal lens shift allows the technician to align the projected image without excessive projector tilt or digital keystone correction. Using keystone correction can be useful when necessary, but relying on it heavily can reduce usable image detail and complicate image geometry.
For a replacement lens program, buyers should also consider whether the supplied product includes the correct protective caps, mounting hardware, and packaging for safe transport. Lens surfaces are vulnerable to scratches, fingerprints, and dust contamination. Damage that occurs before installation can compromise the image and lead to an avoidable return.
Common Problems That Are Mistaken for Lens Failure
A blurred or dim image does not automatically mean the lens needs replacement. Technical teams should assess the entire projector before approving a lens order. A contaminated air filter can increase internal temperature and contribute to reduced performance over time. A weakened lamp or aging light source can lower brightness. Dust in the optical engine, a damaged focus mechanism, or an incorrect image setting can also produce poor results.
Lens damage is more likely when there is visible scratching, coating deterioration, cracked elements, impact damage, persistent haze that cannot be cleaned externally, or focus inconsistency that remains after normal adjustment. A lens with internal fungal growth or severe contamination may also require replacement, particularly in humid storage or long-term installation environments.
Before removing the lens, technicians should record the projector model, current throw distance, image width, mounting orientation, and any existing zoom or lens-shift setting. This information makes it easier to verify the replacement and restore the image efficiently. It also provides useful documentation when the service provider is supporting multiple sites or working under a maintenance contract.
Balancing OEM Cost, Availability, and Replacement Quality
OEM lenses can be difficult to source after a projector model has been discontinued, and their cost can be hard to justify for a unit with limited remaining service life. Compatible replacement lenses can offer a practical alternative, but only when the supplier provides clear model coverage and consistent quality control.
The lowest quoted price should not be the only purchasing criterion. A lens that fails compatibility checks or produces a visibly weaker image can consume the margin saved at purchase. For distributors and repair centers, repeatability matters: the product must be available when needed, match the listed platform accurately, arrive protected, and be backed by a warranty process that supports commercial customers.
ZORSIKA supplies projector lens solutions developed around actual market applications, with high color reproduction, low light loss, 4K support, high contrast performance, and installation-friendly structural design. For buyers managing mixed fleets, dependable matching and stable replacement quality are more valuable than an uncertain short-term saving.
Questions to Resolve Before Placing an Order
For routine replacements, a complete technical check should answer four operational questions: Which exact Sharp projector model is being serviced? Is the lens fixed or interchangeable? What throw ratio and adjustment range does the existing installation require? Is the reported image issue confirmed as a lens-related fault?
When the model label is missing or the projector has been moved from its original location, measurements become more important. Measure the distance from lens to screen and the projected image width, then compare those figures with the required throw range. Confirm whether the screen is filled without digital scaling and whether sufficient lens shift remains for final alignment. This extra step is usually faster than resolving an incorrect shipment after the technician is on site.
Protecting Lens Performance After Replacement
A new lens performs best when the projector environment is also maintained. Clean ventilation, suitable operating temperature, and regular filter replacement reduce the dust and heat exposure that can affect the optical system. Technicians should handle the lens by its housing, avoid touching optical surfaces, and use approved cleaning methods only when cleaning is necessary.
After installation, check center and corner focus, image uniformity, color balance, zoom range, and lens shift movement. Test the projector with the type of content used at the site, not only a basic startup screen. Fine text and high-contrast patterns reveal focus and alignment issues more clearly than a simple logo or menu.
The best replacement decision is the one that returns the projector to its required operating condition on the first visit. Accurate model identification, verified optical specifications, and a supplier that understands service requirements keep that result practical for both the technician and the end customer.