Short Throw vs Standard Lens: How to Choose
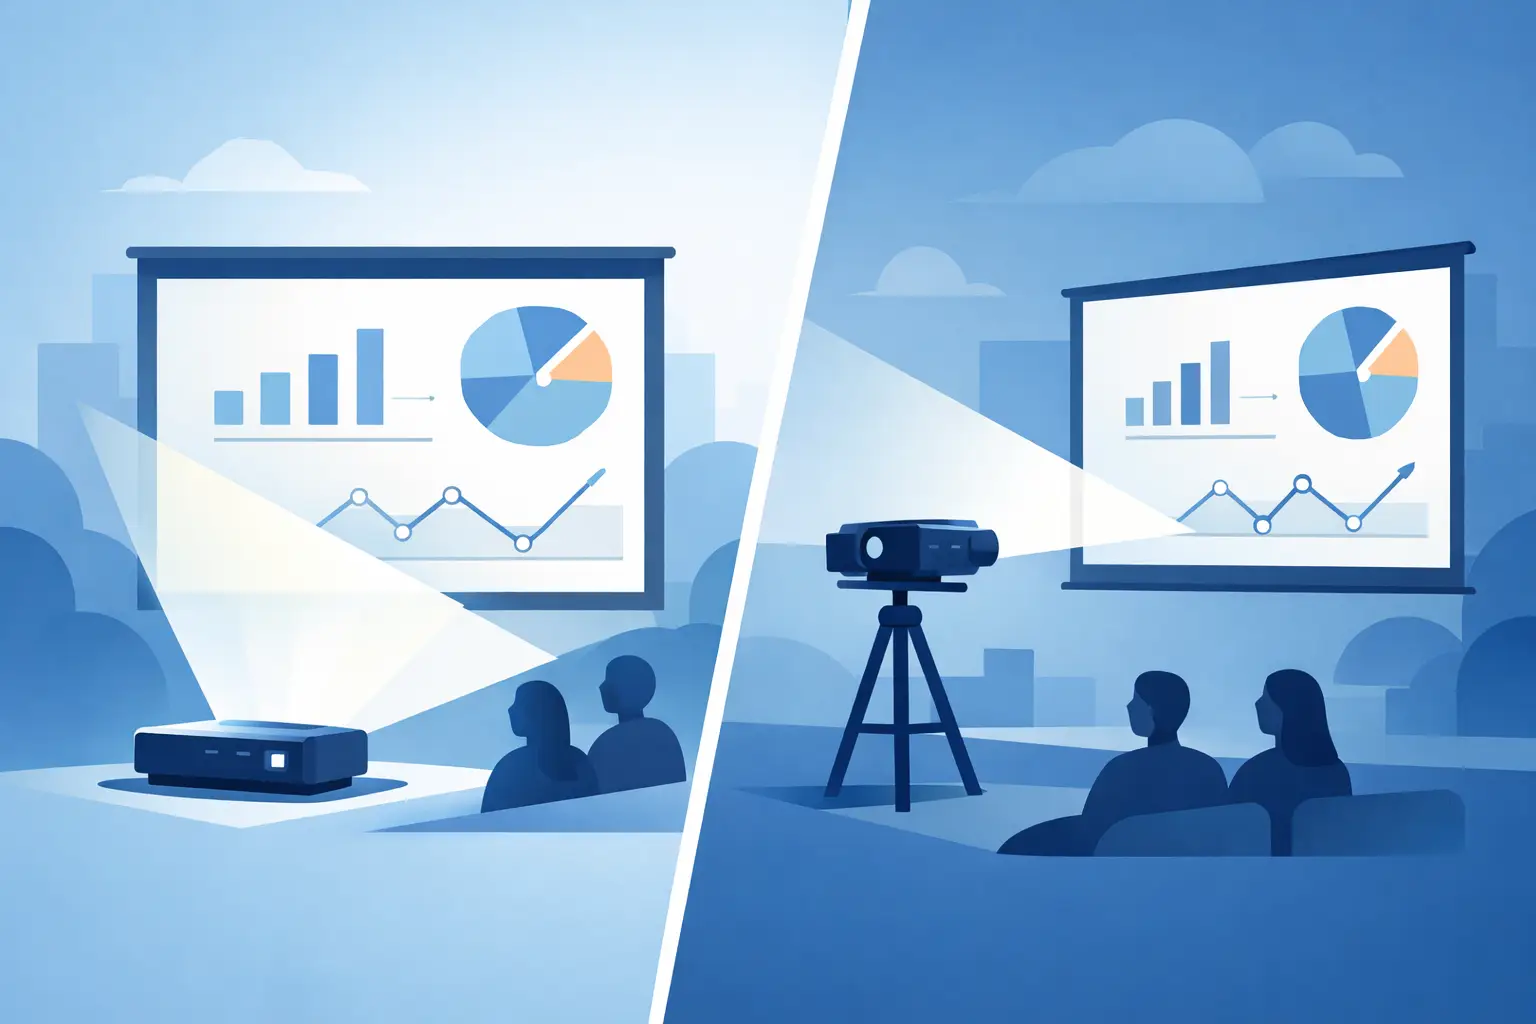
A projector lens decision can determine whether an installation fits the room or requires expensive changes to mounting, cabling, and screen placement. In the short throw vs standard lens decision, the correct choice is not based on a general preference for one lens type. It depends on the required image width, available projection distance, projector model, screen position, ambient light conditions, and maintenance access.
For distributors, system integrators, and projector service providers, lens selection also affects procurement risk. A lens that produces the right image at the right distance but does not match the projector's mount, optical specifications, or shift range can delay commissioning. The practical objective is to match the lens to the application first, then confirm exact projector compatibility before purchase.
Short Throw vs Standard Lens: The Basic Difference
The difference starts with throw ratio. Throw ratio is calculated by dividing the projection distance by the image width. A lens with a 0.8:1 throw ratio, for example, produces an 8-foot-wide image from approximately 6.4 feet away. A 2.0:1 lens needs approximately 16 feet of projection distance for the same image width.
A short throw lens creates a large image from a relatively short distance. Depending on the projector platform, short throw ratios may fall below 1.0:1, although manufacturers use different classifications. A standard lens, sometimes called a normal-throw lens, generally requires more distance and is commonly used in rooms where the projector can be mounted farther from the screen.
The term “standard lens” is not a universal optical specification. One projector manufacturer may define its standard lens as 1.3-1.8:1, while another may offer a standard zoom range closer to 1.7-2.5:1. Buyers should always work from the published throw-ratio range for the exact lens and projector combination.
When a Short Throw Lens Is the Better Choice
Short throw optics are designed for installations where projector-to-screen distance is limited. Classrooms, training rooms, retail displays, museum exhibits, simulation spaces, and small meeting rooms are common examples. In these locations, moving the projector farther back may be impossible because of room depth, ceiling obstructions, walkways, or furniture.
A short throw lens can also reduce presenter shadowing. When the projector is installed close to the screen, a presenter standing in front of the image is less likely to block the light path. This is valuable in education, collaboration spaces, and interactive installations where people work close to the display surface.
For event and exhibition projects, a short throw lens may create a large visual impact in a shallow booth or narrow display zone. It gives integrators more freedom to place content where customers can see it without dedicating significant floor depth to projection distance.
However, short throw does not automatically mean easier installation. These lenses can be more sensitive to alignment, screen flatness, and projector position. A small mounting error can become visible as image distortion, uneven focus, or poor edge geometry. Installers should allow adequate time for mechanical adjustment and image calibration, particularly when projecting onto large screens or rigid surfaces that reveal alignment errors.
Where Standard Lenses Remain the Practical Option
A standard lens is often the most efficient choice for conference rooms, lecture halls, houses of worship, auditoriums, and other spaces with sufficient depth. With more throw distance available, the projector can be mounted behind the audience area, above a rear seating zone, or in a projection booth. This can simplify sightlines and keep the equipment away from presenters and participants.
Standard lenses may also offer wider zoom flexibility within their intended projection range. That flexibility helps when field conditions differ slightly from drawings or when screen size changes during the project. The usable range still needs to be checked carefully. A lens should not be specified at the extreme end of its zoom range without confirming focus performance, brightness requirements, and installation tolerances.
In many conventional commercial rooms, a standard lens is also the lower-risk service choice because it follows familiar mounting positions and optical layouts. Technicians can often access the projector more easily, and future replacement planning may be simpler when the installation uses commonly deployed lens ratios.
Image Quality, Brightness, and Optical Trade-Offs
Throw ratio is only one part of lens performance. The selected lens must maintain focus consistency, color reproduction, contrast, and usable brightness across the screen. This is especially important for 4K projection, blended displays, detailed presentation content, and applications where text clarity matters.
Short throw lenses can introduce more demanding optical conditions because they spread a large image across a short path. At the edges of the image, any limitation in lens quality, mechanical alignment, or screen flatness can be more apparent. Wide-angle projection may also make geometric correction necessary in some installations. Digital correction can help, but excessive correction can reduce effective resolution and should not replace proper projector placement.
Standard lenses generally operate with less aggressive projection geometry, but they are not automatically superior in every case. A long installation distance can introduce its own concerns, including airborne dust in the light path, mounting vibration, and brightness loss across larger screens. The correct approach is to calculate screen luminance based on projector output, lens specifications, screen gain, ambient light, and content type.
For replacement and upgrade work, do not assume that two lenses with similar throw ratios will produce identical results. Lens coatings, optical design, zoom range, aperture performance, and mechanical fit vary by manufacturer and projector series. Commercial buyers should specify the part number and confirm the supported projector models before ordering.
Installation Factors That Affect the Decision
The room drawing should be reviewed before selecting either lens type. Measure the actual lens-to-screen distance rather than relying only on room length. The projector lens position may be offset from the mounting point, and structural beams, HVAC equipment, cable trays, or decorative ceilings can restrict available placement.
Lens shift is another critical factor. A projector with substantial vertical and horizontal lens shift provides more mounting flexibility and can reduce the need for keystone correction. Some short throw lens systems have more limited shift capability, which makes accurate mount location more important. Verify the shift range with the selected lens installed, not only the projector's general specification.
Service access should be considered at the design stage. A projector mounted close to a screen may be harder to reach if it is installed above millwork, display structures, or ceiling features. A rear-mounted standard-lens projector may be easier to maintain, but only if the location provides safe access for filter cleaning, bulb replacement, or lens servicing.
Procurement and Replacement Planning
For service organizations supporting mixed projector fleets, lens identification should be handled with the same discipline used for bulbs and air filters. Record the projector brand, model, existing lens part number, throw ratio, mounting orientation, image size, and installed distance. These details reduce compatibility errors and make future sourcing faster.
If a lens is being replaced because of damage, haze, focus issues, or a change in room layout, first determine whether the original throw ratio remains appropriate. Replacing a standard lens with a short throw lens is not a simple upgrade. The projector location, screen position, lens shift, and mounting hardware may all need to change.
ZORSIKA supports professional buyers with projector accessory solutions designed around practical compatibility, dependable optical performance, and efficient replacement sourcing. For any lens request, the most useful purchasing information is the complete projector model and the required installed throw distance.
A Simple Selection Process for Commercial Projects
Start with the screen width and the actual available lens-to-screen distance. Divide distance by image width to identify the required throw ratio. Next, compare that result against the lens's published ratio range and confirm that the preferred position is not at an impractical end of the zoom range.
Then review brightness, lens shift, mounting position, and service access. If the room is shallow or people will stand close to the screen, a short throw lens may solve a real installation problem. If the room provides sufficient depth and the projector can be placed away from the audience area, a standard lens may offer a more conventional and service-friendly layout.
The best lens choice is the one that meets the image requirement without forcing unnecessary correction, difficult maintenance, or avoidable procurement risk. Confirm the projector and lens part numbers before release, and the installation will be easier to commission and support over its operating life.