Top Projector Lens Mount Types Explained
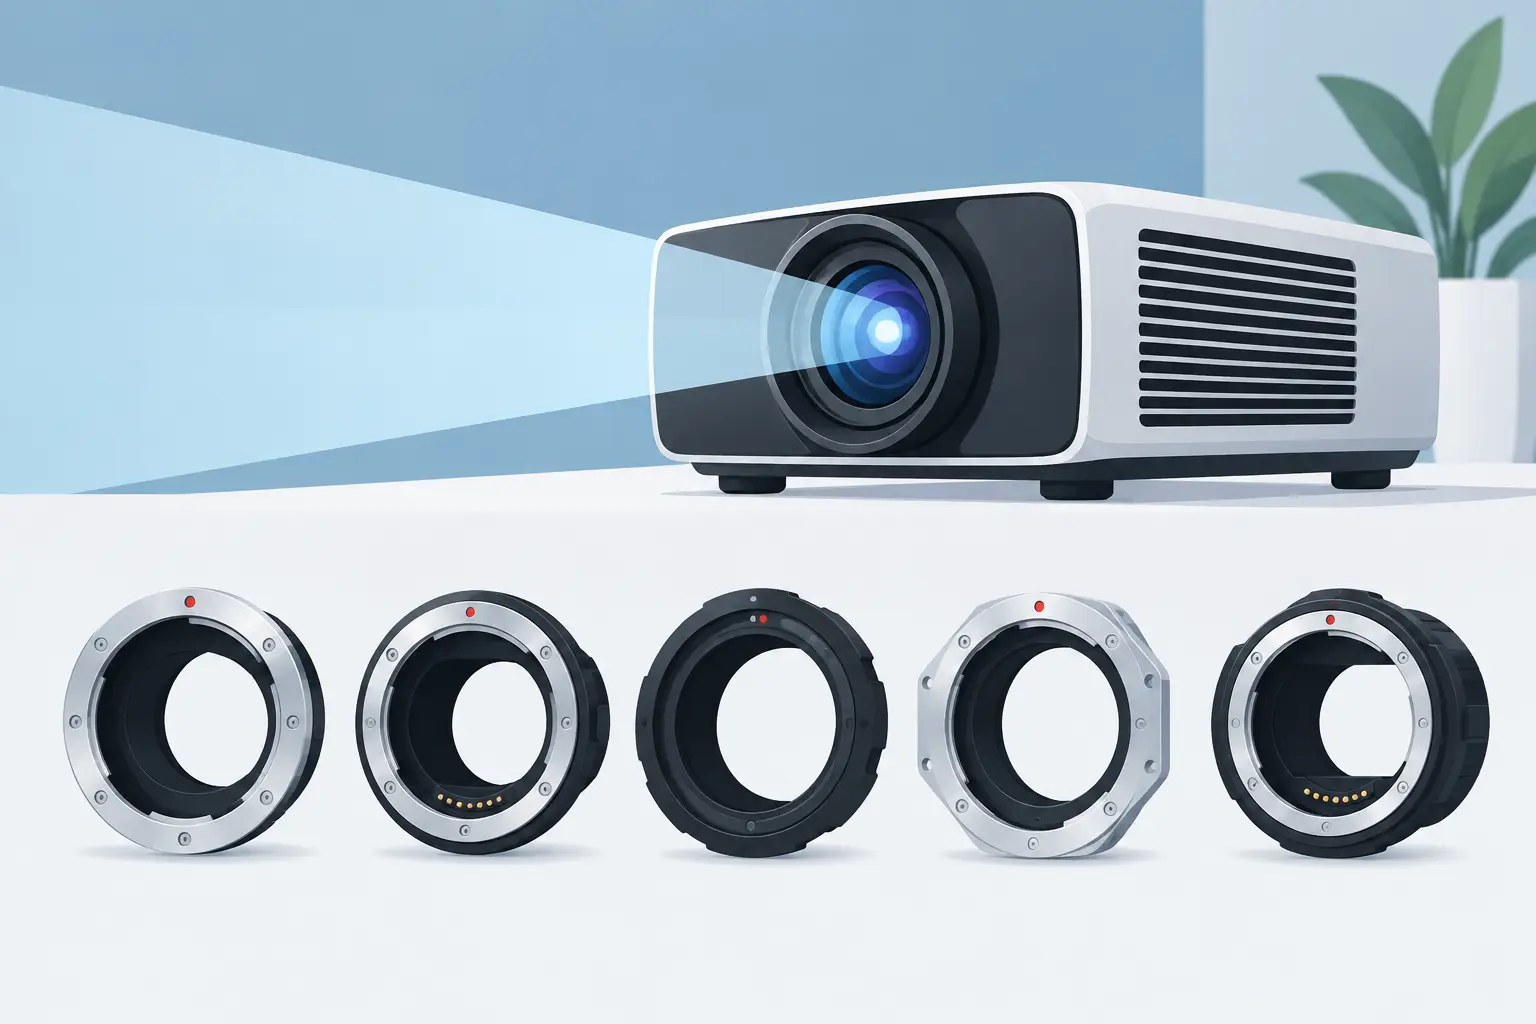
A replacement lens can match the projector brand, throw-ratio range, and image format on paper yet still be unusable because the mechanical interface is wrong. Understanding the top projector lens mount types is therefore essential for distributors, AV integrators, and service teams handling mixed fleets of commercial projectors. The mount determines whether a lens can be installed securely, aligned correctly, and recognized by the projector.
For procurement teams, the main rule is simple: a lens mount is not interchangeable merely because two projectors use the same brand name or similar chassis. Manufacturers often change mount geometry, electrical contacts, lens lock mechanisms, and supported lens series between product generations. Model-level verification remains the safest purchasing method.
Why Lens Mount Identification Matters
The lens mount is the physical and, in many cases, electronic connection between a projector and its lens. It keeps the optical axis in the correct position while allowing the projector to control functions such as zoom, focus, iris, lens shift, and lens memory.
A mount mismatch can create more than an installation problem. If a lens does not seat at the specified depth, focus range and image geometry may be affected. If electronic contacts do not match, motorized functions may fail even when the lens appears to fit. For fixed-installation environments such as classrooms, conference centers, museums, and event venues, this can extend equipment downtime and increase labor cost.
The mount type should be evaluated together with the projector model, lens part number, lens firmware requirements, throw ratio, and image size requirement. These specifications work as a system, not as separate purchasing criteria.
Top Projector Lens Mount Types for Commercial AV
Bayonet mounts
Bayonet mounts are among the most common interfaces on professional projectors with interchangeable lenses. The lens is inserted into the projector opening, aligned with guide marks or keys, rotated into position, and secured with a lock lever, latch, or retaining mechanism.
This design supports fast field replacement while maintaining repeatable mechanical alignment. It is widely used in larger installation projectors because technicians can change lenses without disassembling the projector body. Bayonet mounts are particularly practical where different throw distances are needed across a product family, such as auditoriums, houses of worship, simulation rooms, and large meeting spaces.
However, “bayonet” does not mean universal. A manufacturer may use different bayonet dimensions and contact layouts across series. Even within one brand, a lens designed for a 7,000-lumen projector may not fit a newer 10,000-lumen model. Buyers should verify the exact supported projector list rather than relying on the visual appearance of the lens collar.
Proprietary keyed quick-release mounts
Many commercial projector manufacturers use proprietary quick-release systems. These are often based on a bayonet-style concept but include a unique key pattern, guide rail, locking lever, positioning pins, or electronic contact arrangement. The purpose is to ensure the lens is installed in one correct orientation and to prevent incompatible lenses from being used.
A proprietary mount can provide excellent installation speed and stability, especially when technicians regularly service installed projectors. It may also support automatic lens recognition, allowing the projector to apply stored lens data or enable motorized controls.
The trade-off is narrower cross-compatibility. A compatible replacement must match both the mechanical interface and the supported optical platform. For resellers and repair businesses, this makes accurate part-number matching more valuable than generic product descriptions such as “short-throw lens” or “standard zoom lens.”
Threaded or screw mounts
Threaded mounts secure the lens by screwing it directly into the projector or optical assembly. They are more common in compact, industrial, specialty, and some older projection systems than in high-brightness interchangeable-lens projectors.
The benefit of a threaded interface is secure axial positioning. Once properly installed, the lens is less likely to shift from vibration or handling. This can be useful in controlled applications where the lens is not expected to change frequently.
The limitations are equally clear. Installation is slower than a quick-release system, and cross-threading can damage the projector or lens if the technician forces the connection. Thread diameter, pitch, seating depth, and optical flange distance must all match. A lens with a visually similar thread can still be unsuitable if its optical positioning is different.
Fixed integrated lens assemblies
Many education, business, and entry-level commercial projectors use fixed lenses. In these units, the lens is built into the optical engine and is not intended to be removed as a normal service operation. Technically, this is not an interchangeable mount system, but it is an important category for buyers because fixed-lens projectors are often mistaken for models that support replacement lenses.
When the optical assembly fails in a fixed-lens projector, repair may require a complete optical block, lens assembly, or projector replacement rather than a separate lens purchase. Before quoting a lens, service providers should confirm whether the projector has a removable lens release mechanism and whether the manufacturer publishes compatible lens options.
Fixed-lens designs reduce installation choices but can simplify operation and lower the initial system cost. They are best suited to standard rooms where projector placement and screen size are predictable.
Large-format and high-brightness lens interfaces
High-brightness projectors used for rental, staging, large venues, and immersive displays often use larger proprietary interfaces designed for heavier lens assemblies. These mounts may incorporate reinforced locking systems, multiple guide points, electrical contacts, and precise mechanical tolerances.
Such lenses can be significantly heavier than standard zoom lenses, particularly ultra-short-throw, wide-angle, and long-throw models. The mount must carry that load without optical movement. In these applications, technicians should also confirm that the projector is mounted within the manufacturer’s approved orientation and that the lens lock is fully engaged.
A lens that fits a standard installation model may not be compatible with a high-brightness platform, even when the two units share similar imaging technology. The lens mount, cooling path, image circle, and control protocol can all differ.
Mechanical Fit Is Only One Compatibility Check
When evaluating projector lens mount types, it is useful to separate compatibility into three levels: mechanical, optical, and electronic. Mechanical compatibility confirms that the lens attaches securely. Optical compatibility confirms that it produces the required image size, brightness, and focus performance at the planned throw distance. Electronic compatibility confirms that functions such as powered zoom, focus, shift, and lens memory work as intended.
A manual lens can sometimes be mechanically compatible with a projector that supports motorized lenses, but it may not meet the operational requirements of the installation. Likewise, a lens may mount correctly but create edge focus issues if it is outside the projector’s approved lens family.
This is why technical teams should avoid substituting lenses based only on mount shape. A correct replacement should be verified against the projector’s specific series and the lens manufacturer’s compatibility data.
What to Verify Before Ordering a Replacement Lens
For commercial purchasing, a clear verification process reduces returns, rework, and project delays. Request the projector model number and, when available, the existing lens part number. A photo of the lens label and mount area is useful when equipment has been installed for many years or when field documentation is incomplete.
Before placing an order, confirm these points:
- The exact projector manufacturer, model, and product generation.
- The existing lens part number or approved compatible lens series.
- The mount style, locking method, and electronic contact configuration.
- Required throw ratio, screen dimensions, projection distance, and installation orientation.
- Whether powered focus, zoom, lens shift, or lens memory is required.
For replacement projects, also inspect the mount opening for damaged guide tabs, bent contacts, missing lock components, or accumulated dust. A new lens cannot correct a worn or damaged projector-side mount. If the lens release lever does not operate normally, the projector should be serviced before a replacement lens is installed.
Selecting Supply Options for Service Continuity
OEM lenses remain appropriate when a project requires an exact specified part or when a customer’s maintenance policy requires original manufacturer components. In many service situations, however, qualified replacement lenses provide a practical option when OEM availability is limited or pricing affects project margins.
The key is to work with a supplier that can support accurate model matching, stable quality control, and clear warranty handling. ZORSIKA supplies projector lenses developed for commercial applications with high color reproduction, low light loss, 4K support, high contrast, and installation-focused structural design. For distributors and service providers, the value is not simply obtaining a lens quickly. It is obtaining a lens that can be matched correctly and deployed with confidence.
A projector lens mount is a small part of the overall optical system, but it controls whether the replacement process succeeds. Treat the mount as a critical compatibility specification from the first quotation, and fewer service calls will become return cases.