
Zorsika WB351 projector lens with a 0.78–0.81:1 throw ratio and a 0.64-inch panel, compatible with 4 Leli engineering projectors.
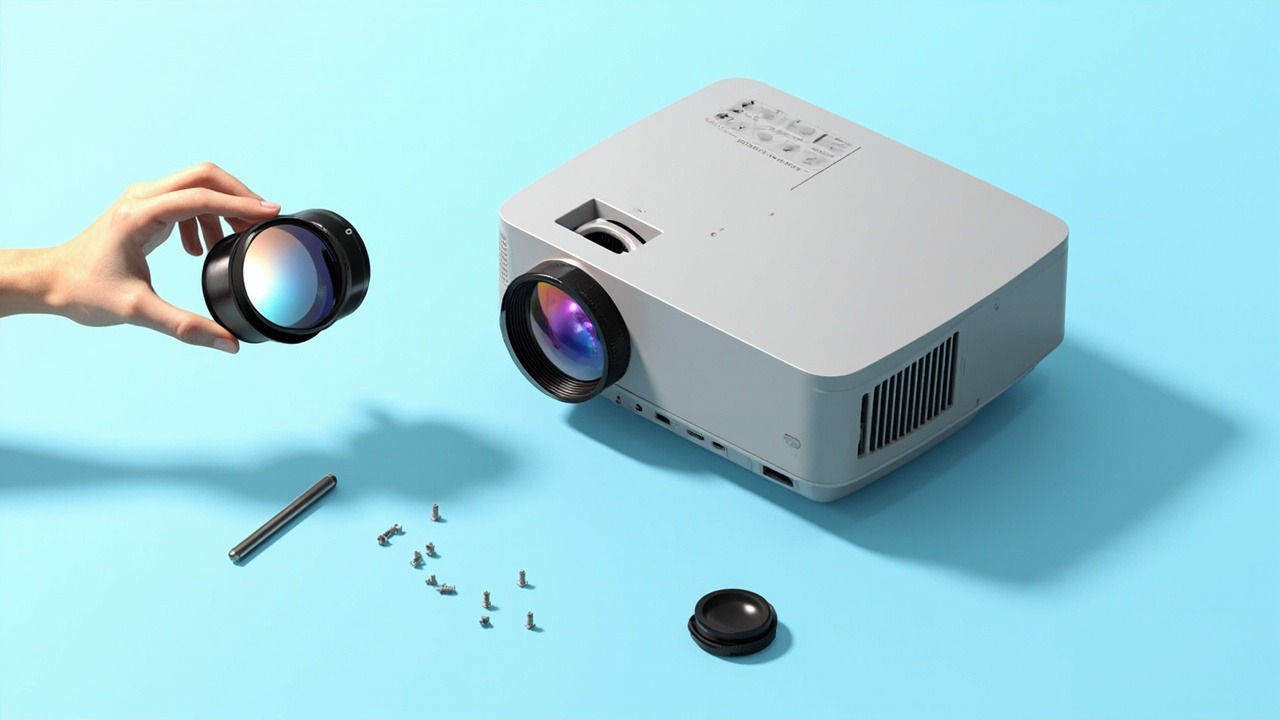
WB351 is a short-throw lens for 0.64-inch panels (Christie), with a throw ratio of 0.78–0.81:1 and lens shift. It is compatible with 4 projector models across 1 model series. This guide presents the lens specifications, installation distances, model compatibility list, and replacement considerations in one place.
I. Lens Specifications
| Model | WB351 |
| Internal Model | D67-066 |
| Series | WB Series |
| Throw Ratio | 0.78–0.81:1 |
| Lens Shift | Horizontal 76.00% · Vertical 47.70% |
| Compatible Panel | 0.64 inches |
| Compatible Models | 4 models / 1 model series |
| Warranty | 12 months; damage not caused by the user may be handled through after-sales service, based on the date on the shipping documents |
Lens-shift capability is this lens's key differentiator. The horizontal 76.00% and vertical 47.70% shift ranges allow the projector to be installed off the screen's central axis, with the image realigned through lens shift rather than keystone correction. Keystone correction comes at a cost—each adjustment sacrifices some effective pixels and softens text edges. In professional installations, always use lens shift instead of keystone correction whenever possible. This is the minimum standard for image quality.
II. Calculating Installation Distance from Throw Ratio
The throw ratio is the ratio of the installation distance to the image width. This is a zoom lens (0.78–0.81:1), so each image size corresponds to a range of installation distances, and the lens can focus anywhere within that range.
| Image Size | Image Width | Required Installation Distance |
|---|---|---|
| 100 inches | 2.15 m | Approx. 1.68 – 1.74 m |
| 120 inches | 2.58 m | Approx. 2.01 – 2.09 m |
| 150 inches | 3.22 m | Approx. 2.52 – 2.61 m |
| 200 inches | 4.30 m | Approx. 3.35 – 3.48 m |
These figures represent the clear distance from the front of the lens to the screen and do not include space for rear chassis cooling or cable connections. They are calculated for a 16:10 image; actual values should be verified through on-site measurements and the manual.
Image quality differs at the two ends of the zoom range: toward the close end, the image is brighter and the edges are slightly softer; toward the far end, the edges are sharper and brightness decreases slightly. When site conditions allow, aim for the middle of the range. After installation, first find the sharpest setting on the focus ring, then fine-tune the lens shift—adjusting both variables at the same time makes it difficult to pinpoint the ideal setting.
III. Compatible Models (4 Models, Christie)
The following table is arranged by model production date, from newest to oldest. It lists each model's resolution, brightness, and factory-lens zoom ratio for quick reference based on project requirements.
| Model | Brightness | Resolution | Zoom Ratio |
|---|---|---|---|
| CL6600U | 9000 lumens | WUXGA 1920×1200 | 1.71X |
| RL-M7U | 7000 lumens | WUXGA 1920×1200 | 1.71X |
| RL-M8U | 8000 lumens | WUXGA 1920×1200 | 1.71X |
| RL-M9U | 9000 lumens | WUXGA 1920×1200 | 1.71X |
The zoom ratio is the zoom factor of the model's factory standard lens (upper limit ÷ lower limit of the throw-ratio range), not the zoom range of the lens featured in this article.
Common Features of These Models
The factory standard lenses for these 4 models generally have throw ratios concentrated around 1.10~1.88. The lens featured in this article, with a throw ratio of 0.78–0.81:1, effectively changes the focal range, allowing the same projection distance to produce a different image size—this is the direct reason for replacing the lens. It also retains full lens-shift capability, so the image can still be aligned after the focal range is adjusted.
IV. Confirm Three Points Before Replacement
- The panel and resolution must match. This model is compatible with 0.64-inch panels. Projectors with a different panel size or resolution may perform differently, so the safest approach is to check the nameplate on the projector before installation.
- Check the interfaces and locking mechanism. Interfaces are generally compatible within the same platform generation, but locking latch positions vary between generations. If the image appears skewed or the edges are not sharp after installation, the latch is usually not fully engaged rather than the lens being faulty.
- Allow for lens shift in the installation plan. The shift range provides installation flexibility, but edge image quality declines at the limits. Keep actual operation within 70% of the specified values.
For models not listed, it is safer to send us the projector nameplate and a photo of the original lens for verification—same-generation platforms often share interfaces, but ordering based only on similar model numbers is not worth the risk.
Get a Solution Consultation
For consultation on ZORSIKA WB351, project solutions, or the complete list of compatible projector models, please contact us:
Contact us:
- Amelia Tsai
Mail: amelia@zorsika.com
Mobile & WhatsApp: 008613926265593 - Jerry Young
Mail: Jerry@zorsika.com
Mobile & WhatsApp: 008618026381336 - Kris Chen
Mail: kris@zorsika.com
Mobile & WhatsApp: 008618923440037 - Joel Lau
Teams & Mail: joel@zorsika.com
Mobile & WhatsApp: 008613928869930
Business Hours: Monday to Friday, 9:00-18:00 (GMT+8)
The product specifications and compatible models in this article come from the ZORSIKA product database, which is continuously updated. Please confirm the details at the time of enquiry.